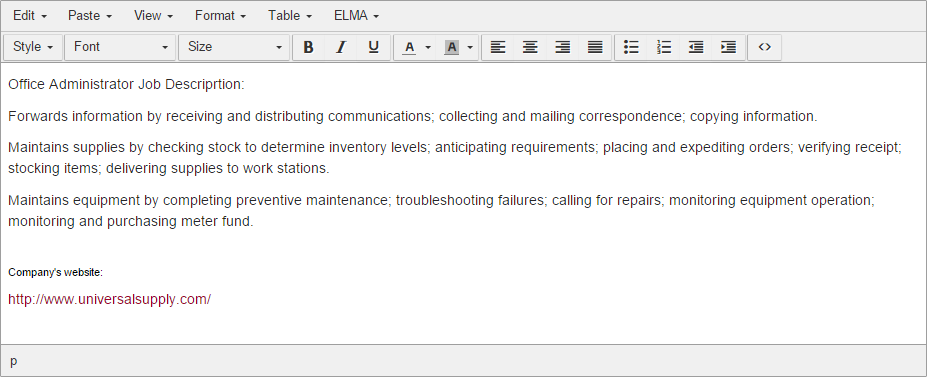
HTML Editor (Fig. 1) allows users to create and format contents of a web document and HTML-portlets.
Fig. 1. HTML Editor display
Toolbar buttons
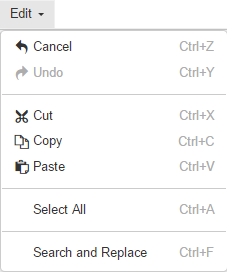
Edit menu commands:
Cancel – cancels the last action;
Undo – repeats the last action;
Cut – removes the selected text and place it to the clipboard;
Copy – copies the selected text to the clipboard;
Paste – inserts the contents of the clipboard;
Select all – selects the text and all objects;
Search and replace – finds the symbol combination and replaces it with another.
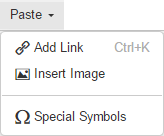
Paste menu commands:
Add Link – inserts a hyperlink. This menu command is also available when you right-click selected text. More information on hyperlinks below.
Insert Image – inserts the image. This option will also appear when you right-click selected text;
Special Symbols – adds a special character to the text.
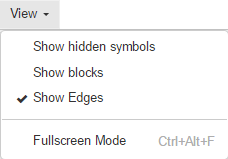
Display settings:
Show hidden symbols – displays hidden formatting marks.
Show blocks – displays the paragraph outline;
Full-screen mode – is a full screen display button. To exit full-screen mode click this command again or use the following short-cut keys Ctrl+Alt+F.
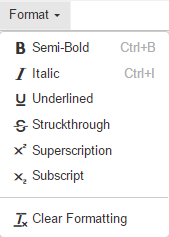
Formatting buttons:
Semi-Bold – applies the semi-bold font to the text;
Italic – applies italics to the selected text;
Underlined – underlines the selected text;
Struckthrough – puts a line through the selected text;
Superscription – transforms the selected text into superscript;
Subscript – transforms the selected text into subscript;
Clear Formatting – removes formatting from the selected text.
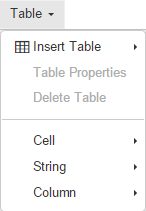
Table button:
Insert Table – opens the Rows&Columns selection box;
Table Properties – opens the Table settings dialog box
Delete Table – removes the table;
Cell – allows to edit table cells;
String – allows to edit table rows;
Column – allows to edit table columns.
The following menu buttons appear when you right-click the selected text: Insert Table, Cell, String, Column.
Allows you to add a link to one of the actions. More information about the action register below.
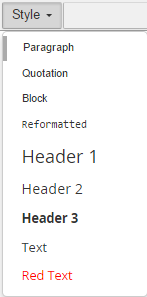
This menu allows you to edit the style of the text.
This menu allows you to edit the font of the text.
This menu allows you to edit the size of the font.
Makes the text bold.
Makes the text italic.
Makes the text underlined.
Changes the text color.
Changes the background color of the text.
Left Alignment.
Center Alignment.
Right Alignment.
Full Justification.
Starts a numbered text.
Creates a bullet list.
Decreases the indent level.
Increases the indent level.
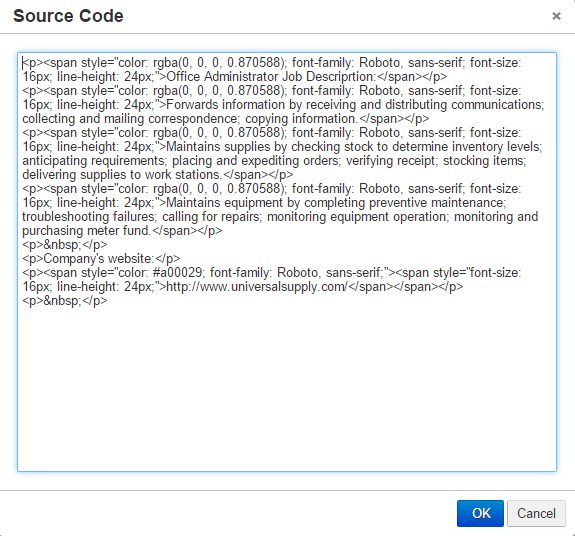
Opens a Source Code (Fig. 2) for the document you are viewing. You will be able to view and edit the HTML-code of the web document. To save the changes click OK.
Fig. 2. "Source Code" box with HTML-code of the web document
Adding hyperlinks
A hyperlink can be added in different ways:
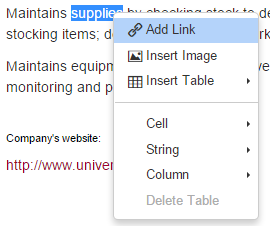
select the required text, then open the context menu and click Add Link (Fig. 3);
Fig. 3. Context Menu. "Add Link" button
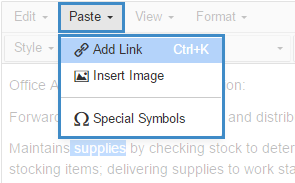
select the required text and click Paste – Add Link in the toolbar (Fig. 4);
Fig. 4. HTML Editor. "Paste – Add Link" button
you can also open the context menu without highlighting the text. Just set the cursor over the required place in the document, then open the context menu and click Add Link. You can also click Paste – Add Link in the toolbar of the HTML Editor .
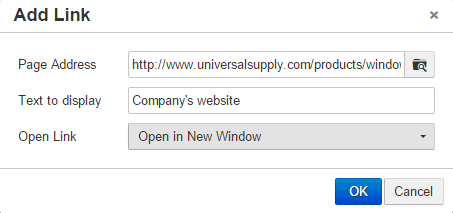
In the opened dialog box (Fig. 5) complete the required fields and click OK.
Fig. 5. "Add Link" dialog box
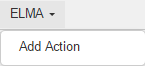
Adding an action
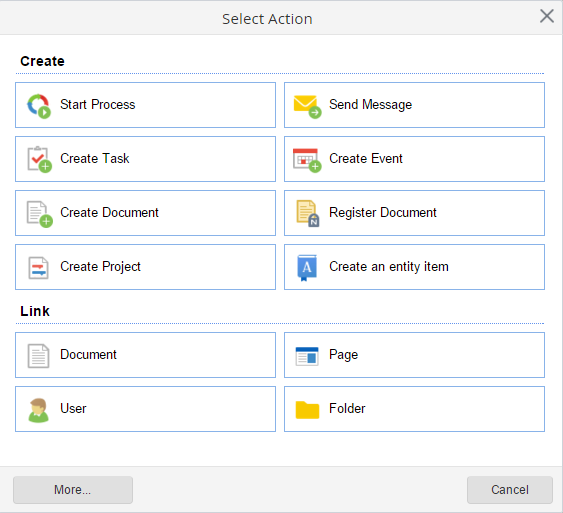
Click ELMA – Add Action in the toolbar of the HTML Editor to add an action. In the opened window (Fig. 6) select an action.
Clicking on More opens the window with the full list of possible actions.
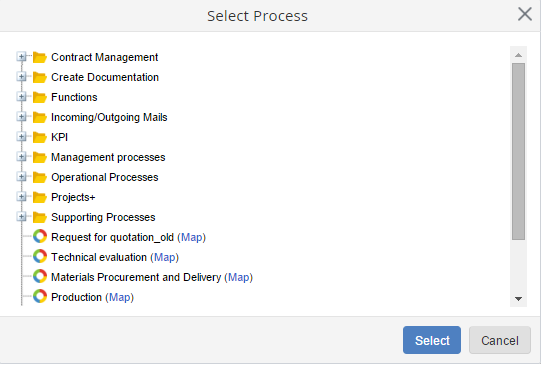
"Start process" button
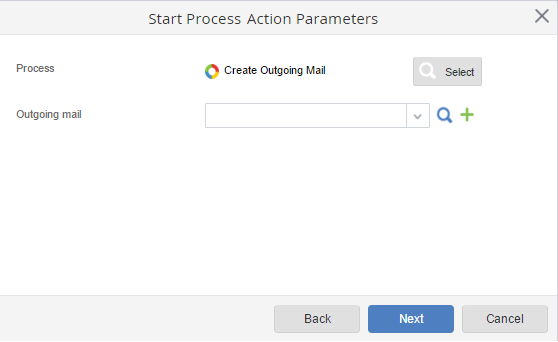
Clicking this button opens a dialog box. In the opened window (Fig. 7) choose a process and click Select.
Fig. 7. Process selection box
Then the system will offer you a list of input variables (Fig. 8), whose values you can set. Thus, when starting the process from the web document, the variable values will be defined automatically.
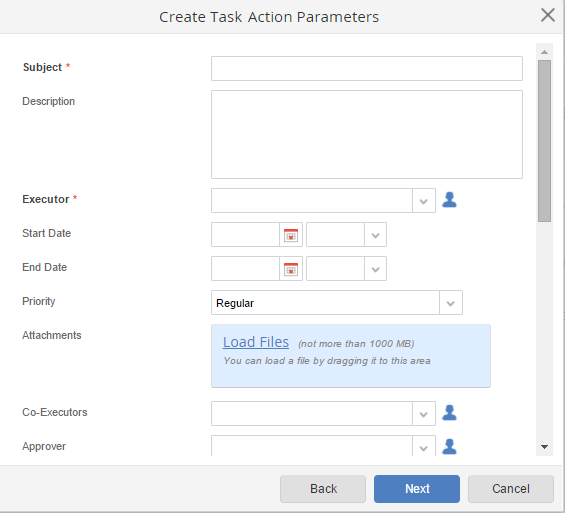
Clicking this button opens a dialog box (Fig. 9), where you have to fill in the required fields. After you have finished, click Next. For more information about creating a task, see the respective Help section.
When you click this button in a web document, a task is not created automatically. Instead, the Create task page opens, with filled in fields. To assign this task, click Save in the toolbar.
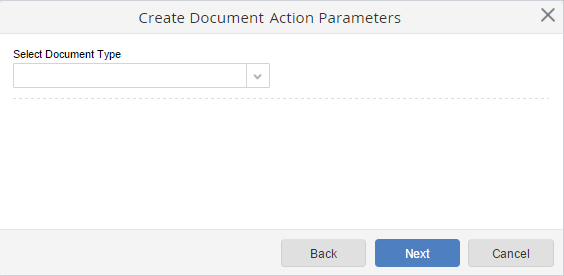
When you click this button in a web document, a document is not created automatically. Instead, the Create document page opens, with filled in fields. To create the document, click Save in the toolbar.
"Send message" button
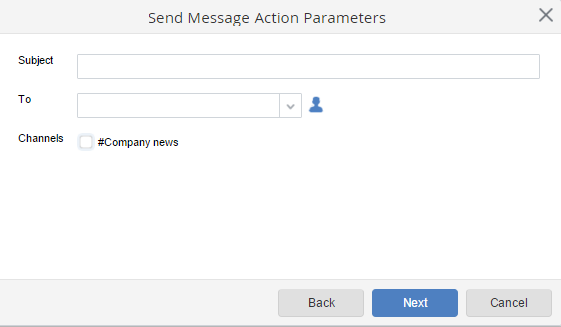
Clicking this button opens a dialog box (Fig. 11), where you fill in the required fields. After that, click Next. This will open the Configure Display Settings window.
Fig. 11. Send Message dialog box
When you click this button in a web document, a message is not sent automatically. Instead, the Create message page opens with filled in fields. To send this message, click Send message.
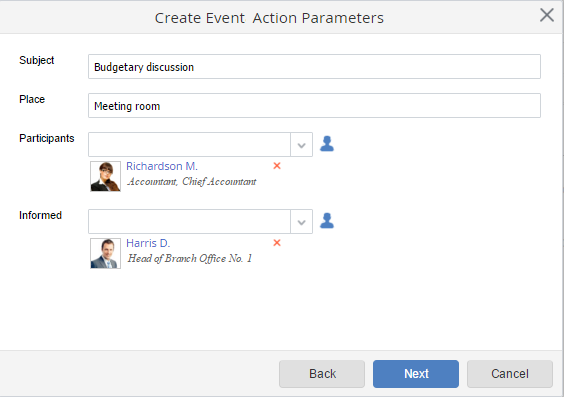
"Create event" button
Clicking this button opens a dialog box (Fig. 12), where you fill in the required fields. After that, click Next. This will open the Configure Display Settings window.
Fig. 12. Create an Event dialog box
When you click this button in a web document, an event is not created automatically. Instead, the Create event page opens with filled in fields. To save this event, click Save.
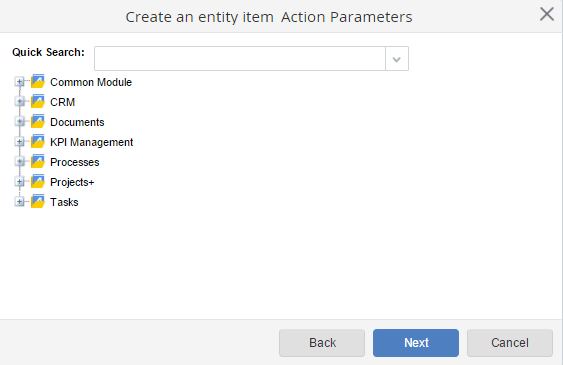
"Create an object instance" button
Clicking this button opens a dialog box (Fig. 13), where you select an object. After that, click Next. This will open the Configure Display Settings window.
Fig. 13. Entity selection box
When you click this button in a web document, an object instance is not created automatically. Instead, the Create Object Instance page opens, where you have to fill in the required fields. Once you are done, click Save.
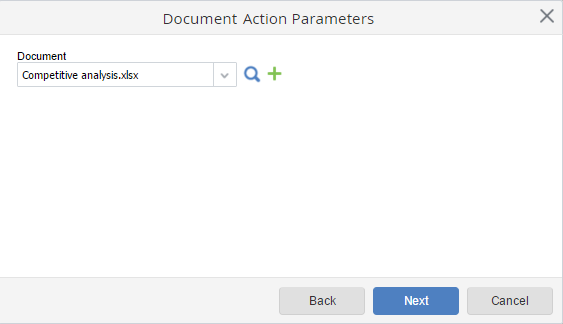
"Document" button
Clicking this button opens a dialog box (Fig. 14), where you select an existing document from the drop-down list or by clicking or upload a document to the system by clicking . After that, click Next. This will open the Configure Display Settings window.
Fig. 14. Document selection box
Clicking this button in a web document opens the document page automatically.
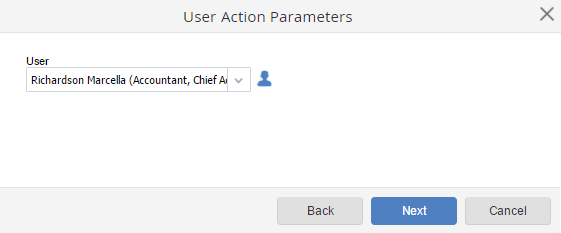
"User" button
Clicking this button opens a dialog box (Fig. 15), where you select a user from the drop-down list or by clicking the . After that, click Next. This will open the Configure Display Settings window.
Fig. 15. User selection box
Clicking this button in a web document opens an ELMA user page automatically.
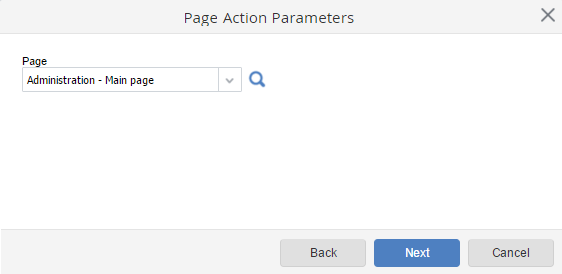
"Page" button
Clicking this button opens a dialog box (Fig. 16), where you select a page from the drop-down list or by clicking . After that, click on Next. This will open the Configure Display Settings window.
Fig. 16. Page selection box
Clicking this button in a web document automatically opens the selected page.
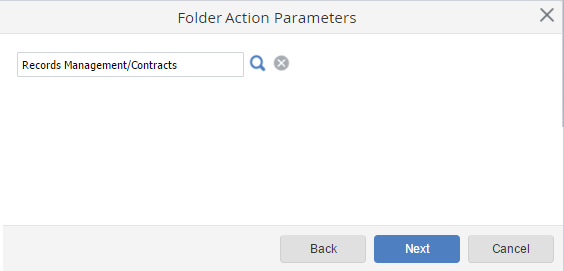
"Folder" button
Clicking this button opens a dialog box (Fig. 17), where you select a folder by clicking . After that, click Next. This will open the Configure Display Settings window.
Fig. 17. Folder selection box
Clicking this button in a web document automatically opens the selected folder.
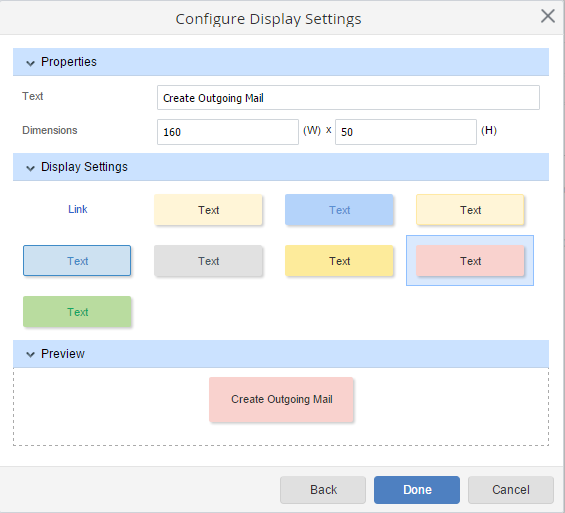
Configuring display settings
This dialog box opens after all the required fields are filled in (Fig. 18). You can configure the text, dimensions, and display settings, and preview the result.
Fig. 18. Configure display settings dialog box
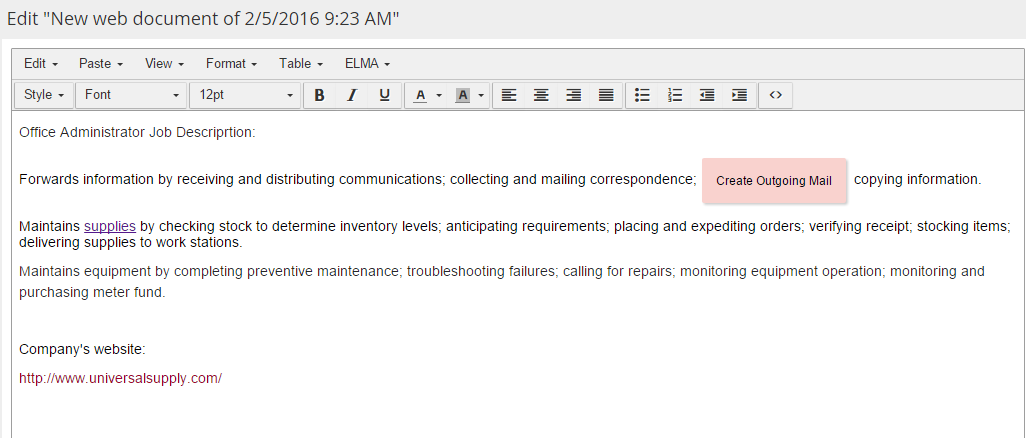
After configuring the display click Done to save the changes. The button will be displayed in the HTML Editor.
After saving the changes, the web document page will look as follows (Fig. 19):
Fig. 19. web document page with added action buttons