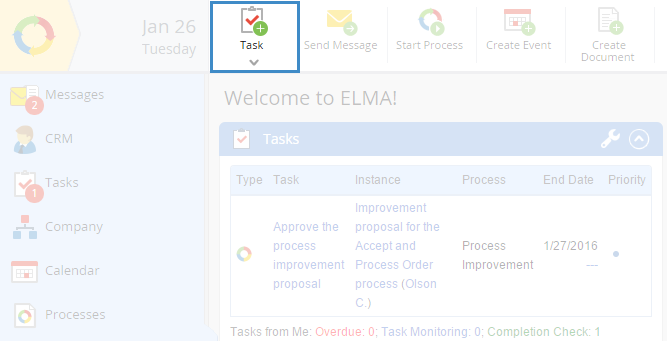
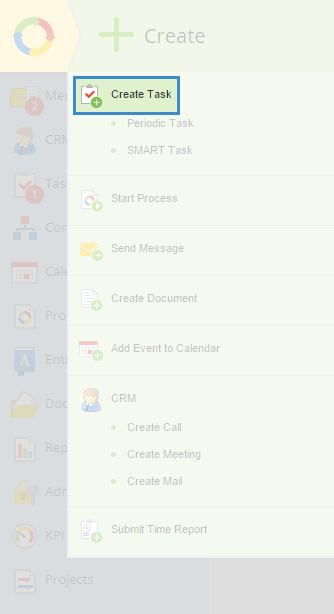
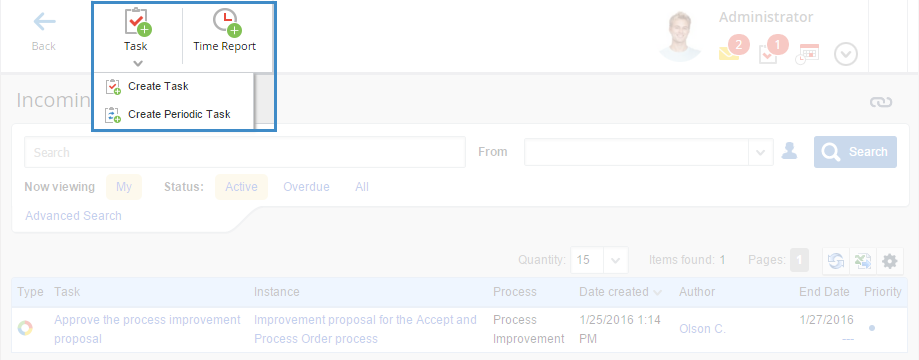
Click Task or Task - Create Task in the Tasks section (fig. 3);
Fig. 3. "Task" button
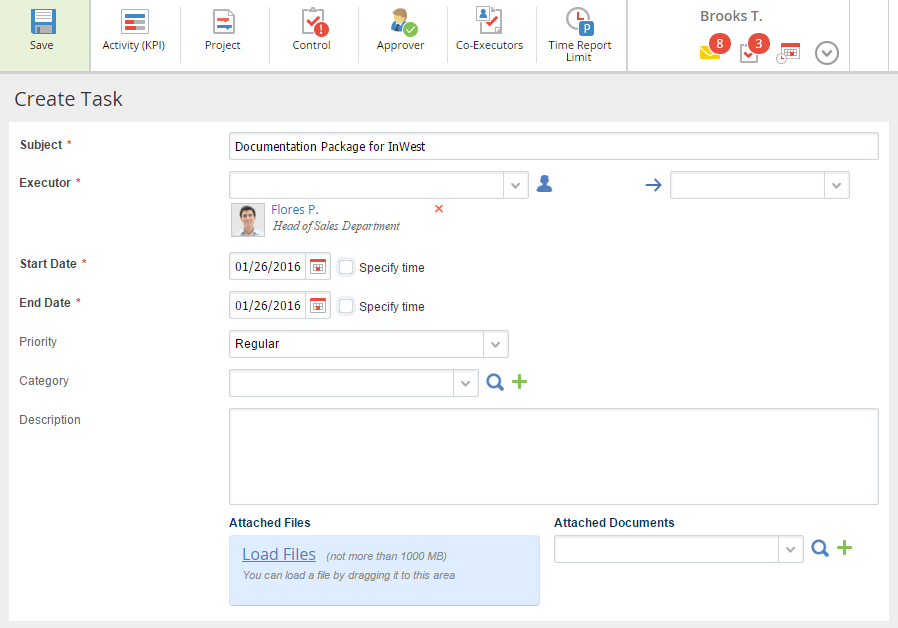
Fill in the required fields on the opened page (fig. 4) and click Save.
Fig. 4. Creating a task
Subject *– task subject. It is displayed in the Tasks section and in the Tasks portlet. The field is required.
Executor* – select the task executor. You can add separate users and custom user lists. This field is required.
Start Date *, Due Date *– start and due date of the task. A task can last several days. These fields are required. By default, you cannot use a past date as the start date or due date. Only the users with the respective access permissions can do that. The system administrator assigns the permissions in Administration – Users – Access Settings – Global Access Settings – Tasks – Create/Edit tasks for a past date.
Specify time - select these checkboxes if you want to specify the exact time the task should be started or completed. Please note that the default time value for starting the task is the current server time plus one minute. The default time for completing the task is the task start time plus 15 minutes.
Category – Task Category. Required for grouping tasks, since this field is used in the search filter.
Description – description of the created task.
Attached Files – allows uploading file from the local PC.
Toolbar Button
Save the task.
Cancel creating the task.
Create a project task. This button is displayed, if the user has a "Projects+" application license. When you click this button, the Project field is added to the task creation page.