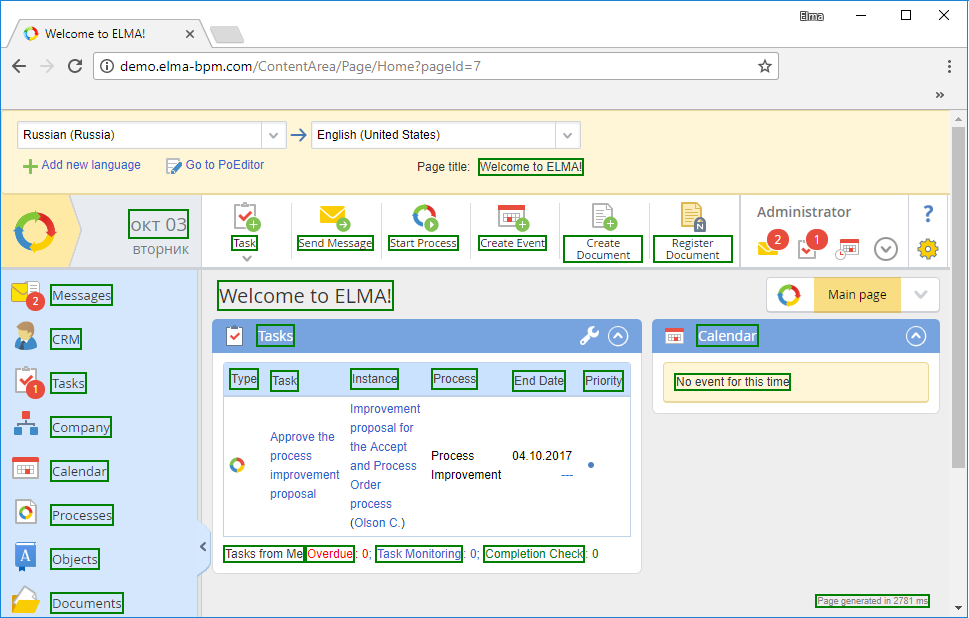
Translating ELMA into a foreign language
To translate ELMA into a foreign language, you need to follow these two steps:
Translating ELMA interface
In all
editions of ELMA (Community, Express, Standard, Enterprise) it is possible to translate the system interface
into almost any foreign language. Some languages (English, German, Spanish, Russian) are already available and can be edited.
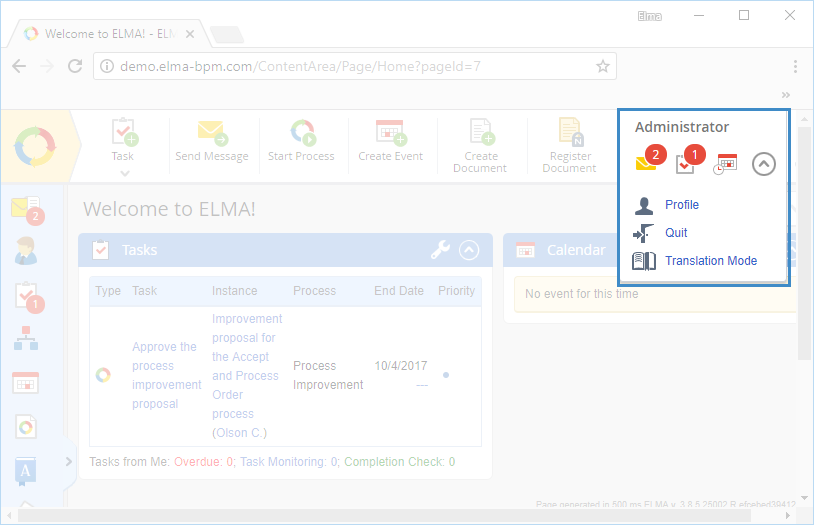
Fig. 1. Assigning access permissions to be able to translate ELMA
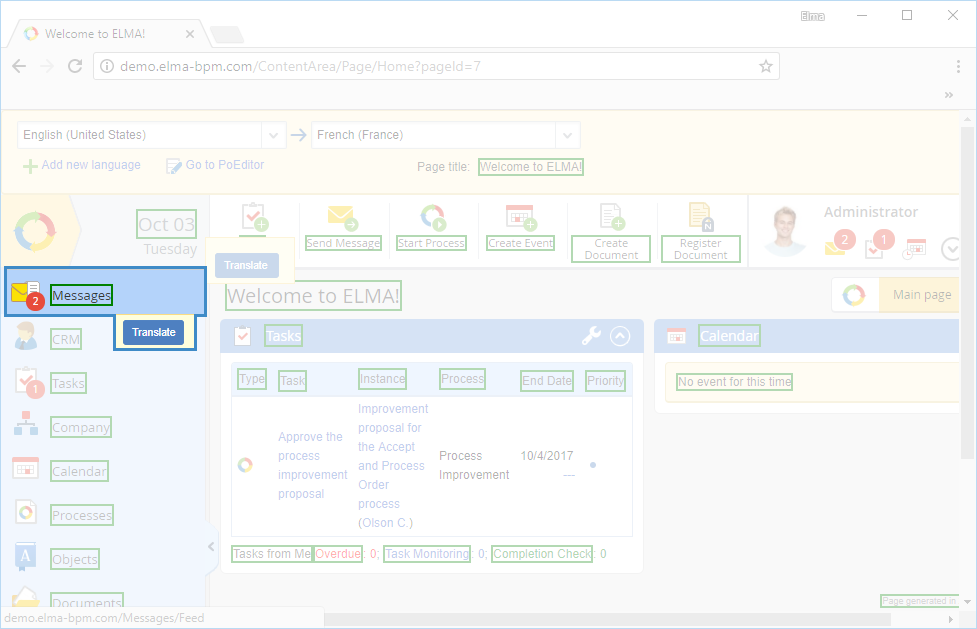
A user who has access permissions to translate ELMA, will be able to switch to the translation mode in the
user menu (Figure 2).
Fig. 2 Translation Mode button
ELMA offers various translation options:
-
-
via POEdit – in this mode, all lexical units used in ELMA are translated: page elements of Web Application, ELMA Designer elements, etc.
Translating ELMA Interface
When you click on the Translation Mode button in the user menu, all the elements of the page that can be translated will be highlighted green and will be translated into English by default, and at the top of the page you will see the language selection panel, on which you need to select the language required for translation (Figure 3).
Fig. 3 ELMA main page in the translation mode
By default, ELMA page elements are translated into English, German, Spanish and Russian. You can switch between them by selecting the required language in the dropdown lists in the translation toolbar.
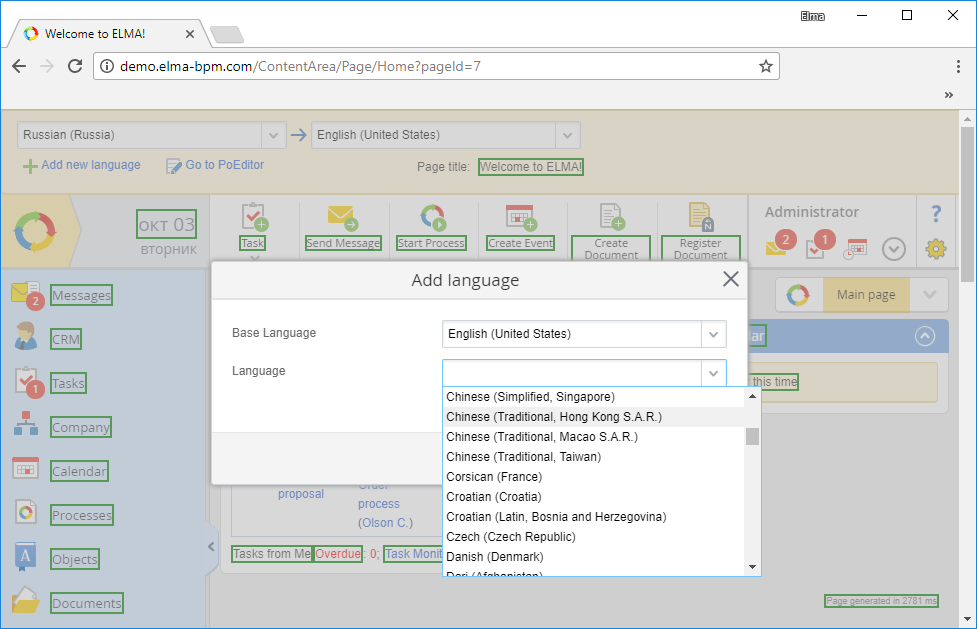
To add a new translation language, in the translation toolbar, click the
button; a dialog box will open. Select a new language from the dropdown list (Figure 4).
Fig. 4 Adding a new target language
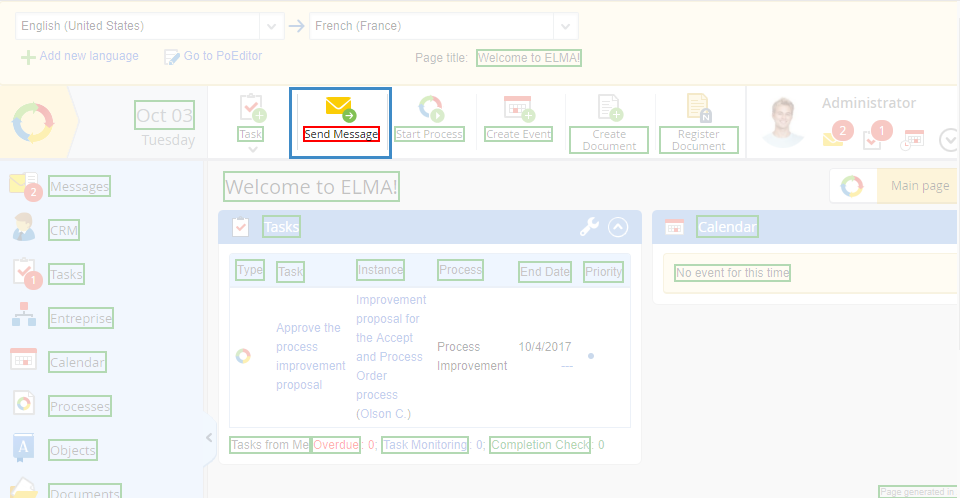
Once a new language is selected, translate all the page elements. To do this, move the mouse cursor over an element and click on the Translate button (Figure 5) or the Translate tooltip.
Fig. 5 The Translate button for the web page element in the Translation Mode
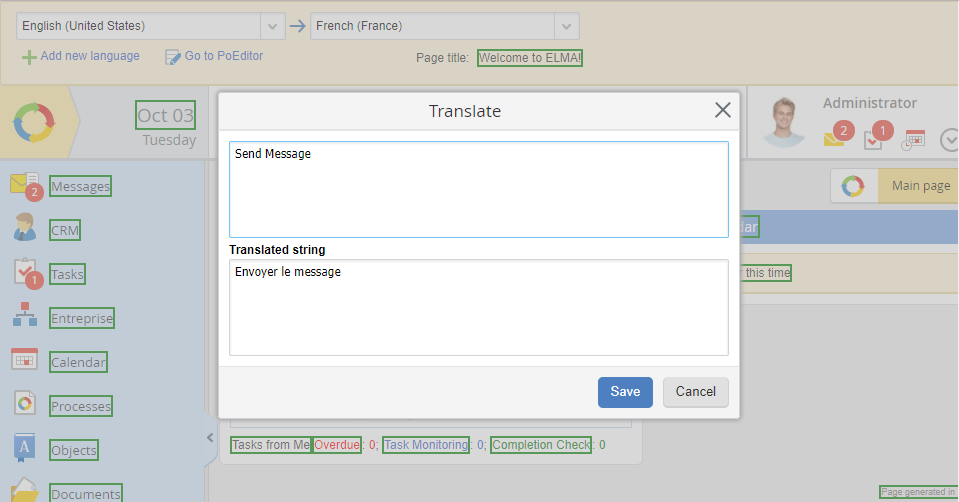
In the opened dialog box, in the Translated string field, enter a translation for the selected element. To save the translation, click Save (Figure 6).
Fig. 6 A translation window of the selected page element
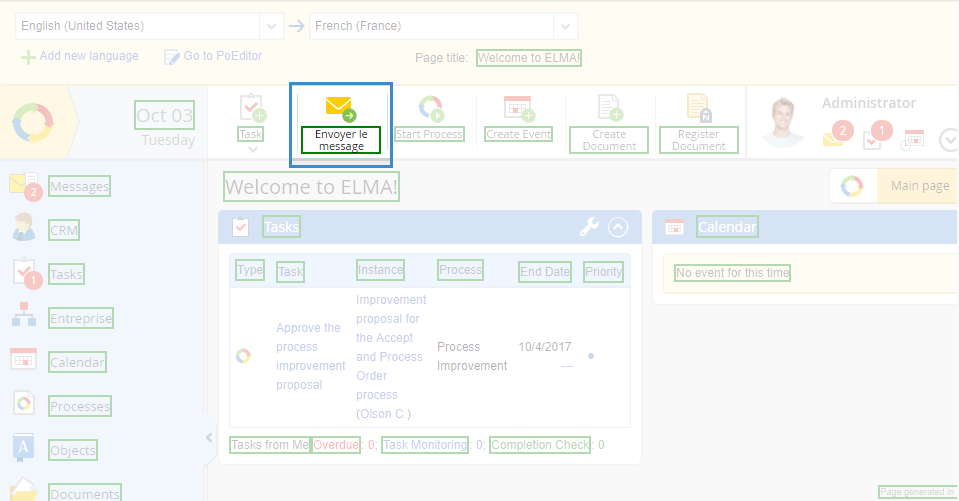
After saving, the entered translation will be displayed for the selected page element (Figure 7).
Fig. 7 A translated element of the web page
If the Translation String is empty, after clicking the Save button the selected element will be highlighted red and displayed in the source language (Figure 8).
Fig. 8 Web page element without a specified translation in the Translation Mode
Translation of ELMA lexical units through the "PoEditor" section
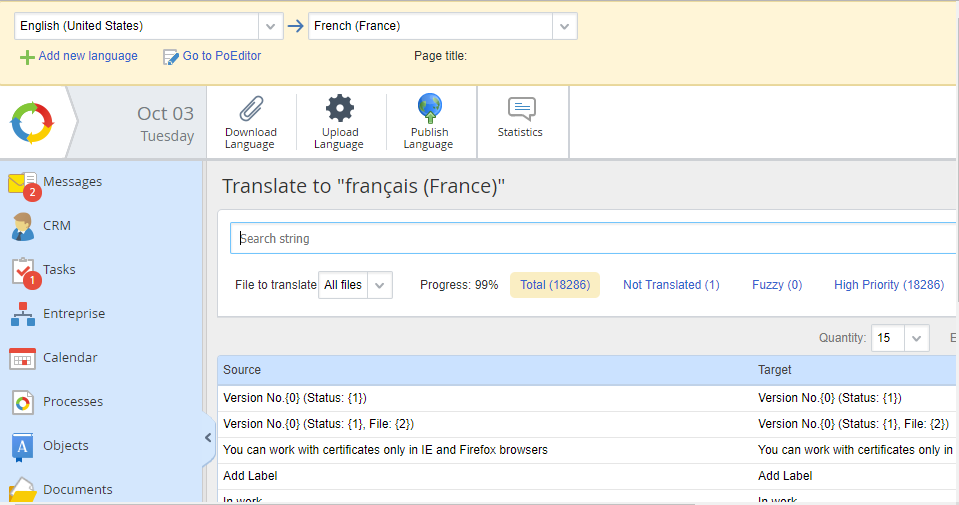
Along with the above translation option, there is a possibility to translate all lexical units of ELMA . Translation, as well as viewing / filtering lexical units, is carried out in the PoEditor section (Figure 9).
Fig. 9 Translating ELMA in the PoEditor
To go to this section (Figure 9), you need to click on the button

in the translation toolbar.
This section displays the form for searching / filtering terms (lexical units), as well as a table with a list of lexical units and corresponding translation.
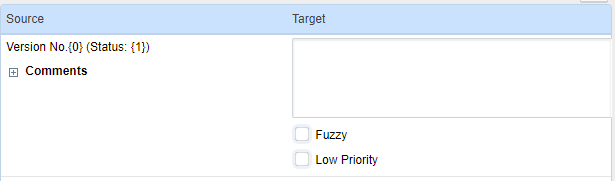
When you click on a lexical unit that requires translation, the form opens (see Figure 10).
Fig. 10 Translating in PoEditor
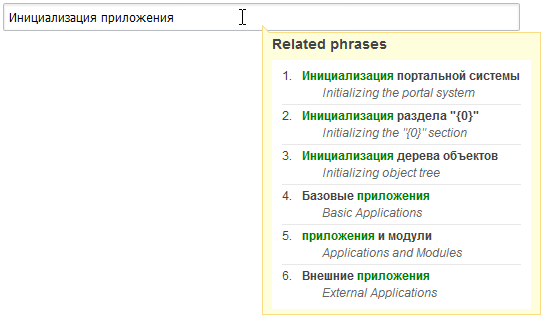
In this form, in the Target field, enter a translation. When you mouse over the term, a pop-up window is displayed (Figure 11) with a list of similar phrases from your translation memory.
Fig. 11 A pop-up window with the list of similar phrases
Below the translated lexical unit, there are Fuzzy and Low Priority check boxes, allowing you to set the appropriate filtering characteristics for the current lexical unit.
The translation is saved automatically and the field is collapsed when you remove the text cursor from the filled out field.
Toolbar buttons
|
|
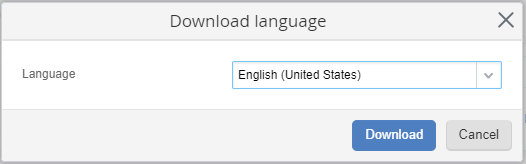
Use this button to download an archive with all the system lexical units. Select the required language from the dropdown list (Figure 12), and click the Download button.
Fig. 12 Download language dialog box
The archive with the selected language will be downloaded to the PC.
|
|
|
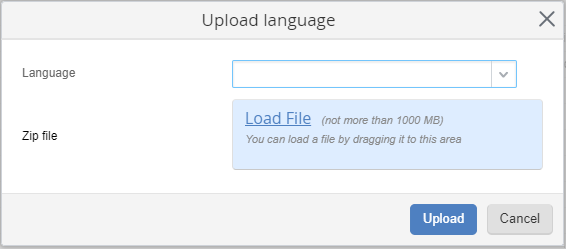
Use this button to upload the file (project) with language settings. This feature is designed to export/import translation templates from one configuration to another (for example, from the test configuration to the production one). Select the required language from the dropdown list (Figure 13), and attach the archive with the language settings. Click on the Upload button.
Fig. 13 Upload language dialog box
The archive with the selected language settings will be uploaded to the server.
|
|
|
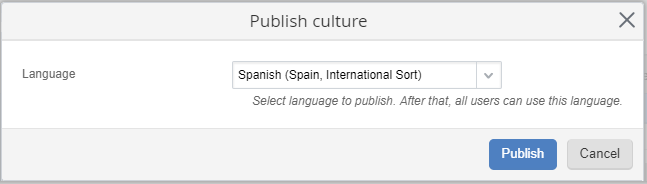
Use this button to publish new language project. In the dialog box that opens (Figure 14) select the required language and click Publish.
Fig. 14 Publish language dialog box
Once the language is published:
-
in the translation mode, the interface objects are displayed translated to the corresponding language; -
all ELMA users will be able to use the published language as the interface language of ELMA.
|
|
|
Merge translation resources. If there are several files with translation resources in the folder ../<ELMA Directory>/Web/Resources/<language name>, when you click this button, the resources of these files in the folder ../<ELMA Directory>/Web/Modules/EleWise.ELMA.SDK.Web/Views/Shared/Translate, which contains all the resources from these files, will be merged. If a lexical unit already has a translation, it will be replaced.
Merging may take a long time, wait until it is complete. You cannot translate the system during the merging.
This button is available only if the user changed at least one file in the folder ../<ELMA Directory>/Web/ Resources/<language name>.
|
|
|
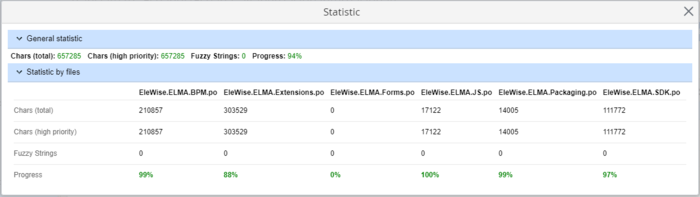
Shows statistics on translated language files. Clicking on this button opens a dialog box (Figure 15) with general statistics and statistics on files.
Fig. 15 Statistics Dialog Box
|
|
Attention!
The interface translation feature is not available when configuring the system operation using web farms. |
Translation of configuration files
To translate configuration files:
2. Use an application (for example, PoEdit) to translate the necessary configuration files.
3. Place the translated.po files into the folder ... \ <Shared folder with ELMA files> \ Web \ Resources \ <the name of the target language>. For example, the configuration translated into English must be located in the ... \ <Shared folder with ELMA files> \ Web \ Resources \ en-US.
Once a user switches the language in the user profile/ELMA Designer settings, all custom objects in Web Application/ELMA Designer will be translated to the selected language.
In case you need to update the translation:
1. Export configuration files for translation. As the target folder, select …\<ELMA Directory>\Web\Resources\<target language name>, which stores the earlier translated files used in the configuration. For example, to translate the configuration into English, you need to put the files to …\<ELMA Directory>\Web\Resources\en-US. After selecting the localization files, you will see a warning about merging the configuration files with the exported files (fig. 16).
Fig. 16. ELMA Designer. Merging files warning
2. Use an application (e.g. PoEdit) to translate the required files. Save the resulting .po file to the folder, specified in the step 1.
3. Merge the translation resources in Web Application.
Copyright © 2006–2019 ELMA