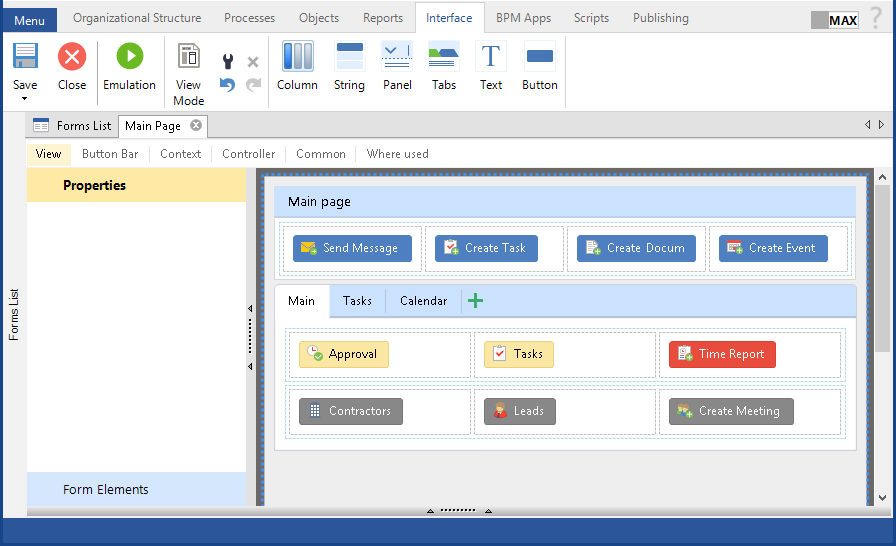
Fig. 1. Configuring a page. View tab
When configuring a page, you can use page Emulation. Page emulation allows making sure that the page will be displayed in ELMA Web Application as expected. This feature is available only for pages. More about emulation below.
|
Attention!
After changing a page, you need to publish it to apply the changes.
|
This tab (fig. 1), along with the toolbar buttons, is similar to the Forms tab (when modeling in the Form Builder). To learn more, see the respective Help page.
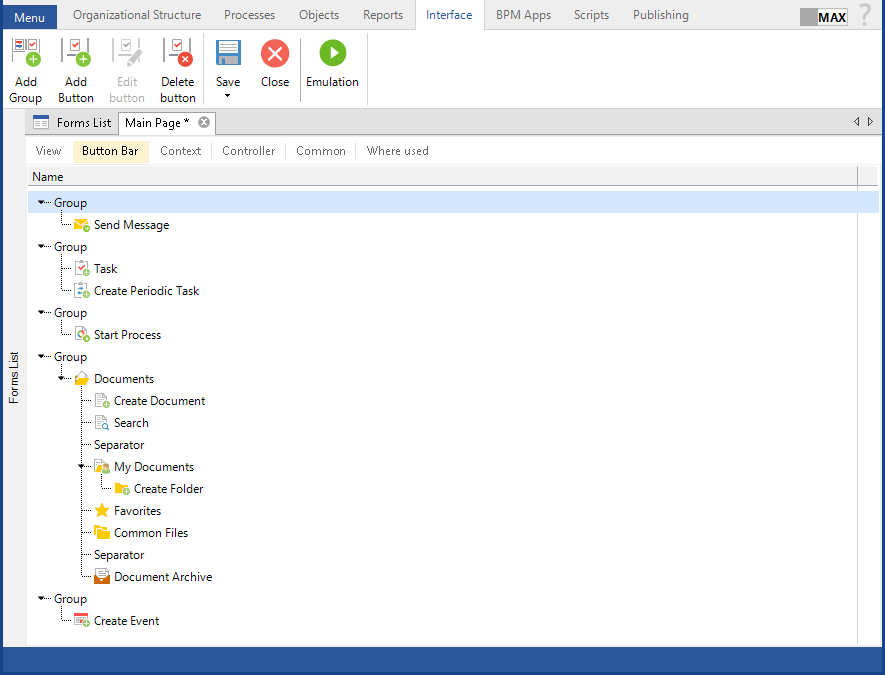
This tab (fig. 2) allows setting up the toolbar of the page. For setting up, use the toolbar buttons and the context menu.
Fig. 2. Configuring a page. Button Bar tab
Adding a new group
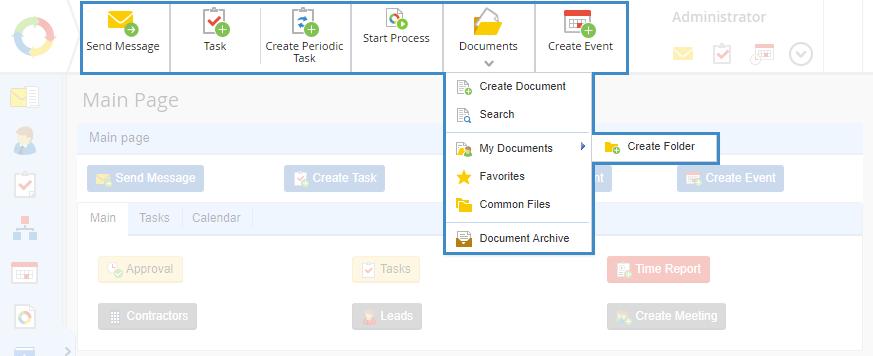
All the toolbar buttons are grouped. You cannot add a button before creating a group. A group can contain one or several buttons and their extensions. In Web Application, group borders have a bold vertical line, and button extensions have a  icon (fig. 8).
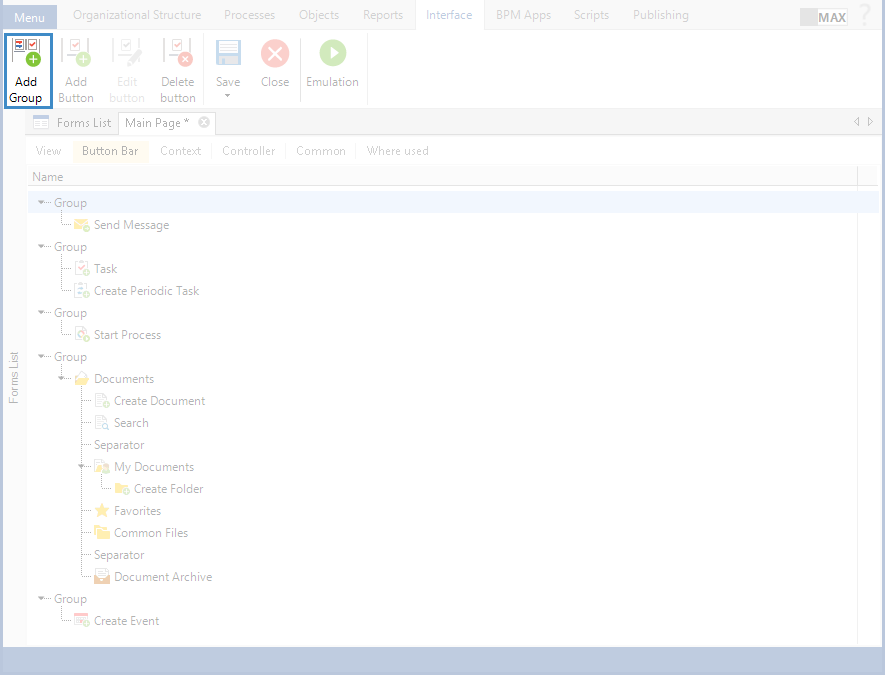
To add a new group (fig. 3) to the page toolbar, click Add Group.
Fig. 3. Configuring a page. Button Bar tab. Add Group button
Adding a button
This possibility becomes available if there is at least one group and if a group or a button is selected:
-
if a group is selected, a button will be added to this group;
-
if a button is selected, the new button will be displayed in the drop-down menu of the selected button in Web Application (fig. 8).
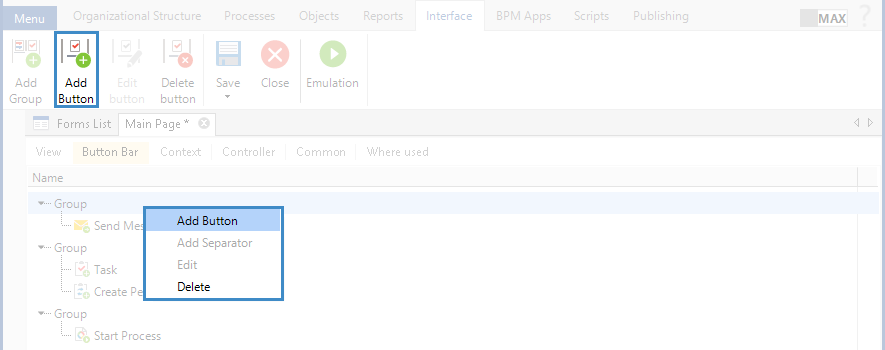
To add a new button to the page toolbar, click Add Button in the toolbar or in the context menu (fig. 4).
Fig. 4. Configuring a page. Button Bar tab. Adding a button
Editing a button
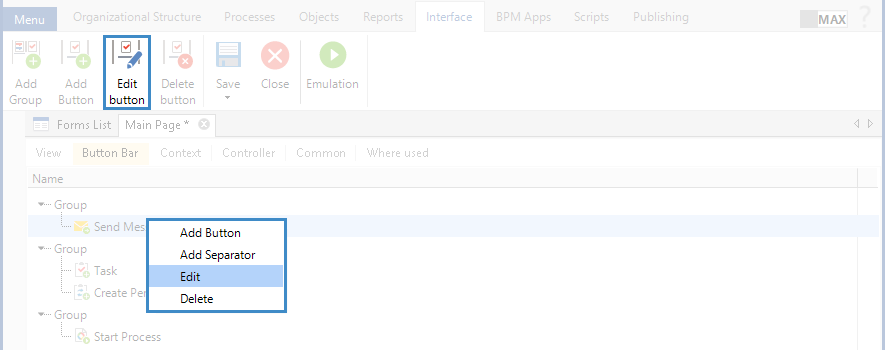
To change a button's parameters, select the required button and click Edit Button in the toolbar or Edit in the context menu (fig. 5).
Fig. 5. Configuring a page. Button Bar tab. Editing a button
Adding a separator
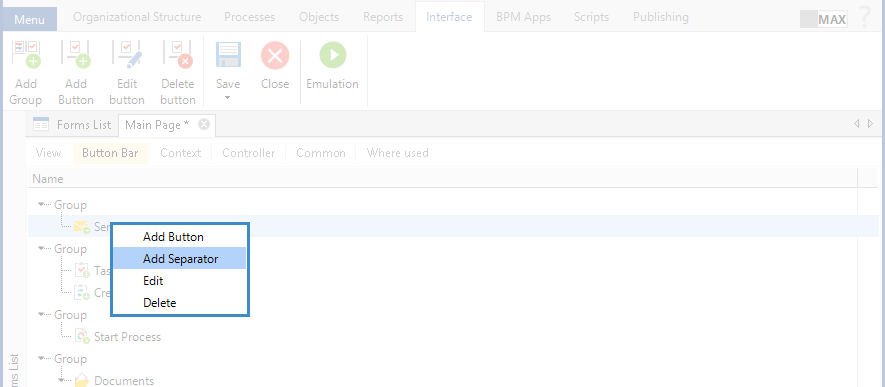
A separator is a horizontal line for separating buttons and/or sets of buttons in a drop-down menu (fig. 8). To add a separator, select a button, open its context menu and click Add Separator (fig. 6). Next, if necessary, you can change the separator's position by dragging it.
Fig. 6. Configuring a page. Button Bar tab. Adding a separator
Deleting elements
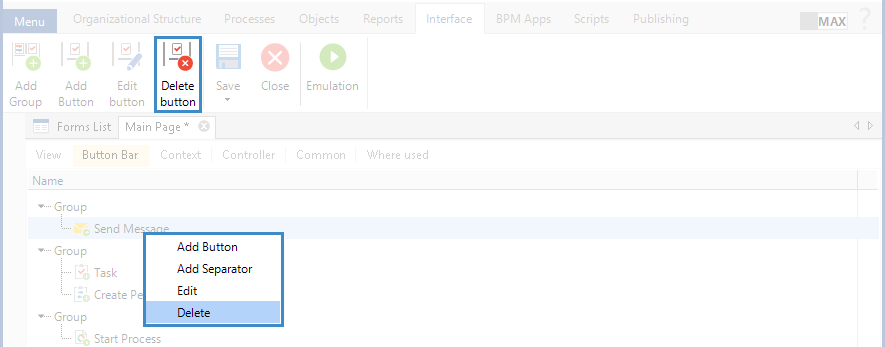
To delete a button, a separator, or a group from the page toolbar, select the required element and click Delete Button in the toolbar or Delete in the context menu (fig. 7). Confirm deleting in the appeared window. When deleting a group, all the buttons and separators in the group are deleted.
Fig. 7. Configuring a page. Button Bar tab. Deleting elements
Example of a toolbar in Web Application:
Fig. 8. Toolbar in Web Application
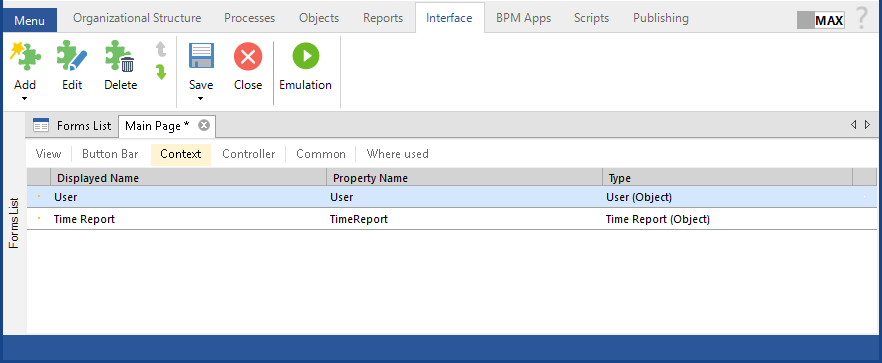
This tab (fig. 9) is similar to the Properties tab of an object page. Properties, created on this tab, will be displayed on the View tab in the Properties unit, and can be used when configuring a page/portlet form. By default, the Context tab contains no properties.
Fig. 9. Configuring a page. Context tab
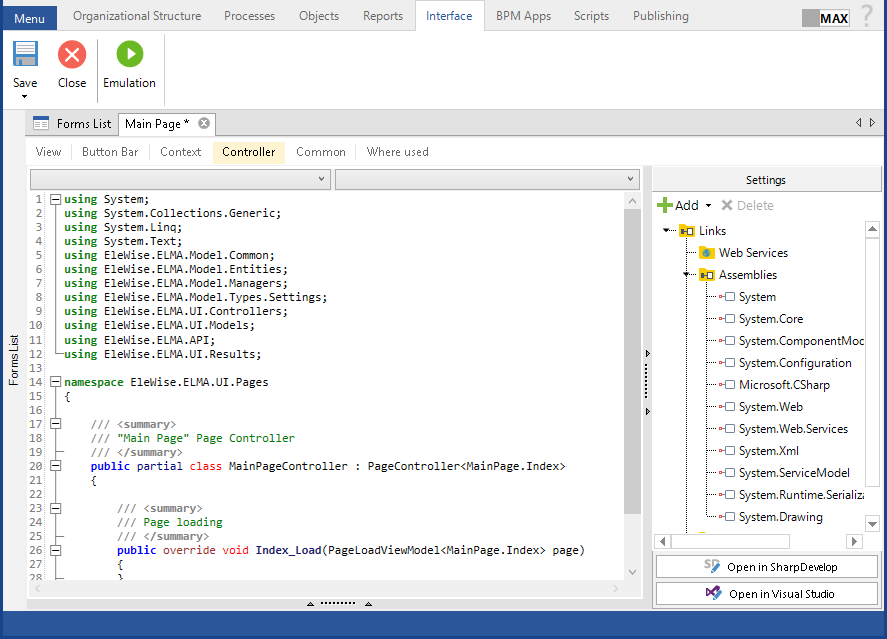
This tab (fig. 10) allows implementing the page logic using scripts. To learn how to work with this tab, see the respective Help page.
Fig. 10. Configuring a page. Controller tab
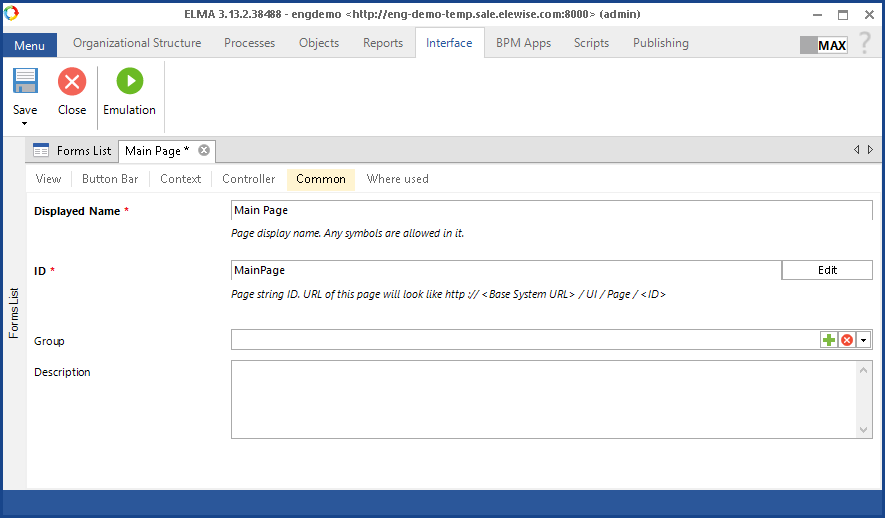
Fig. 11. Configuring a page. Common tab
|
Attention!
This tab is available only in ELMA 3.13.0 and higher.
|
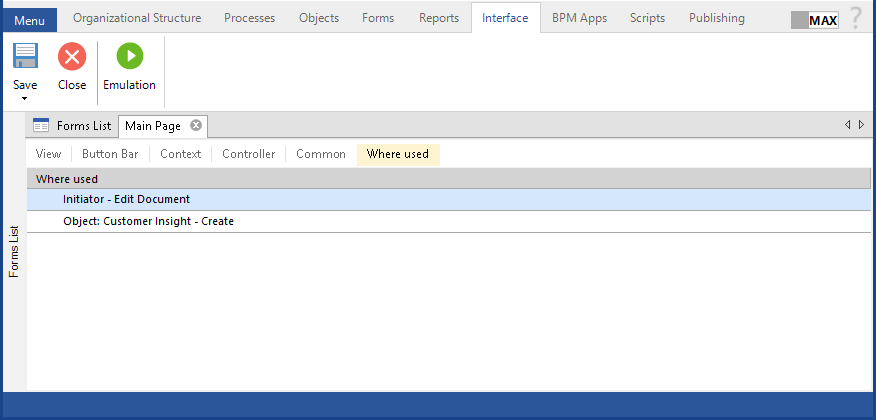
Fig. 12. Configuring a page. Used in tab
When configuring a page, you can use page emulation. Note that this feature is not available for portlets. Page emulation allows you to make sure that the page will be displayed in Web Application as expected.
To start page emulation, the following prerequisites are required:
-
web server must be running;
-
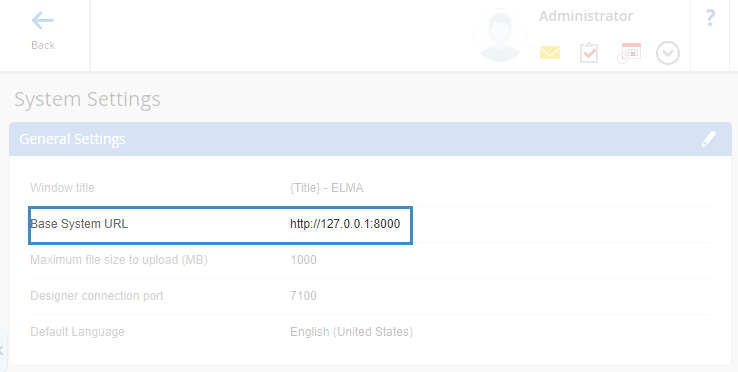
Base System URL with the port, through which ELMA Web Application is connected, must be specified in the general settings (fig. 13).
Fig. 13. General system settings
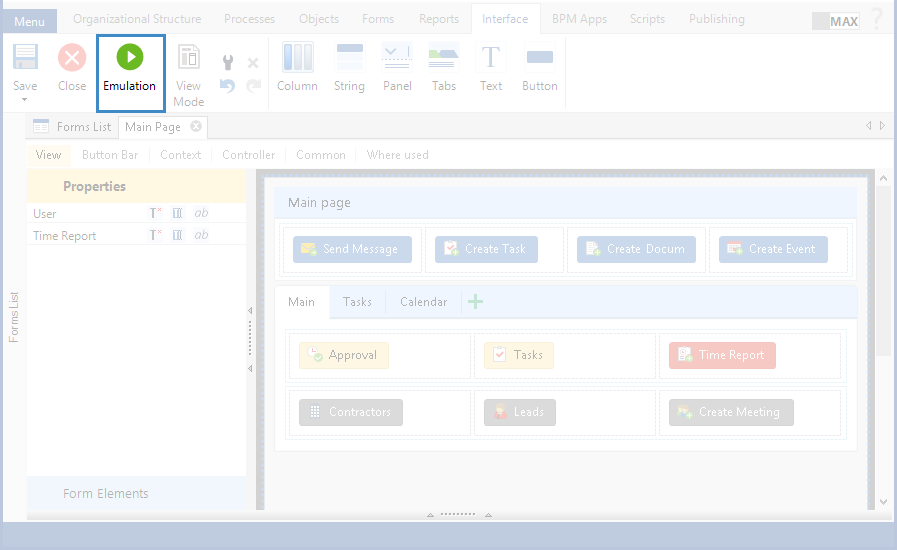
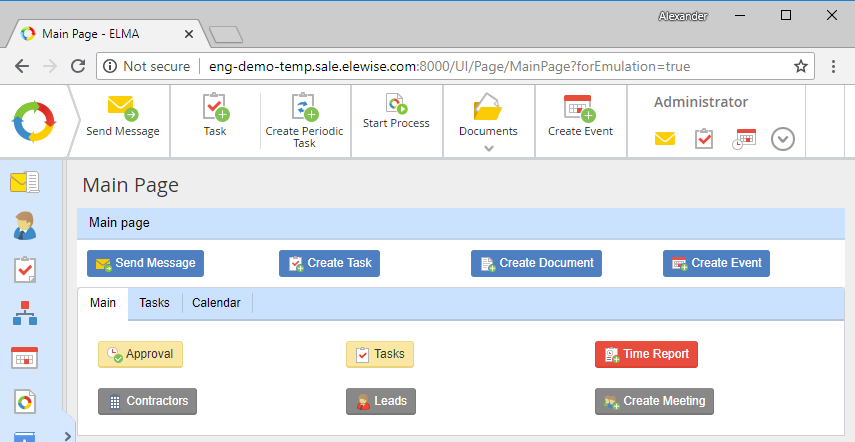
Page emulation is started in ELMA Designer (fig. 14), and executed in Web Application (fig. 15).
Fig. 14. Configuring a page. Emulation button
Fig. 15. Page emulation in ELMA Web Application
Page emulation is performed in your web browser under the account of the user, who worked in ELMA Designer. If the user was not authenticated in Web Application, they will have to sign in before starting the emulation.
Copyright © 2006–2019 ELMA

