Context Variable of the Block type
A block is a data type that contains various properties. It is structured as a table, where each property has its column, and each set of values has its row. Block properties are specified when the process is modeled.
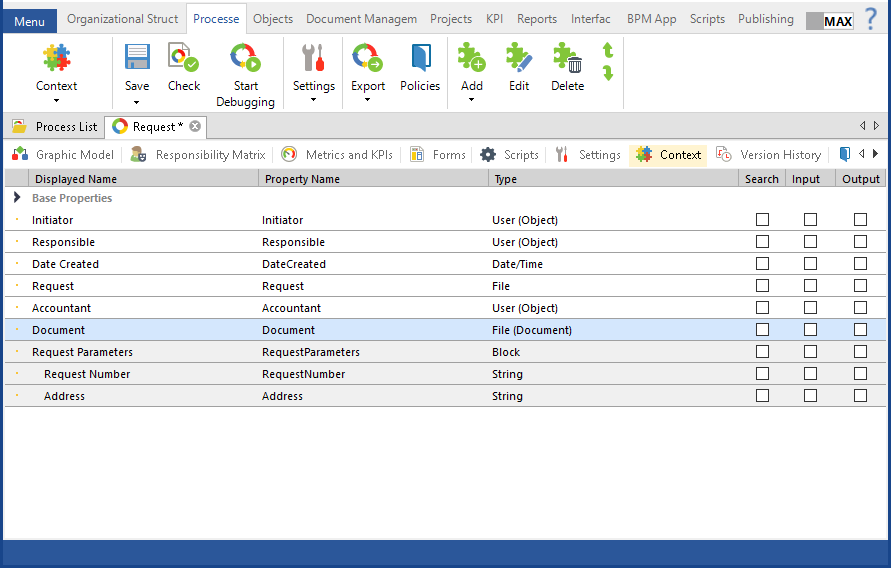
On the Context tab of the process page a block type variable is highlighted grey (Fig. 1). In Web Applications it is represented as a table.
|
|
|
Fig. 1. "Request Parameters" context variable of the Block type, containing the "Request Serial Number" and "Address" properties.
|
There are three ways to open a block type variable settings via the Context tab of the process page (Fig. 1):
-
click Edit in the toolbar,
-
click Edit in the context menu,
-
double-click on the variable name.
Page of a Block type variable
The page of a block type variable has four tabs:
Common tab
|
|
|
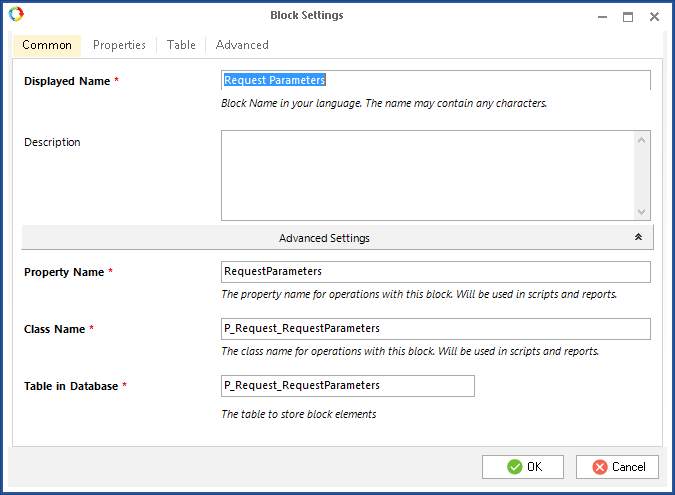
Fig. 2. Block Settings. Common tab.
|
Description - detailed information about the block and its use within the modeled process. The description is entered when the business process is being modeled.
Advanced Settings
In the Advanced Settings section you can see the Property Name, Class Name and Table in Database fields, and edit them if necessary. This data is then used in scripts, reports, templates for the Generate Document Version activity and Razor templates.
Property Name - property name for operations with this block, written in English characters. To make it easier, this name automatically copies the Displayed Name. For example, if you enter "Request Parameters" as Displayed Name, the Property Name will be "RequestParameters". You can change it, if you like, but you can only use English characters and numbers.
Class Name - unlike Property Name, which is only available within the current process, this name allows accessing the block in external scripts (not belonging to the current process). This name consists of the property name and the class name of the current process used as a name prefix.
Table in Database - name of the database table, which stores the variable values. By default, this name is the same as Class Name, but it is limited to 28 characters. Once created, you cannot change the name of the Table in Database.
Properties tab
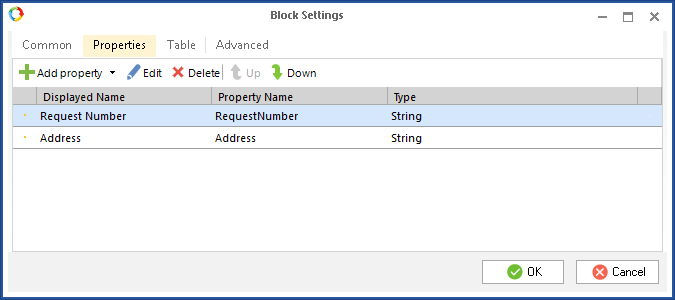
Here you can add properties to the block. Click Add Property (Fig. 3) to open the standard context variable page. Fill it in.
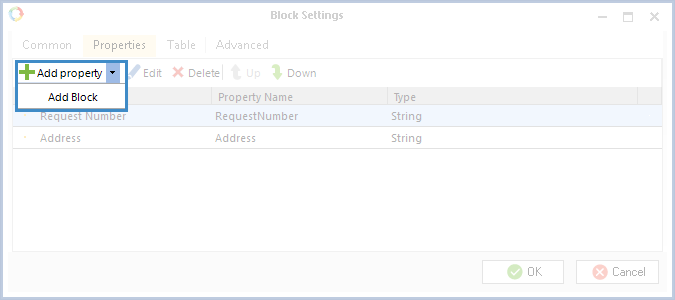
A Block type variable can contain other blocks as properties. Such blocks are called nested. To add a block property, click on the arrow to the right of Add Property and select Add Block (Fig. 4).
Use the Up, Down buttons to move the property in the list. The order of the properties in the list defines how they will be displayed in the table in Web Application.
|
|
|
Fig. 3. Block Settings. Properties tab.
|
|
|
|
Fig. 4. Block Settings. Properties tab. Adding a property of the block type.
|
Table tab
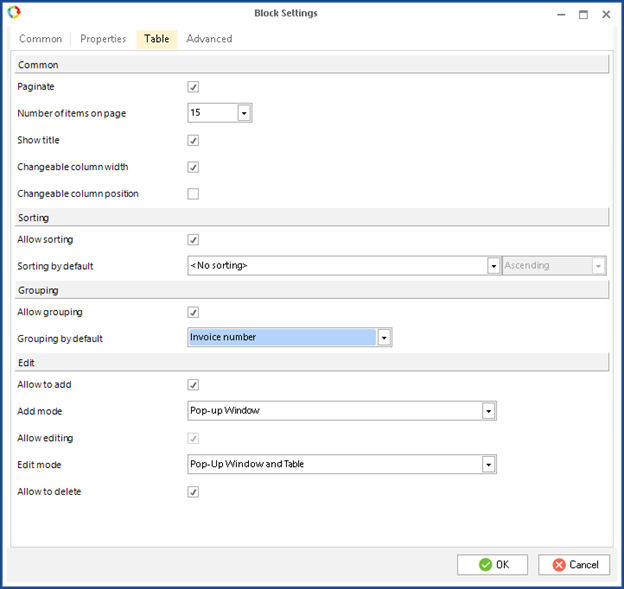
On this tab you can set up how the block is displayed in Web Application.
|
|
|
Fig. 5. Block Settings. Table tab.
|
The Paginate option divides the items of the block into pages. Each such page in Web Application will feature the number of items specified in the Number of items on page field. If there are more items in the block and they do not fit in the limits of the Number of items on page field, they will be moved to the next page. Above the block table you can select the page that you want to display.
In the Number of items on page field you can specify the number of items which will be displayed on each page in Web Application.
The Show title option makes the title of the block visible in Web Application. The block type variable Name is used as the title.
The Changeable column width option specifies the width of the columns in Web Application.
The Changeable column position option allows you to modify the layout of the table columns in Web Application.
The Allow sorting option enables sorting by columns.
In the Sorting by default field you can specify the column according to which all the items will be sorted in Web Application. After you choose an option form the drop-down list a new field becomes available where you can choose the sorting order: Ascending or Descending.
Grouping by default – you can specify a default grouping option, and all the entries of this block will be grouped accordingly in Web Application
In the Add mode field you can specify how items are added to the block:
The Allow editing option allows you to edit block items in Web Application. You cannot deselect this checkbox, if the current user has privileges to add items to the block.
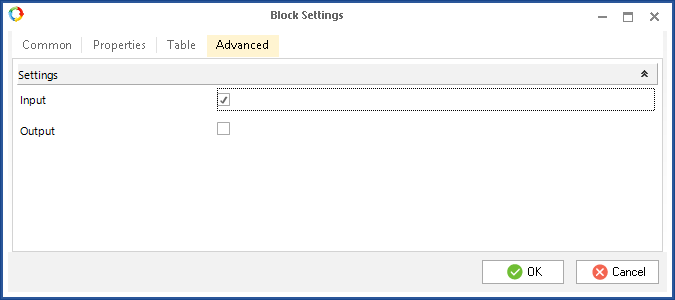
Advanced tab
On the Advanced tab you can specify if the variable is of the input or the output type (Fig. 6).
|
|
|
Fig. 6. Block Settings. Advanced tab.
|
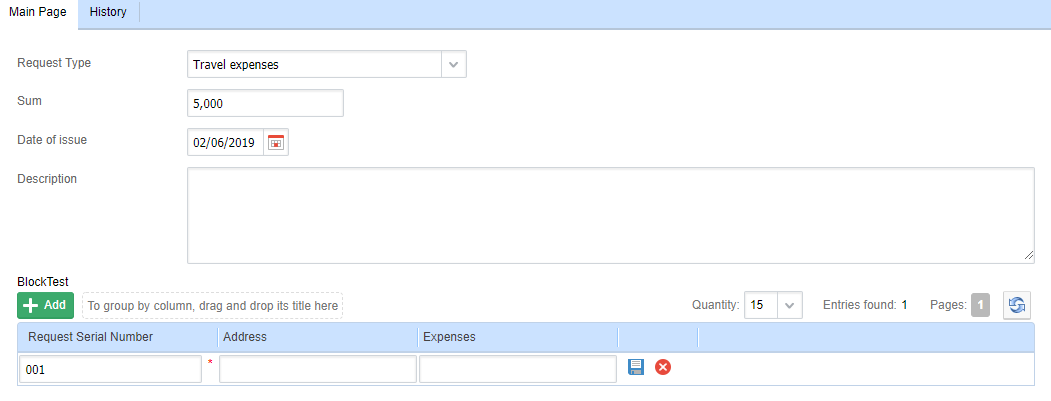
Property of the block type in Web Application
In Web Application, a property of the block type is displayed as a table (Fig. 7).
|
|
|
Fig. 7. Property of the bock type in Web Application.
|
Block items are added and edited in Web Application (Fig. 8).
|
|
|
Fig. 8. Creating and editing object instances.
|
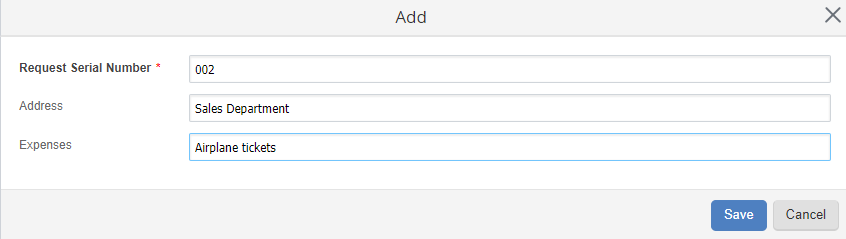
 - add an item. Depending on the block settings, you can add an item in a pop-up window (Fig. 9) or directly in the table (Fig. 10).
 - edit item. Depending on the block settings you can edit an item in a pop-up window (Fig. 9) or directly in the table (Fig. 8). To edit an item in the table, double-click on the item row in the table.
If one of the fields in a block is required, the symbol * will be displayed to the right of the field when adding and/or editing block properties.
 - save changes and finish editing.
 - cancel changes and finish editing.
 - delete item.
Adding an item in a pop-up window
|
|
|
Fig. 9. Pop-up window to create and edit a block item.
|
Adding an item in the table
|
|
|
Fig. 10. Adding an item in the table.
|
Grouping items
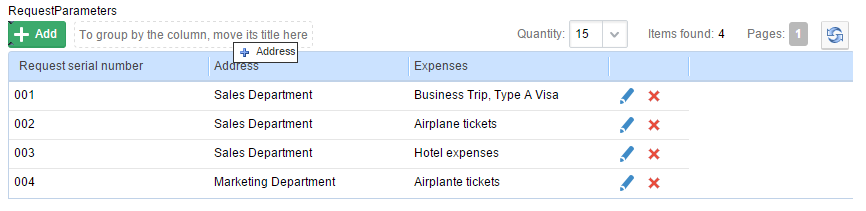
You can group the items that belong to a block. For that, chose a column by which you want to group the items. Then drag the title of this column to the field that says "To group by the column, drag its title here" (Fig. 11).
|
|
|
Fig. 11. Dragging a column's title in order to group items by the column.
|
|
|
|
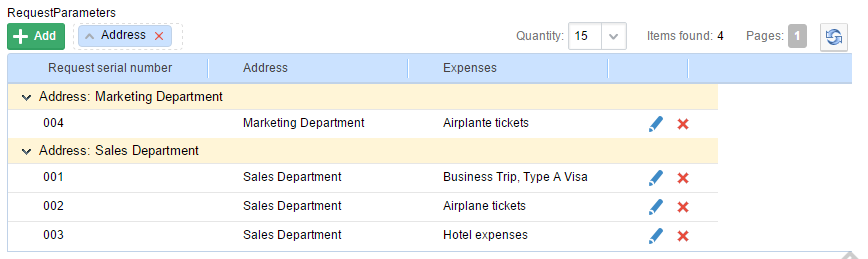
Fig. 12. "Request Parameters" block grouped by the Address property.
|
To cancel grouping, click  next to the title of the column, by which the items are grouped.
Copyright © 2006–2019 ELMA