ELMA Agent allows importing documents and/or folders from the user's PC to ELMA.
There are two ways to import a document and/or a folder:
-
-
in the Windows file explorer, open the context menu of the required file. Select
Send – ELMA.
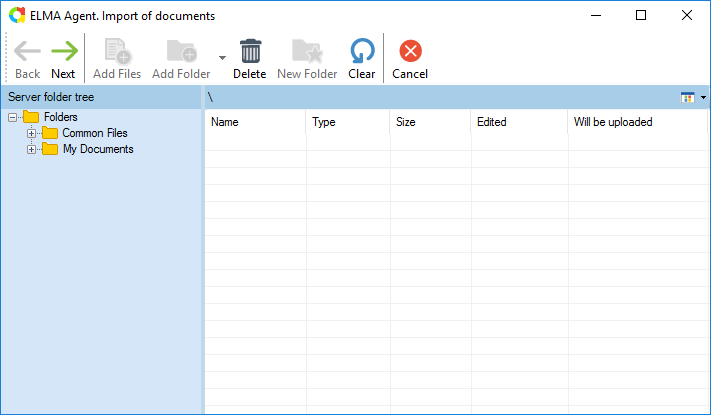
A window for importing documents will open (fig. 1).
Fig. 1. ELMA Agent. Document import window
The opened window consists of three areas: toolbar, server folders tree, table, with the list of elements to import.
Toolbar buttons:
|
|
Return to the previous step of document import.
|
|
|
Go to the next step of document import.
|
|
|
Add a file to import.
|
|
|
Add a folder to import.
-
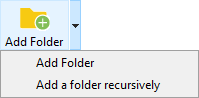
Add Folder – click this button to import a folder with all the files in it, but the nested folders will not be imported.
-
Add a folder recursively – click this button to import a folder with all the nested files and folders.
|
|
|
Delete the selected document/folder from the table of objects to import.
|
|
|
Create a new folder to import. When you click on this button, a new folder will be created in the table of objects to import. This folder will be uploaded to ELMA. |
|
|
Delete all the objects from the table.
|
|
|
Cancel import. When you click on this button, the document import window will be closed.
|
Server folder tree:
This area displays all the folders of the
Documents section according to the user's access. Filter-folders and Action-folders are not displayed. To start importing documents/folders select the folder to import to in this area.
Table of objects to import:
This area displays all the objects (files and/or folders), which will be imported to ELMA.
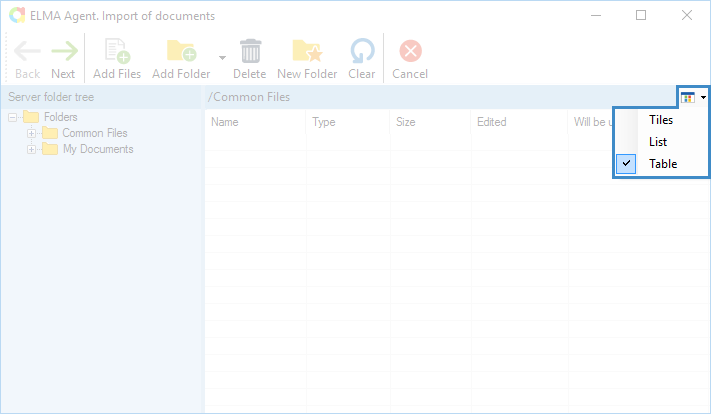
The top right corner of the table contains the View button, which allows changing how objects are displayed in this area (fig. 2).
Fig. 2. Document import window. View button
Importing documents
Document import includes several steps.
Step 1
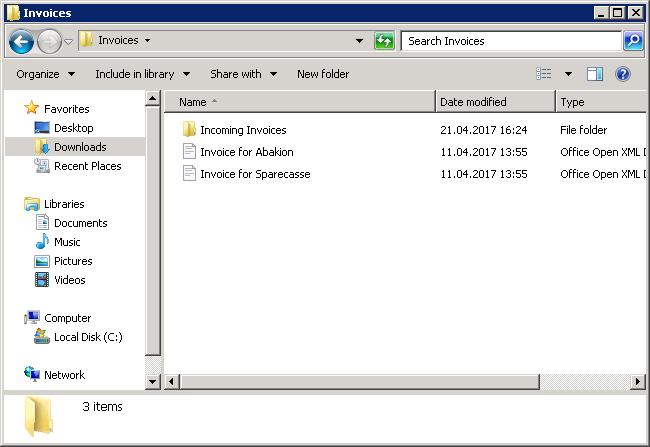
Open the document import window. In the Server folder tree area select a folder to import a file and/or folder to. Using the toolbar buttons Add Files and/or Add Folder select the required files and/or folders. A window for selecting files on the user PC will open (fig. 3). Select the required object and click Open. The selected files/folders must not be empty.
Fig. 3. Selecting files to import
The selected files and/or folders will be displayed in the table of objects to import. To go to the next step of the import, click Next in the toolbar.
Step 2
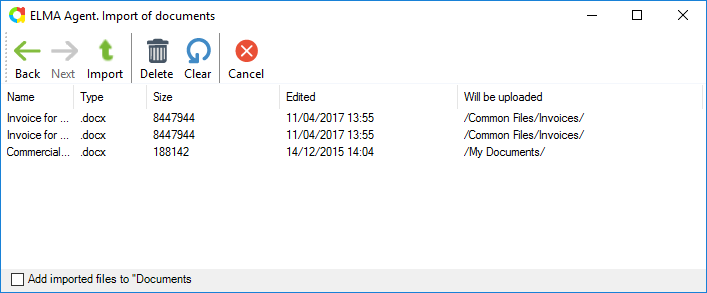
The opened window displays a table with information about the imported files and the folder in ELMA they will be saved to (fig. 4).
Fig. 4. ELMA Agent. Document import window. Step 2
At this step, you can delete a selected file, clear the list of objects to import and/or cancel the document import by using the toolbar buttons.
If you need to add imported files to the
Documents section of ELMA Agent, check the
Add imported files to "Documents" box.
To complete importing the objects, click Import. Files and folders will be uploaded to ELMA. The document import window will be closed.
Copyright © 2006–2019 ELMA