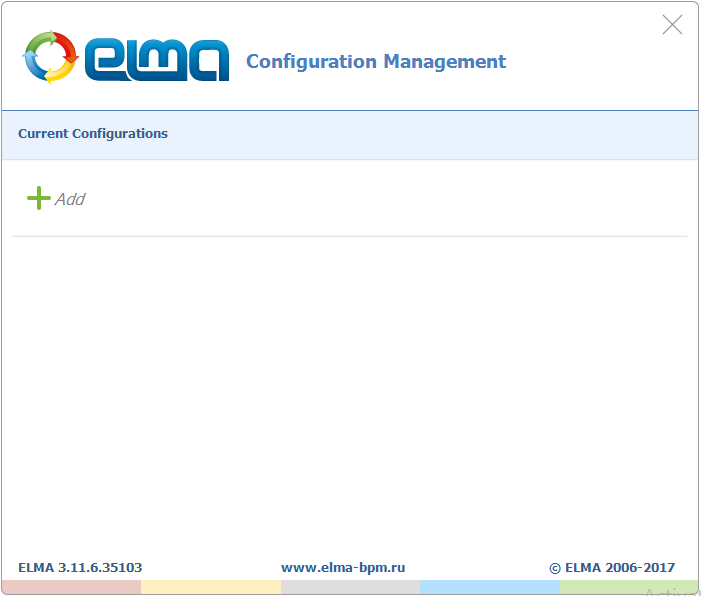
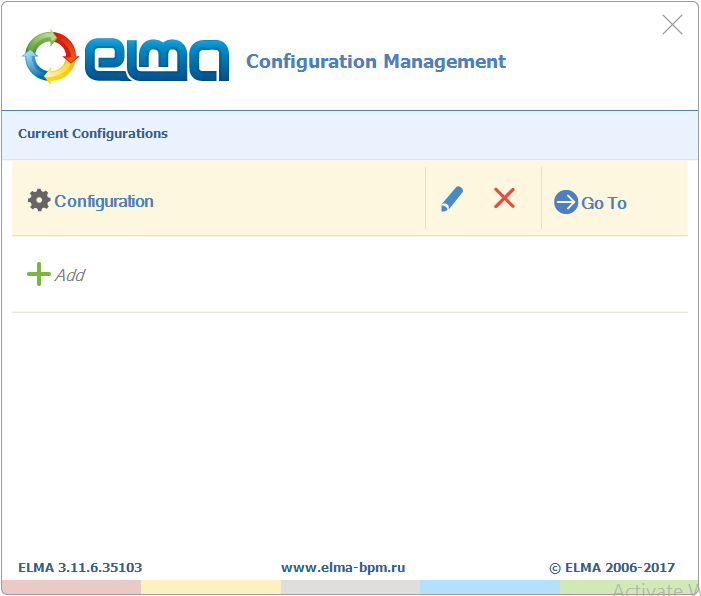
The start screen of the app when starting it for the first time is shown in fig. 1.
Fig. 1. Configuration Management start screen
In this window you can add new configurations and manage the existing ones.
Adding a configuration
There are two ways to connect the Configuration Management app to a configuration:
-
click
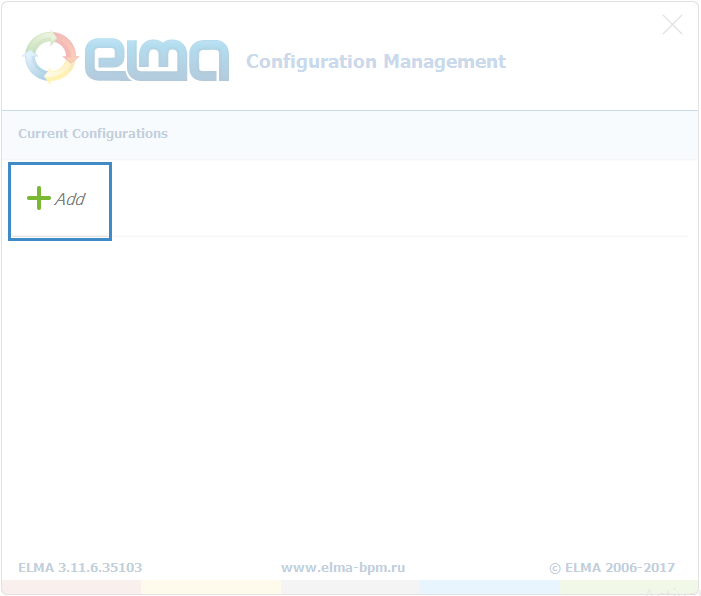
Add in the start screen (fig. 2);
Fig. 2. Configuration Management start screen. Add button
-
open the
Configurations section in the
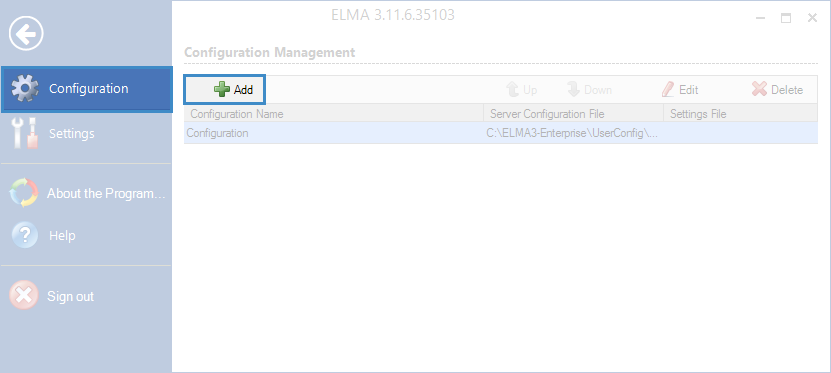
main menu and click
Add (fig. 3).
Fig. 3. Application main menu. Configurations section. Add button
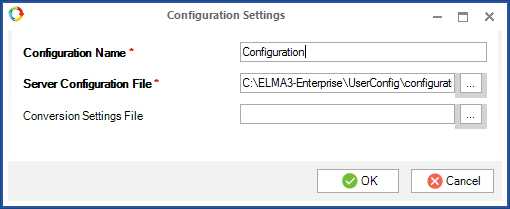
In the opened dialog box (fig. 4), fill in the required fields and click OK.
Fig. 4. Adding a configuration
Configuration Name * – name of the added configuration. This name will be displayed on the start screen and in the list of configurations in the
main menu. This field is required.
Server Configuration File * – full path to the configuration.config file of this configuration. The path is specified as: <local disk:>\<ELMA folder>\<UserConfig>\configuration.config. This field is required.
Conversion Settings File – .xml file, which is loaded when starting the application and used when working in the application.
Managing configurations
When you mouse over a configuration in the start screen, it becomes highlighted and buttons for managing this configuration appear to the right (fig. 5).
Fig. 5. Configuration Management start screen
Click

to open the dialog box (fig. 4) for editing the configuration parameters. This dialog box is similar to the one for adding a new configuration.
Click

to delete the configuration. In the opened dialog box, confirm deleting the configuration. In this case, the configuration will be deleted from the list, but the configuration folder remains on your hard drive, i.e. you can reconnect this configuration.
When you click Go To the application connects to the selected configuration. Then you need to sign in to
start the application. It may take several minutes to start, wait until it is done. To learn more about starting the application, see the
respective Help section.
Copyright © 2006–2019 ELMA
