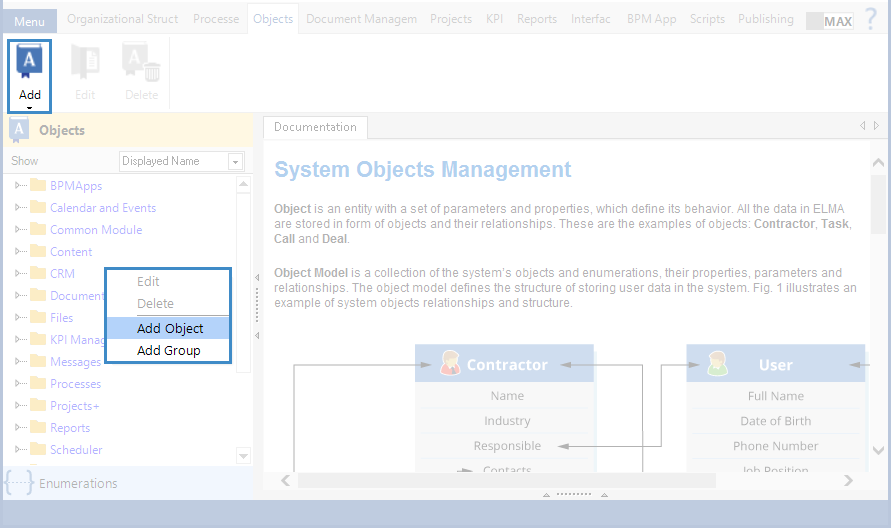
To create an object, open the Objects tab in ELMA Designer and click Add in the toolbar or Add Object in the context menu (fig. 1).
Fig. 1. Create object buttons
Fill in the required fields in the opened dialog box and go to the next step.
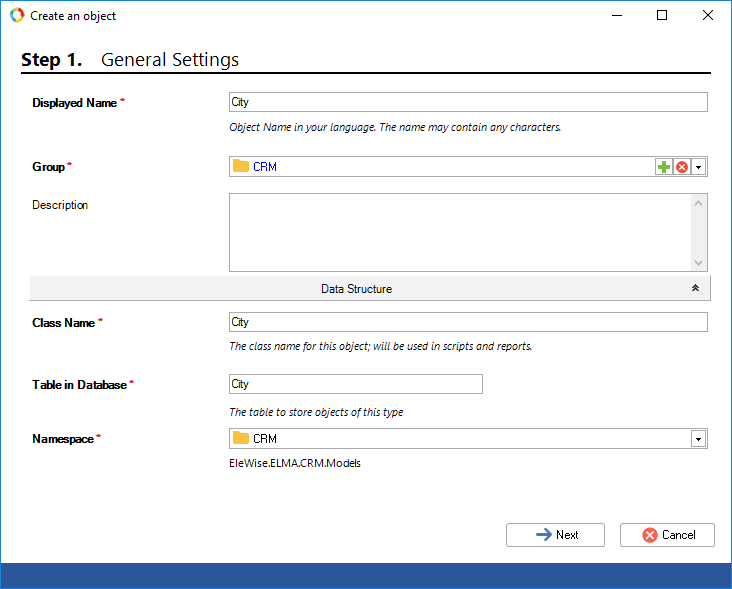
Step 1. At this step (fig. 2), you have to configure the object general parameters.
Fig. 2. Step 1. General Settings
Displayed Name *– object name, displayed in the objects list in ELMA Designer and in Web Application. This field is required.
Group *– group, the object is in. Click to open the dialog box for creating a new object group. Click to clear the Parent Group *field. Click to open the drop down list, which contains all the object groups. This field is required.
Description – object description.
"Data Structure" unit
Class Name *– unique name of the class, displayed in the objects list in ELMA Designer. This field is filled in automatically when you enter the Displayed Name *. You can fill this field in manually, if necessary. This field is required.
Table in Database *– name of the table in the database, which will store instances of the object. By default, the table name is generated automatically when you fill in the Displayed Name *field. You can fill in this field manually, if necessary. This field is required.