Creating a layout on a Form (.NET Razor)
There are two ways to create a report layout on the Razor form:
Use the first way to create a report layout with a tabular display mode, and the second way - a layout with the standard display mode. The tabular report display mode allows you to flexibly configure the display of a report table in Web Application (using the table settings panel).
Toolbar buttons
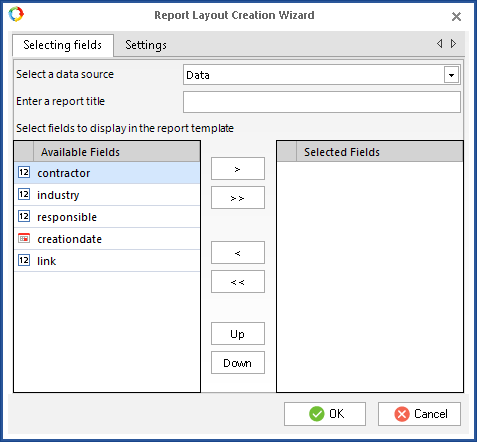
To create a report layout without displaying the table settings panel, click Template in the toolbar. The dialog box opens, where you need to fill in the required fields (fig. 1). Report Layout Creation Wizard dialog box includes two tabs: Selecting fields and Settings.
|
|
|
Fig. 1. "Report Layout Creation Wizard" dialog box. "Selecting fields" tab
|
An example of this tab is in fig. 1.
Select a data source – select the available data source from the drop down list.
Enter a report title – enter the title of the report. This title will be used when generating the report in Web Application.
The Available Fields unit displays the fields, available in the selected data source.
The Selected Fields unit displays the fields, you selected for display on the layout.
Fields management buttons:
|
|
Move the selected field from one unit to the other. You can also move the fields by double clicking on them.
|
|
|
Move all the fields from one unit to the other.
|
|
|
Change the order of the fields in the Selected Fields unit.
|
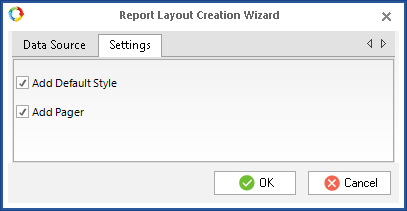
On this tab (fig. 2), you can configure additional layout settings.
|
|
|
Fig. 2. "Report Layout Creation Wizard" dialog box. "Settings" tab
|
Add Default Style – apply the default style to the layout.
Add Pager – add a feature, which allows paginating the report data and switching between pages.
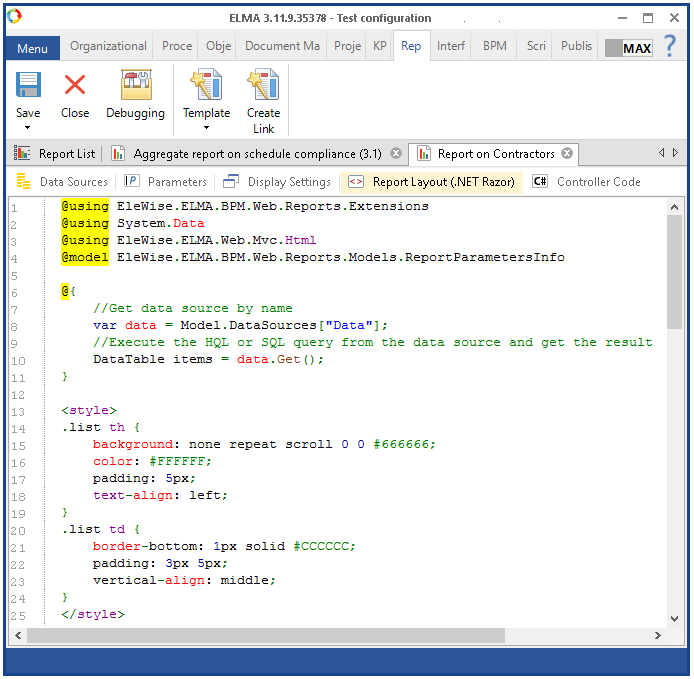
To save the changes, click OK. The Report Layout .NET Razor (fig. 3) tab will display the generated template of the layout code. For your convenience, the syntax highlight is used.
|
|
|
Fig. 3. "Report Layout (.NET Razor)" tab. Report code, created by the template wizard
|
In Web Application, this report will look like this (fig. 4):
|
|
|
Fig. 4. Report in the web application
|
You can change the code of this report. For example, you need to change the column names. In the code, the names look like this:
In this case, you need to change the code. It will look like this:
In Web Application, the report table will look like this (fig. 5):
|
|
|
Fig. 5. Changed report in the web application
|
To display the changes, you have to save and publish the report.
Creating a report layout with the possibility to set up the table
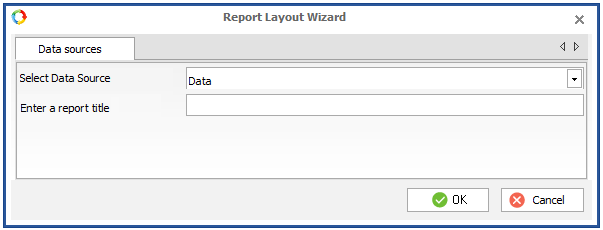
To create a report layout with the table settings panel displayed, click Template - Table Template in the toolbar After that, a dialog box will open (Figure 6), in which you must fill in the required fields.
|
|
|
Fig. 6. Report Layout Wizard. Data sources Tab
|
Data Sources Tab
Fill in the fields Select data source and Enter a report title in the same way as the fields on the Selecting Fields tab.
To save the changes, click OK. On the Report Layout (.NET Razor) tab the generated template code for the table will be displayed (Figure 7). For your convenience, the syntax is highlighted.
|
|
|
Fig. 7. Report Layout (.NET Razor) tab. Report code created with the table template
|
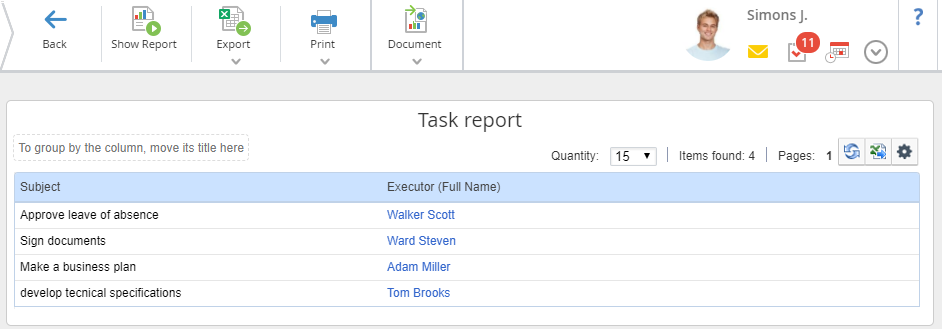
In Web Application, the report table will look like this (Figure 8):
|
|
|
Fig. 8. Report in the web application with the configurable table
|
Copyright © 2006–2019 ELMA

