This portlet displays the result of
ASP.NET MVC 3 Razor code execution. The program code is added to the portlet settings.
To work with the "Code" portlet, you must have the respective access permissions, assigned by the system administrator in Administration – Users – Access Settings – Global Access Settings – Portal – Allow to use the "Code" portlet. Users, who have the permissions, will be able to add this portlet and work with it.
For example, add the list of document approval tasks, the user has to complete.
To do so, write the program code (fig. 3) in the portlet settings. The portlet will display the results of the code execution (fig. 1).
Each line contains information on one approval. The first part of the line («Approve Document») is the task name, the second part is the document name. The line itself is a link to the approval task page.
Fig. 1. "Code" portlet with the code execution results
 – the portlet is expanded. Click this button to collapse it.
 – the portlet is collapsed. Click this button to expand it.
Custom Portlet Settings
|
|
|
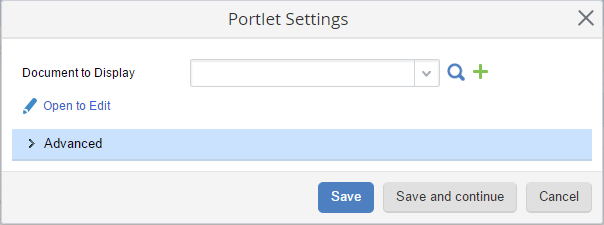
Fig. 2. Custom setting of the "Web Document" portlet
|
Custom settings of this portlet include the link to the code editor - Open Markup Editor. Click this link to open the editor (fig. 3).
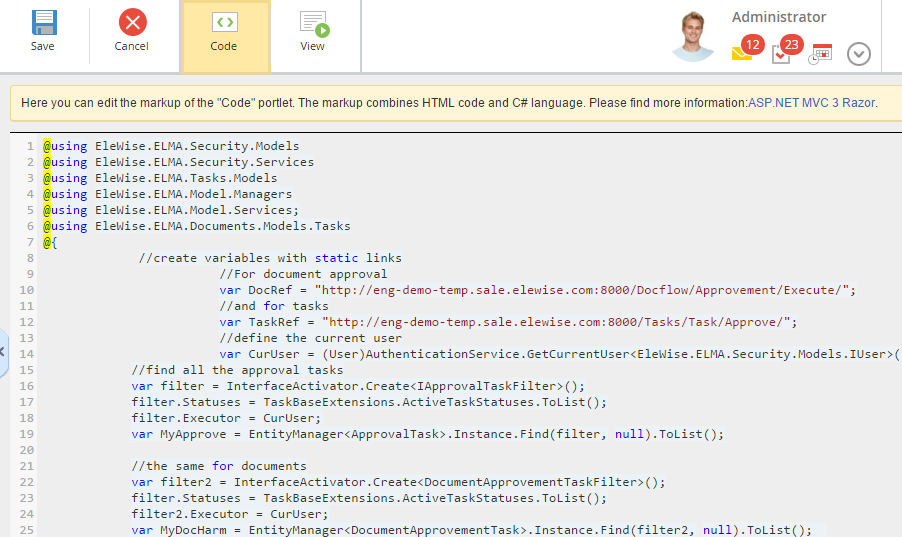
Fig. 3. "Code" portlet markup editor
Add the code.
Note, that the Razor language combines C# and HTML, and allows working with the system objects and shape the data with HTML. To learn about the language, see
ASP.NET MVC 3 Razor.
The full code of the example above (fig. 3):
@using EleWise.ELMA.Security.Models
@using EleWise.ELMA.Security.Services
@using EleWise.ELMA.Tasks.Models
@using EleWise.ELMA.Model.Managers
@using EleWise.ELMA.Model.Services;
@using EleWise.ELMA.Documents.Models.Tasks
@{
//create variables with static links
//For document approval
var DocRef = "http://eng-demo-temp.sale.elewise.com:8000/Docflow/Approvement/Execute/";
//and for tasks
var TaskRef = "http://eng-demo-temp.sale.elewise.com:8000/Tasks/Task/Approve/";
//define the current user
var CurUser = (User)AuthenticationService.GetCurrentUser();
//find all the approval tasks
var filter = InterfaceActivator.Create();
filter.Statuses = TaskBaseExtensions.ActiveTaskStatuses.ToList();
filter.Executor = CurUser;
var MyApprove = EntityManager.Instance.Find(filter, null).ToList();
//the same for documents
var filter2 = InterfaceActivator.Create();
filter.Statuses = TaskBaseExtensions.ActiveTaskStatuses.ToList();
filter2.Executor = CurUser;
var MyDocHarm = EntityManager.Instance.Find(filter2, null).ToList();
}
@{
foreach(var item in MyDocHarm)
{
//generate a link from the created variables and IDs of the found tasks
<a href=@DocRef@item.Id>Approve Document - @item.Subject</a>
}
}
@{
foreach(var item in MyApprove)
{
<a href=@TaskRef@item.Id>@item.Subject</a>
}
}
To preview the result of the code, click View. To go back to editing, click Code. To save the code, click Save. To cancel saving the entered code, click Cancel.
Go back to the portlet custom settings.
If you need to configure additional settings, click Advanced and fill in the required fields. To learn more, see
Portlet Settings.
After you have completed configuration, click:
Save - settings will be saved and the window will be closed.
Save and continue - settings will be saved, but the window will not be closed and you will be able to continue configuring.
See also:
Copyright © 2006–2019 ELMA