In ELMA, you can:
-
-
edit existing document types;
-
delete document types (except for the system types);
-
-
Creating a document type
You can create a document type on the Document Management tab of ELMA Designer.
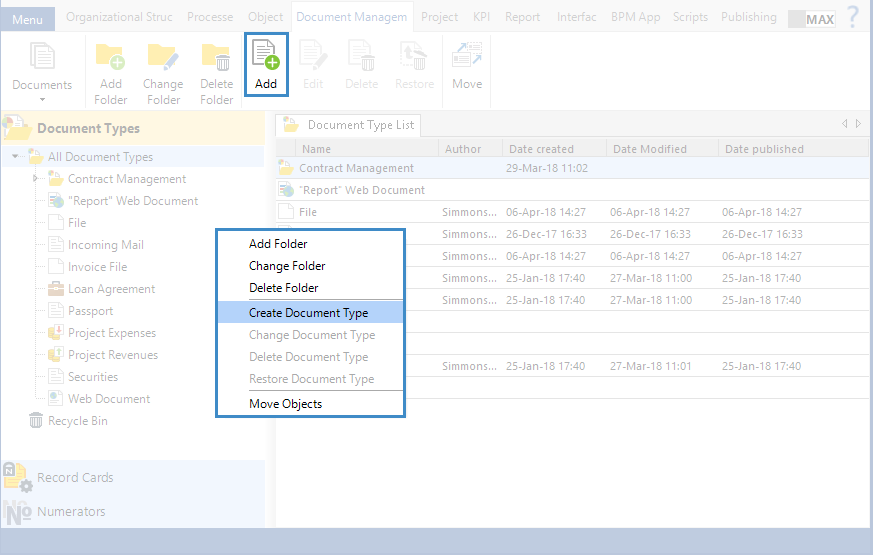
To create a document type, click Add in the top panel, or select Create Document Type in the context menu (fig. 1).
|
|
|
Fig. 1. Buttons for creating a document type
|
When you create a document type, you have to follow through four steps of the creation wizard.
Step 1. General Settings
Step 2. Select Base Type
At this step, you have to configure base settings of the created document type (fig. 2).
|
|
|
Fig. 2. Step 2. Select Base Type
|
Inheritance and Hierarchy unit
Base class – select the base class for the created document type, i.e. an existing document type, from which the document will inherit its base attributes.
Allow to create heirs – this parameter defines whether the created document type can be used as the base class for other document types.
|
Note
In this way you can create a base type of a document with particular attributes. When you create a child document type, all the attributes of the parent (base) document type are copied to it, and you can add new attributes. It optimizes the process of creating and configuring document management system, since it saves time on designing child document types. For example, you can model one document routing process for several document types (inherited), by selecting the parent (base) document type as an input variable.
|
Show unit
Icons – you can select an icon, which will be displayed next to the document type name in ELMA Designer. You can select any .png or .jpg image, not larger then 16*16 pixels. If no icon is selected, the default image will be displayed.
Display in the tree of types – this parameter defines, whether the created document type will be displayed in the types tree in ELMA Designer.
Program Settings unit
Action when copying - select an action, which will be applied to the document, when copying it. Note, that in ELMA documents can be copied only via scripts.
Filter Settings unit
Implemented filter interfaces - add an implemented interface. In the opened dialog box, enter the name of the interface type and click OK.
Step 3. Document Type Attributes
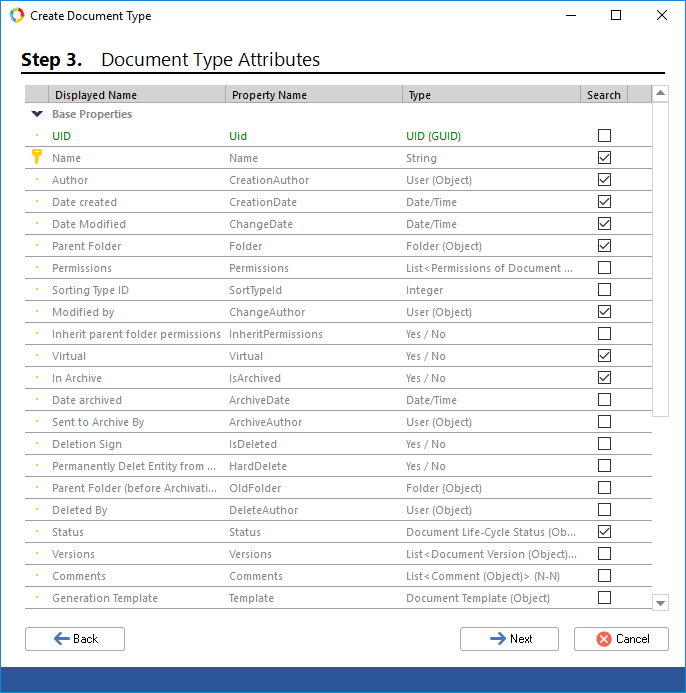
At this step, you can view the document type attributes, inherited from the base class, and add new ones. The attributes will be available as fields when working with documents in ELMA Web Application (fig. 3).
|
|
|
Fig. 3. Step 3. Document type attributes
|
Green are default attributes - UIDs, which define the document type in the system. These attributes cannot be deleted or edited.
Blue are the attributes, inherited from the base document type. These attributes cannot be deleted or edited.
Black are the new attributes. You can delete or edit them.
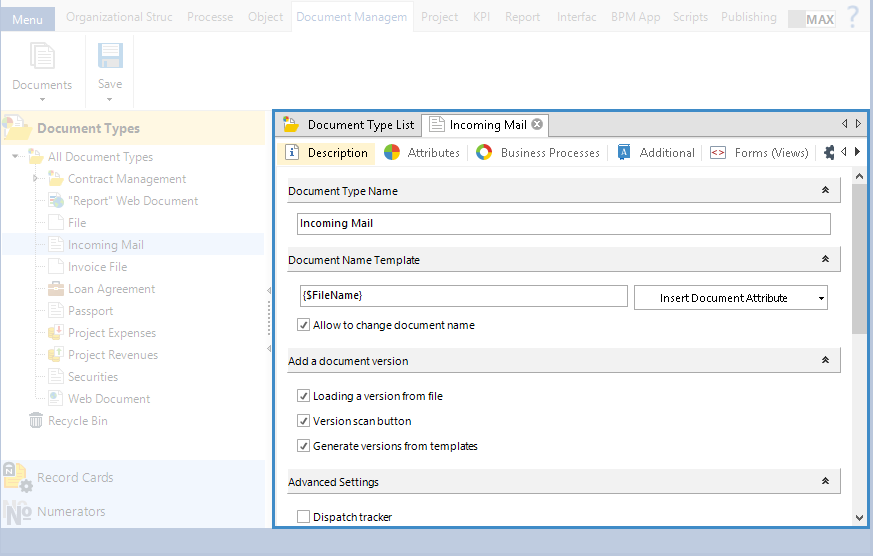
Step 4. Document type templates
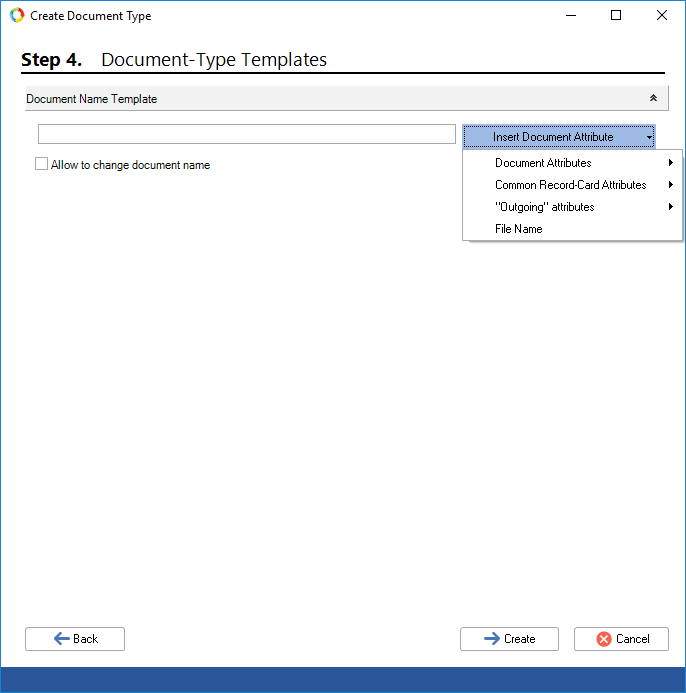
At this step, you can define the template for generating the document name. To do so, you can use the document type attributes (fig. 4).
To use a document type attribute in the document name template, click Insert Document Attribute and select the required attribute (fig. 4).
|
|
|
Fig. 4. Step 4. Document type templates
|
If document type attributes are used in the document name template and the Allow to change document name box is unchecked, you will be able to generate the name again. If the box is checked, the changed attributes will not be updated in the document name.
To complete creating a new document type, click Next.
To start working with the created document type in Web Application, you have to publish it.
There are several ways to open a document for editing (fig. 5):
-
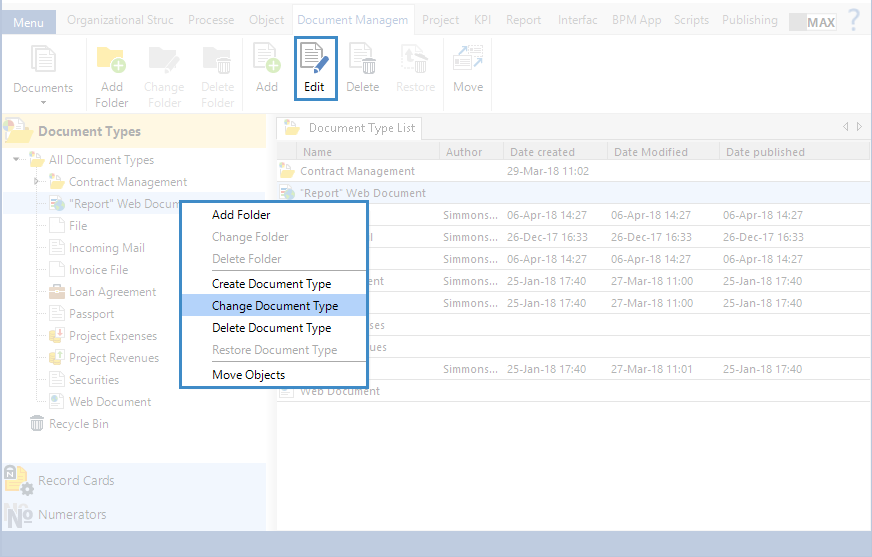
select a document type in the tree of types and click Edit in the top menu;
-
select Change Document Type in the context menu of the document type;
-
double click on the document type name in the tree of types.
|
|
|
Fig. 5. Buttons for editing a document type
|
|
|
|
Fig. 6. Document type page
|
Deleting a document type
You can delete user document types.
When you delete a document type:
-
all the documents of this type, created earlier, remain in the system, but new documents cannot be created;
-
-
this document type is deleted from all the categories of the records classification scheme;
-
attributes of other system objects with this document type as their data type, but new ones cannot be created.
-
the document type is moved to the Recycle Bin. If necessary, it can be restored.
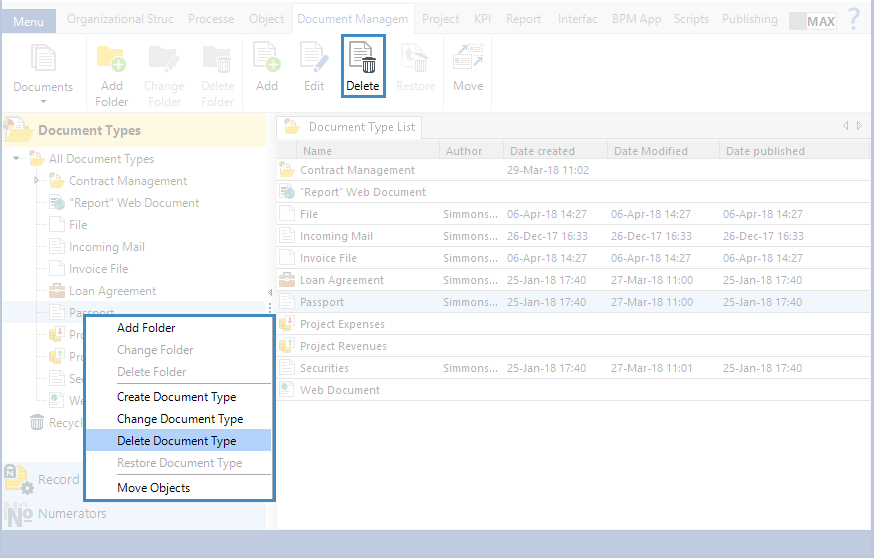
There are two ways to delete a document type (fig. 7):
-
select the document type in the tree of types and click Delete in the top menu;
-
select Delete Document Type in the context menu of the document type;
|
|
|
Fig. 7. Buttons for deleting a document type
|
Confirm deleting by clicking Yes or cancel, by clicking No (fig. 8).
|
|
|
Fig. 8. Confirm deleting window
|
Restoring a document type
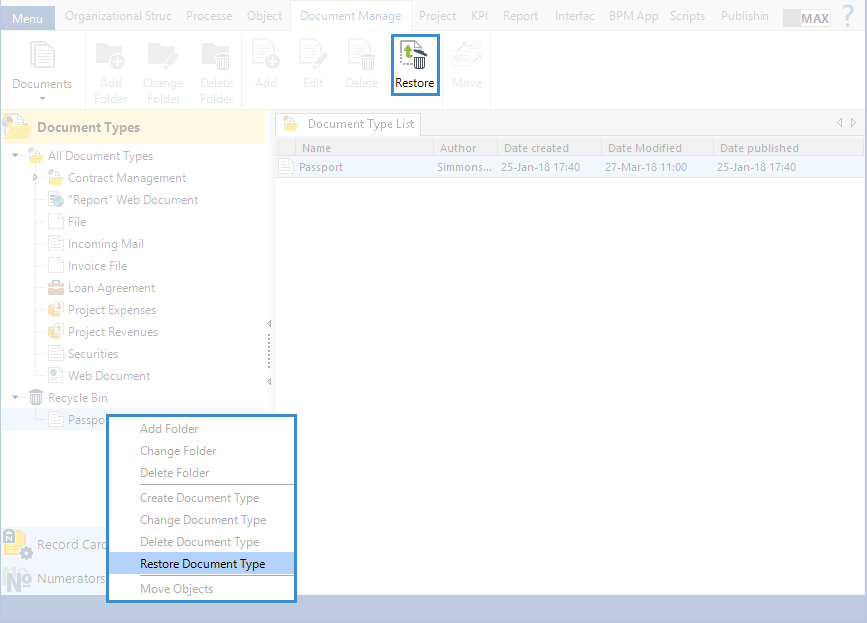
There are two ways to restore a document type from the recycle bin (fig. 9):
-
select the document type in the recycle bin and click Restore in the top menu;
-
select Restore Document Type in the context menu of the document type;
|
|
|
Fig. 9. Buttons for restoring a document type
|
The selected document type will be restored, but its links will not be restored. You have to create them (e.g. registration variants) again. The full list of possible links is described in the Deleting a document section. Publishing and restarting the server to apply the changes are not required.
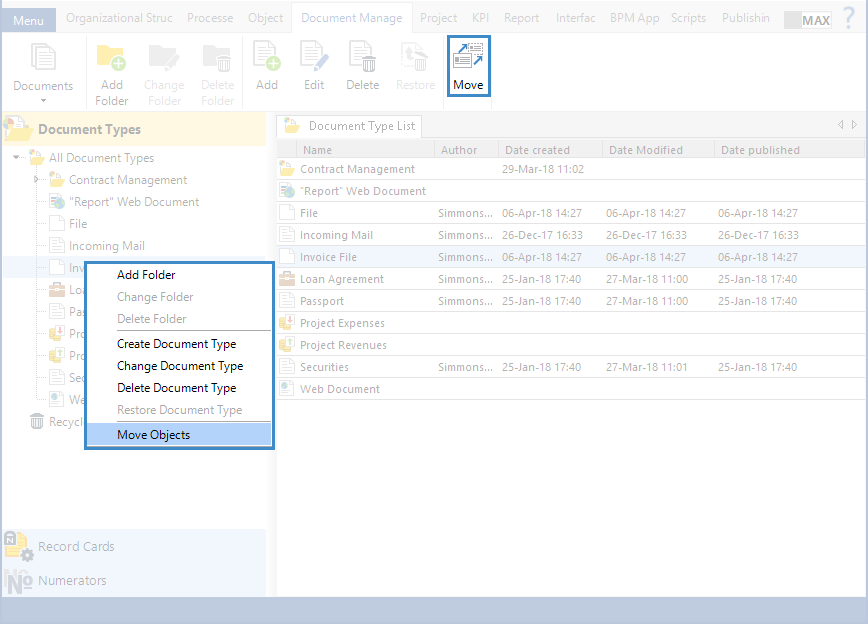
Moving a document type
In ELMA, you can mode document types in different folders in the types tree.
There are two ways to do so (fig. 10):
-
select a document type in the tree and click Move in the top menu;
-
select Move Objects in the context menu of the document type;
|
|
|
Fig. 10. Buttons for moving a document type
|
In the opened dialog box, select the folder to move the document type to and click OK (fig. 11).
|
|
|
Fig. 11. Dialog box for moving a document type
|
Copyright © 2006–2019 ELMA