The goal map diagram is meant to visualize the information about all the goals and groups of goals as graphic elements of a diagram.
There are several ways to add the elements to the diagram:
from the goal tree;
from the context menu.
From the goal tree, you can drag and drop the following elements:
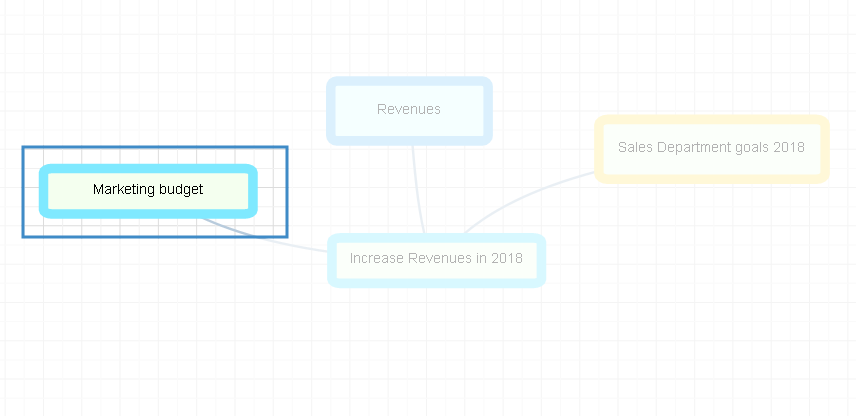
goals – they are outlined light blue (fig. 1);
Fig. 1. Goal page. Diagram tab. Goal element
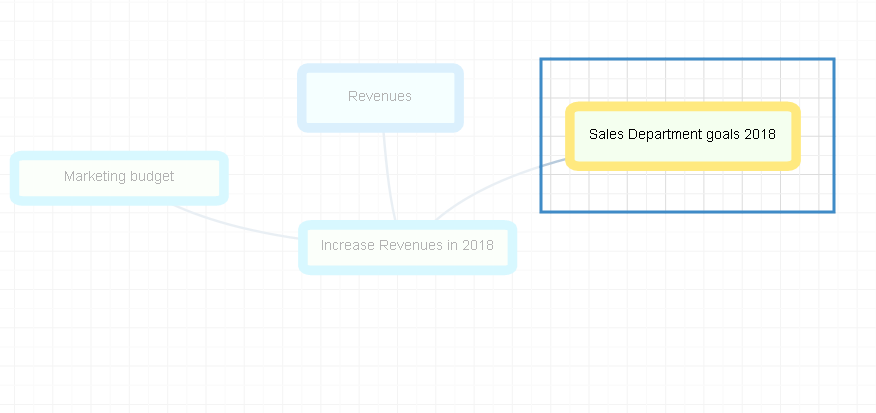
groups of goals – they are outlined yellow (fig. 2);
Fig. 2. Goal map. Diagram tab. Group of goals
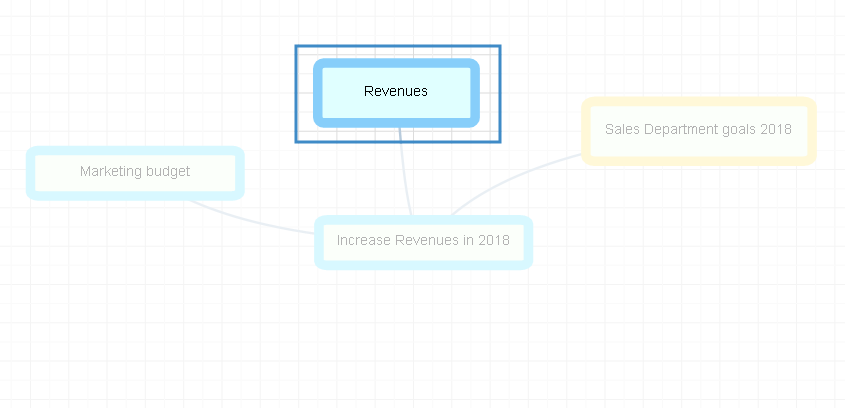
goal maps – they are outlined blue (fig. 3).
Fig. 3. Goal page. Diagram tab. Goal map
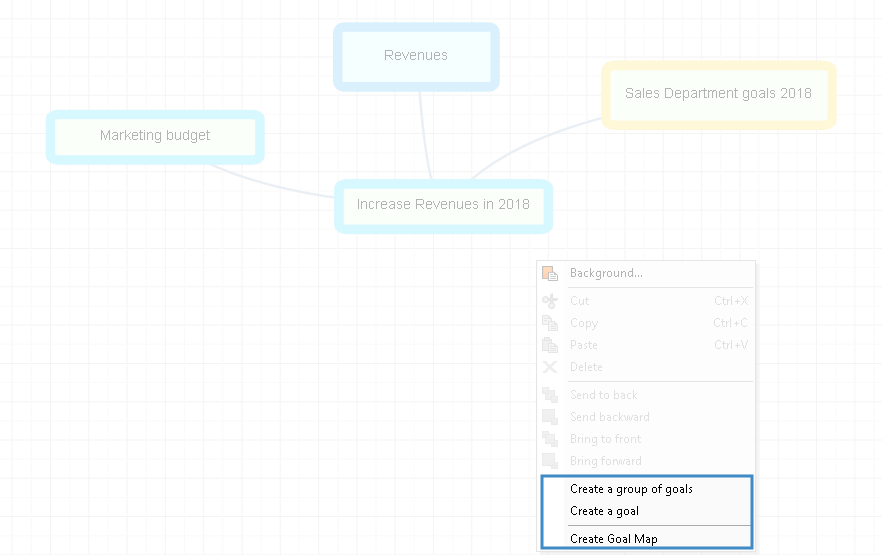
Right-click on the free area in the work space to open the context menu (fig. 4) that contains the main controls (Create a group of goals, Create a goal and Create Goal Map).
Fig. 4. Context menu in the work area
When adding the elements from the context menu, they automatically appear in the element tree and in the map.
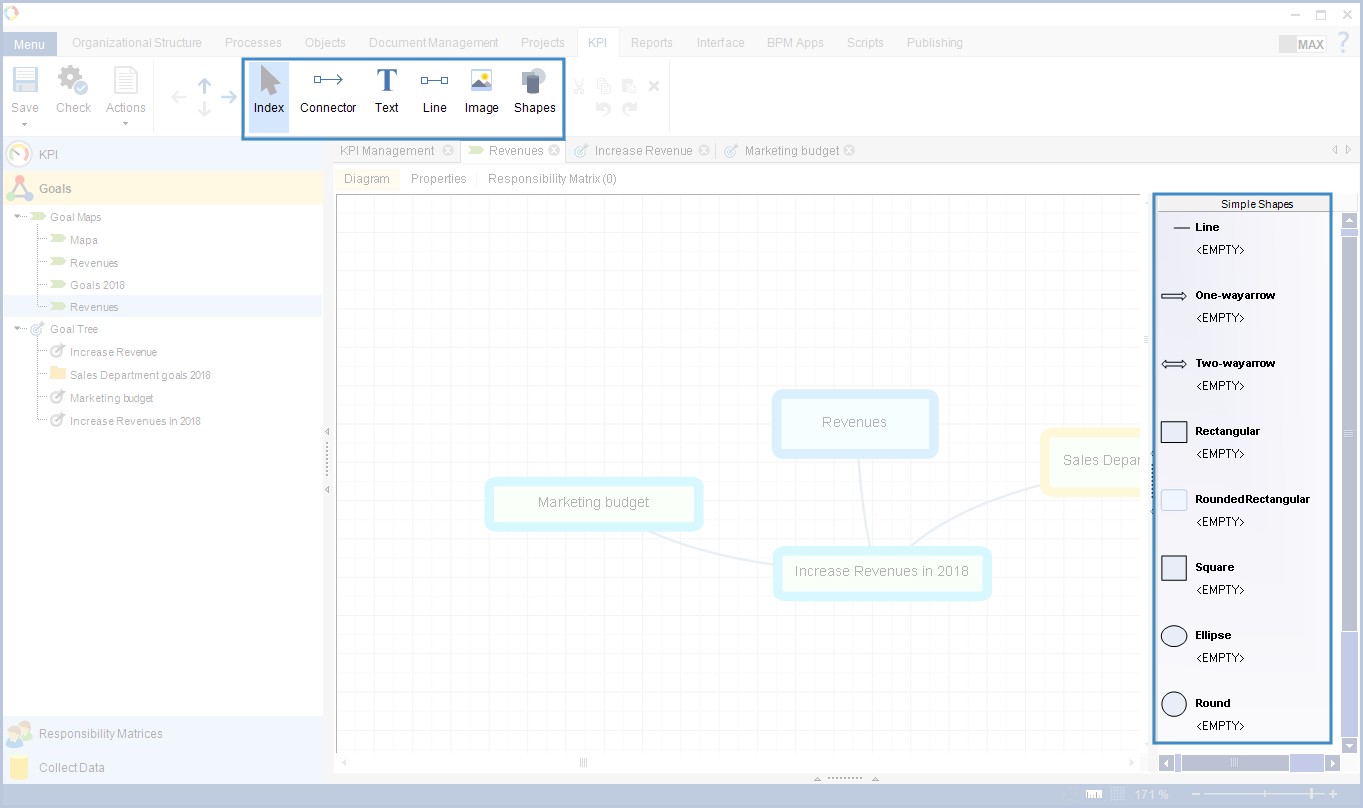
You can also use the side and top toolbar (fig. 5) to add:
lines (including connectors);
text;
images (for example, as background);
geometric shapes.
Fig. 5. Side and top toolbar
To enable the right toolbar, click Shapes in the top toolbar.
You can change the scale of the map:
hold down the Ctrl key, left-click on the map and turn the mouse wheel to zoom in and zoom out;
move the scale slider in the bottom right corner.
Toolbar
Select this button to drag elements from the tree, shapes from the shapes panel, resize them and move them on the pane.
Select this button to create a connector between two elements of the map. Mouse ever an element and connect elements using the appeared red squares (fig. 6).
Fig. 6. Connecting block
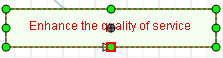
Select this button to add a text to the map.
Click this button and select a rectangular space where you will type your text in. Then choose Index, double-click inside the rectangular area and key in the text.
Select this button to add simple lines to the map. When you select the Index button, you can change the angle, length and position of the lines.
Select this button to add an image.
You can use images as the background of a map and/or add them as separate elements.
Select this button to show or hide the shapes panel.
Editing panel:
- cut the object,
- copy the object,
- paste the object,
- delete the object,
- undo,
- redo.
Moving the elements
To move an element:
click the Index button in the top toolbar;
left-click on an element on the map;
press the left mouse button and move the element.
To move several elements at a time, select the required section of the map and drag it to a new place keeping the left mouse button pressed.
Changing element names
To change the name of an element (goal, group of goals, goal map), open its page and make the changes in the Common tab. When the changes are saved, the name on the map will also change.
Deleting elements
Attention!
When you delete an element from the goal map, it will be deleted both from the map and the KPI model, and vice versa.
Choose Index in the top toolbar and select the required element to delete it from the map. Then do one of these actions:
press Delete on the keyboard;
click in the top toolbar;
select Delete in the element’s context menu.
Please note that there is no confirmation dialog box when you delete elements from a goal map.
Attention!
For any changes to take effect, publish the KPI model.