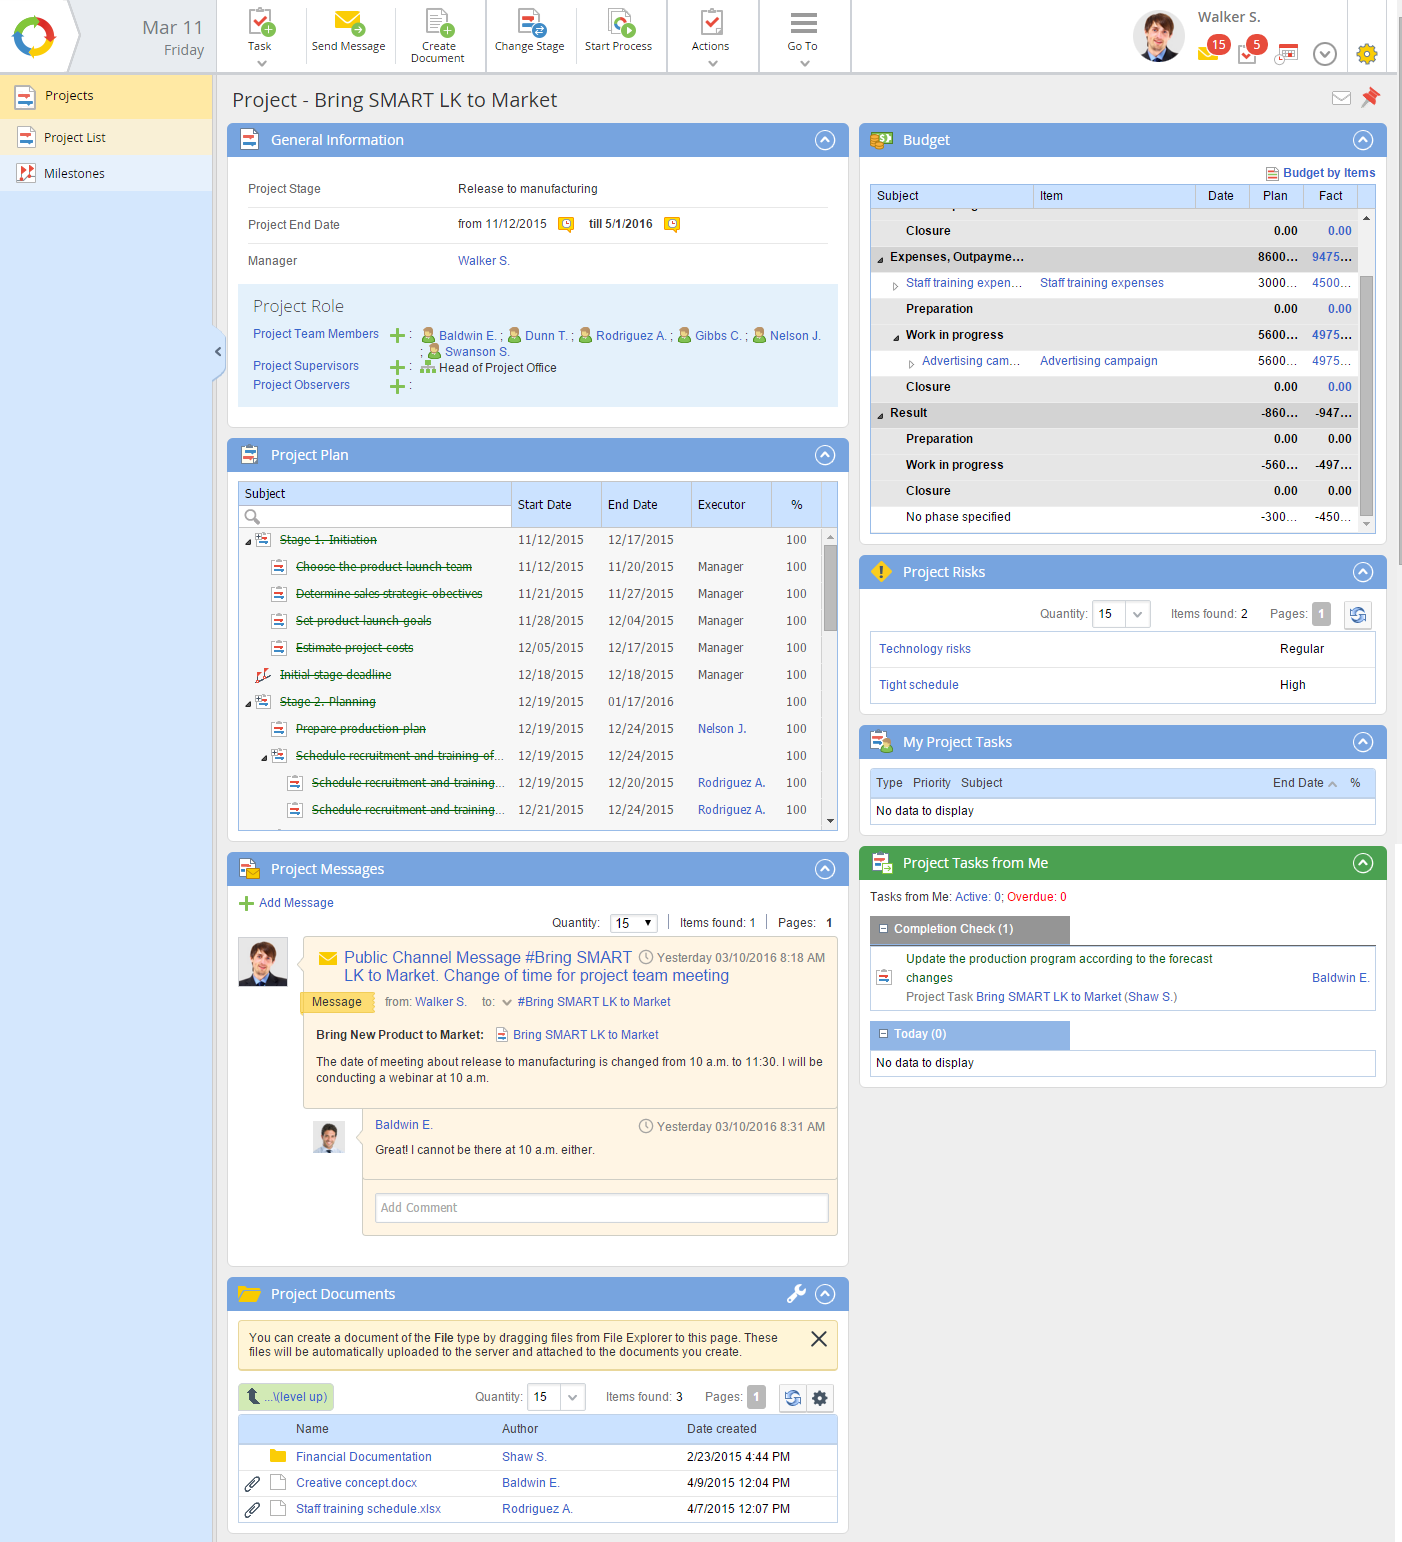
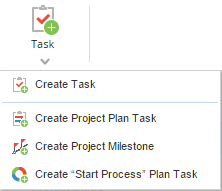
The project page displays the full information on the current project. To open the project page (fig. 1) click the name of the required project in any directory of the Projects section.
The project page is a portlet page, which contains the default set of project portlets, which cannot be deleted by the users. Only the system administrator can delete these portlets. The set of portlets depends on the user roles and general settings, configured by the system administrator. You can also add other portlets to the project page.
Top menu buttons
In ELMA, users can subscribe to notifications on the project updates: comments to the tasks, tasks execution start, tasks completion rate progress and so on. Only the system administrator and Observers can subscribe to a project.
To subscribe to project updates, click  in the top right corner of the page. The icon will change to
  .
.
To unsubscribe from the project, click  .
.
In ELMA, you can pin any project to the main page of the Projects section, i.e. the project page will be displayed when you open this section.
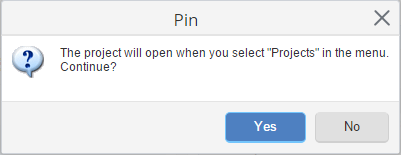
To pin a project to the main page of the Projects section, click  in the top right cornet of the project page. Confirm pinning the project in the opened dialog box (fig. 2) by clicking Yes. The icon will change to
  .
.
|
|
|
Fig. 2. Confirmation dialog box
|
To unpin the project, click  .
.
Note, that you can pin only one project to the main page. If you need to pin another project, click  on the page of the required project – the selected project will replace the one, pinned to the main page.
Detailed information on the project
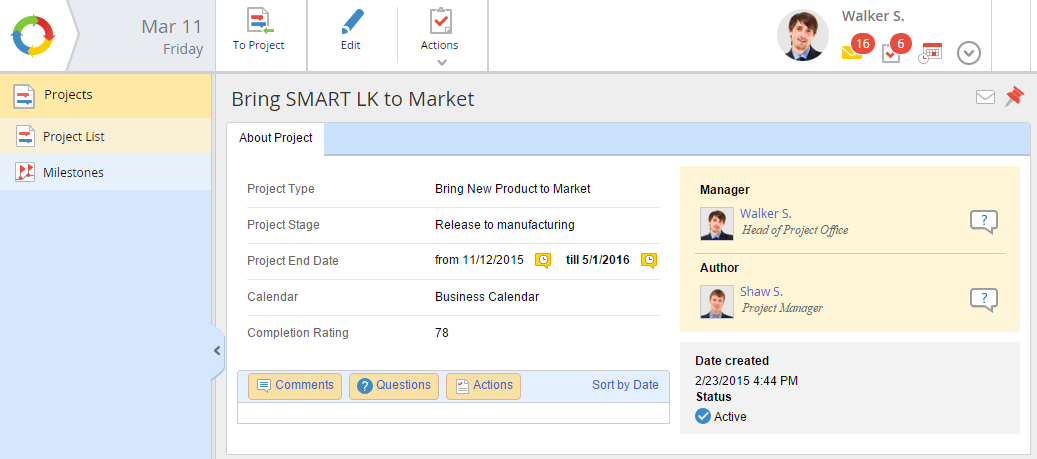
This page (fig. 5) displays the general information on the project: project type, stage, start and end dates, calendar, general project progress (total completion rate of the project plan tasks), project manager and author, project creation date and status. The bottom of the page contains the project history panel.
There are two ways to open the page with the project detailed information:
-
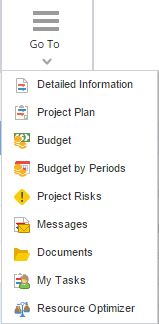
click Go To – Detailed Information in the top menu of the required project page (fig. 3);
|
|
|
Fig. 3. Project page. Go To - Detailed Information
|
-
|
|
|
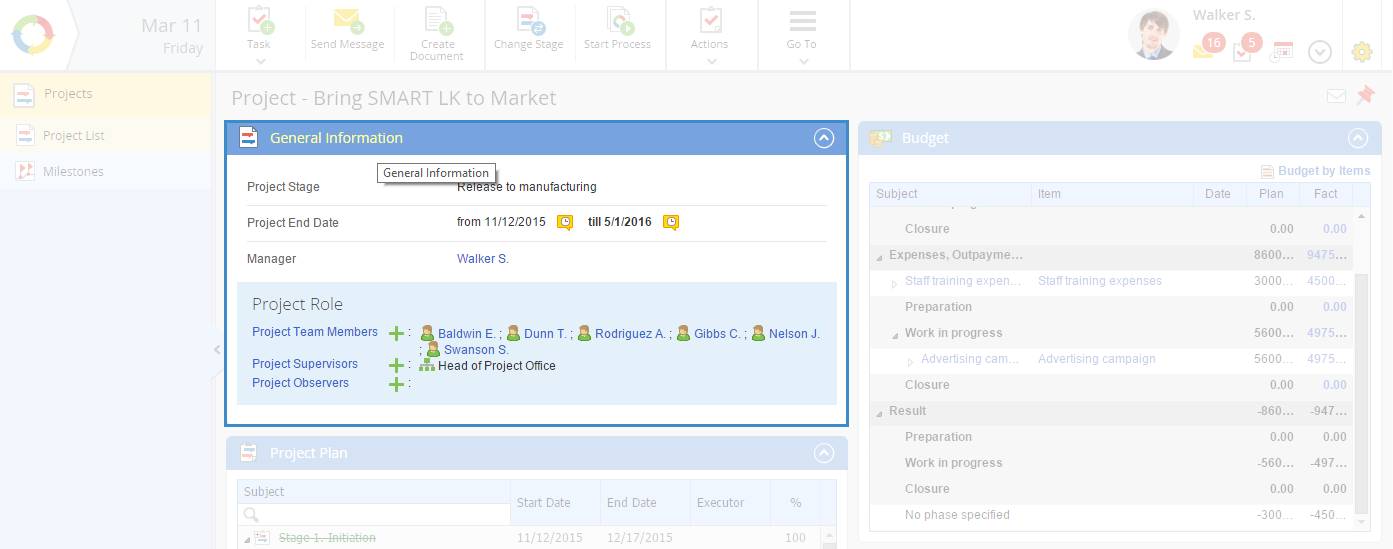
Fig. 4. Project page. General Information portlet
|
Fig. 5 illustrates an example of the page with detailed information on the project.
|
|
|
Fig. 5. Detailed information on the project
|
|
|
Go to the current project page.
|
|
|
Edit the general information on the project. The editing page is similar to the creation page.
|
|
|
When you click Actions or  , a drop down menu opens, which allows you to ask a question on the project. , a drop down menu opens, which allows you to ask a question on the project.
|
Project Completion Rate
The project completion rate is calculated automatically and depends on the duration and completion rate of a project task. If you want to calculate the project completion rate yourself, you need to perform the following actions:
-
Calculate the effective duration of each project task. To do this use this formula:
Duration of the task (in days) * Percentage of the task.
For example, the project plan includes three tasks. The duration of these tasks is 15 days, 20 days and 2 days. The task completion rates are 60%, 15% and 80%, respectively.
Using the above formula, we will get the actual task duration:
-
-
-
2. Next, you need to find the sum of the resulting values, i.e. the effective duration of the whole project. To do this, add up the values obtained in paragraph 1: 9 + 3 + 1.6 = 13.6
3. Calculate the total duration of all project tasks.
In this example: 15 + 20 + 2 = 37
4. After that, the project completion rate is calculated. For this, the effective duration (see p. 2) needs to be divided by the total project task duration (see p. 3) an multiply by 100%:
13.6 / 37 * 100 = 36.7%.
If the resulting value is a fractional number, it is necessary to round it to the nearest whole number. In the example, the project completion rate will be 37%.
Changing the project manager
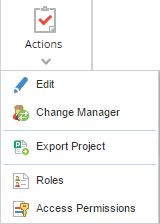
To change the project manager, click Actions – Change Manager in the top menu of the required project page.
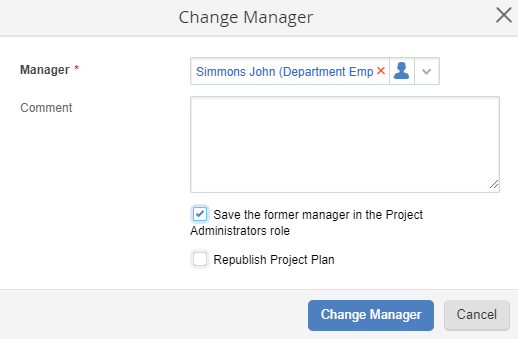
Fill in the required field in the opened dialog box (fig. 6) and click Change Manager.
|
|
|
Fig. 6. Changing the project manager
|
Manager * – select the project manager. You can select only one ELMA user as the manager. This list displays all the system users. The field is required.
Comment – enter a comment on changing the manager.
Save the former manager in the Project Administrators role - select this check box if you want to add the former manager to the Project Administrators role. In this case, a new manager automatically gets full access to the project, while the substituted manager retains fall his or her permissions being assigned to the Project Administrator Role. If necessary, the former manager can be removed from the Project Administrators role. If this check box is not selected, the former manager will be disallowed to access the project.
Republish Project Plan - select this option if you want to republish the project plan. This option also allows you to choose another executor for the tasks assigned to the former manager. If this check box is not selected, the executor in the tasks will not be changed.
This check box is unavailable in the following cases:
• the manager has been changed in the project template;
• the project plan is not completed;
• the user does not have project administration permissions;
See also:
Copyright © 2006–2019 ELMA
