Setting up MS SharePoint for installing the ELMA integration application
Integration with MS SharePoint allows using ELMA features in the MS SharePoint interface. Users of this system can start business processes, view tasks, etc. in the MS SharePoint portal.
To set up the interaction of ELMA and MS SharePoint, you need to download from ELMA Store and install MS SharePoint integration module (more on installing paid components here) perform the setup described below.
In the MS Office 365 admin center, using the admin account, select Settings - Apps (fig. 1).
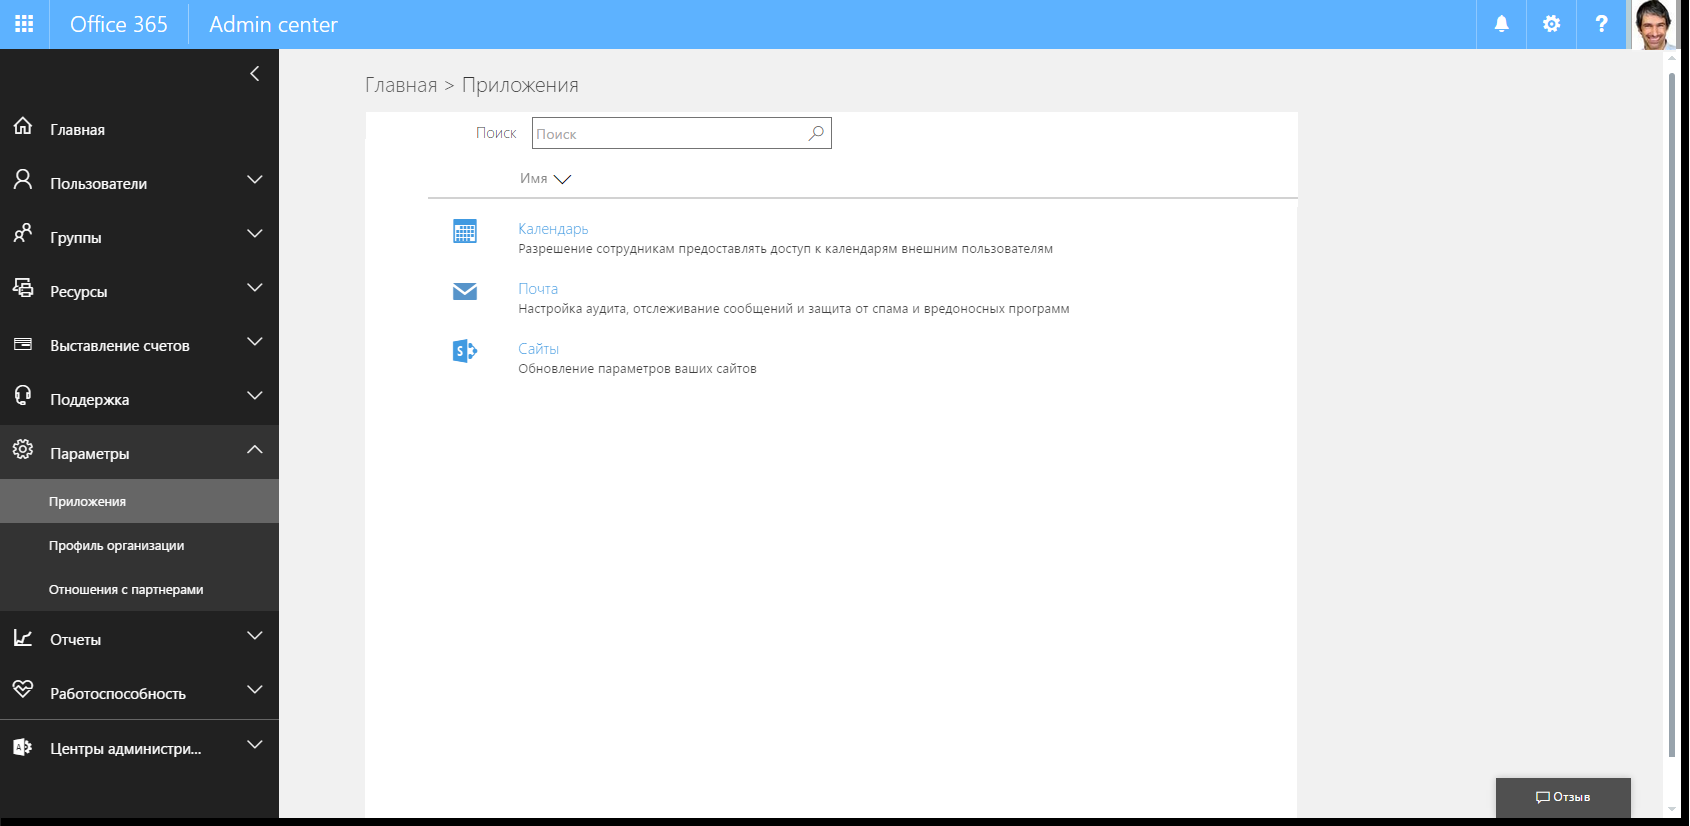
Fig. 1. MS Office 365 admin center. Apps section
Click Sites and in the opened window select SharePoint admin center (fig. 2).
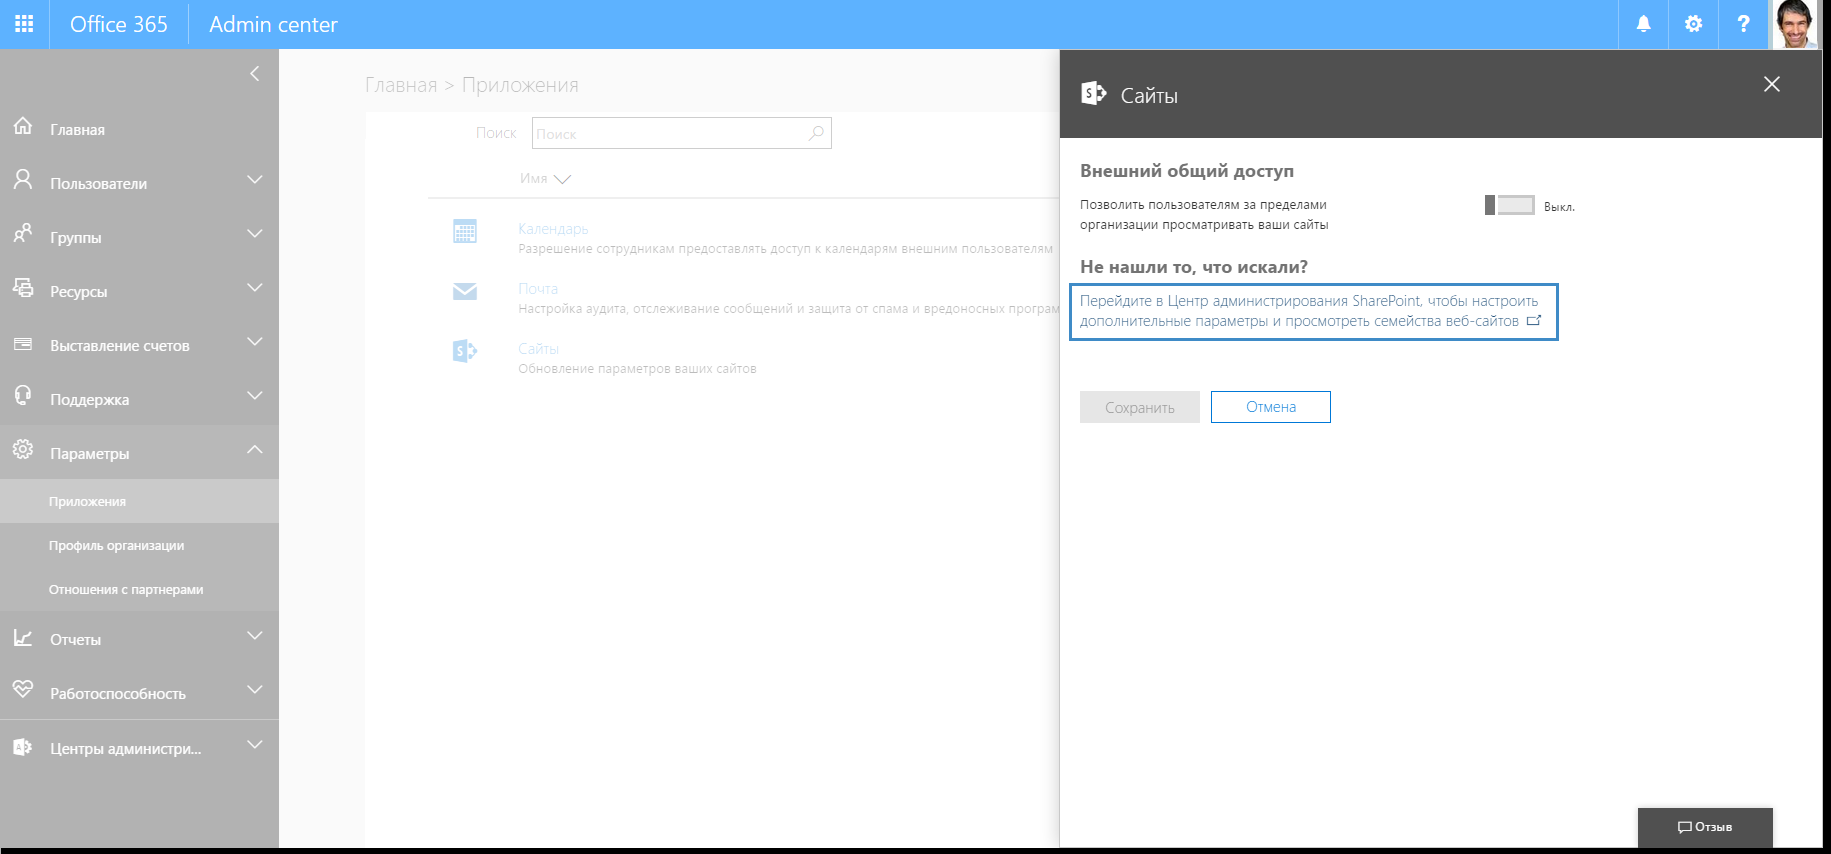
Fig. 2. Sites section of the SharePoint admin center
In the SharePoint admin center, go to Apps and select App Catalog (fig. 3).
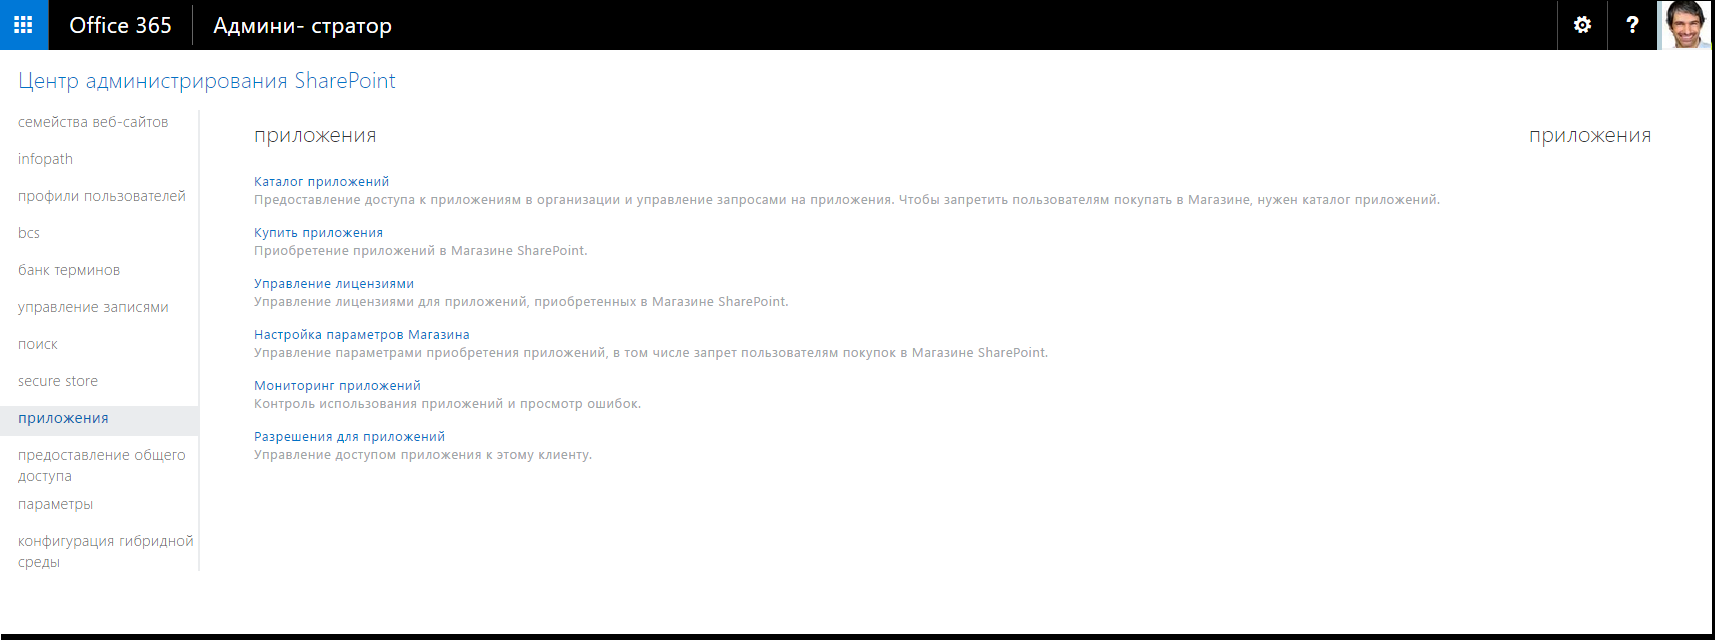
Fig. 3. Apps section of the SharePoint admin center
The app catalog page will open, where you need to select Create a new app catalog site and click OK (fig. 4).
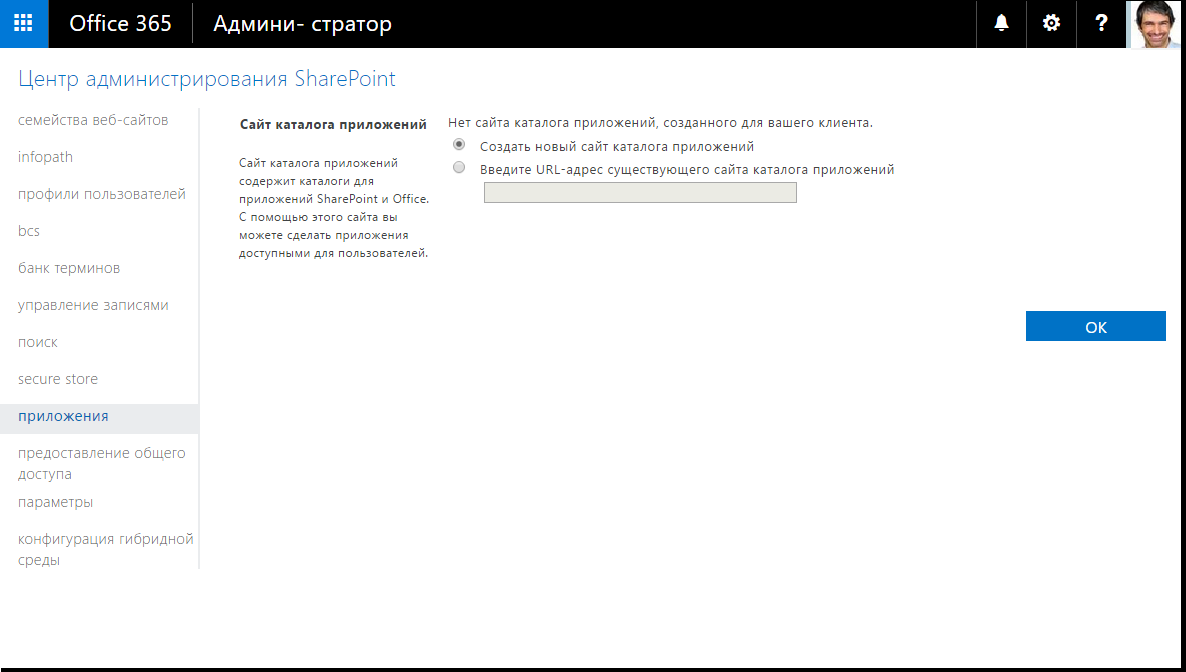
Fig. 4. App catalog page of the SharePoint admin center
On the page for creating an app catalog site collection, specify a title, the administrator, and, if necessary, language and time zone (fig. 5).
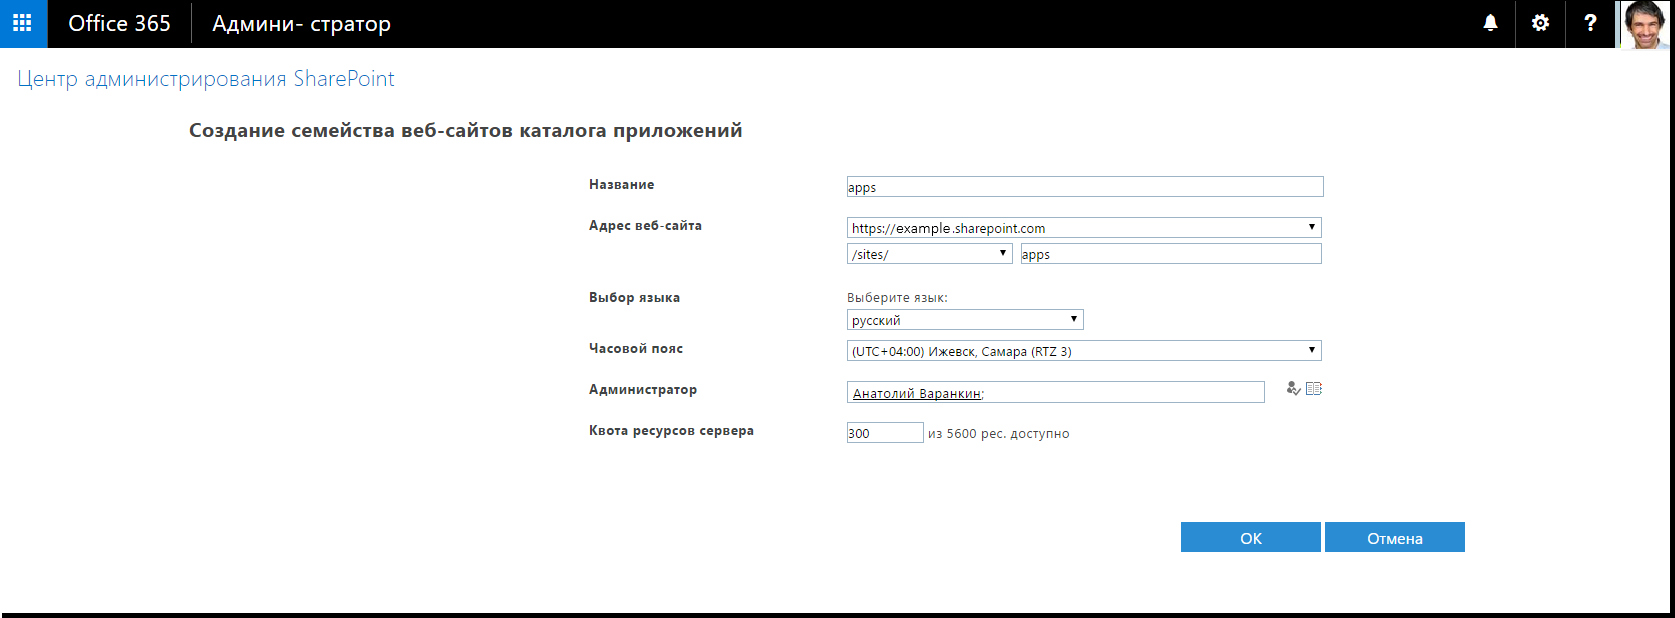
Fig. 5. Page for creating an app catalog site collection
After clicking OK, the page will display the site collection list, where the added app is marked as NEW (fig. 6).
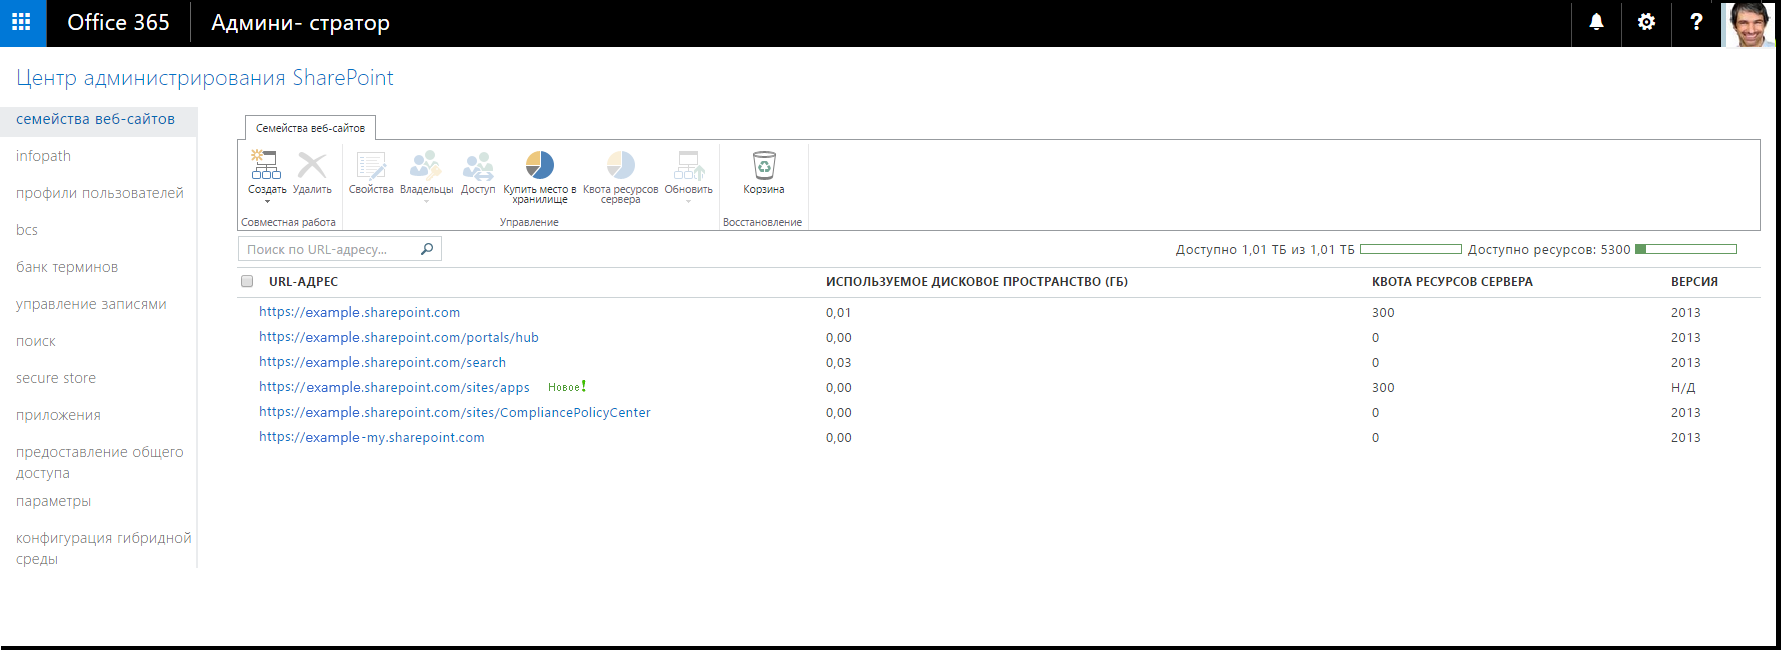
Fig. 6. List of available site collections in the app catalog
In the list of site collections, click on the new app (apps). The page of the selected app will open (fig. 7). In the left menu of the opened page, select Apps for SharePoint.
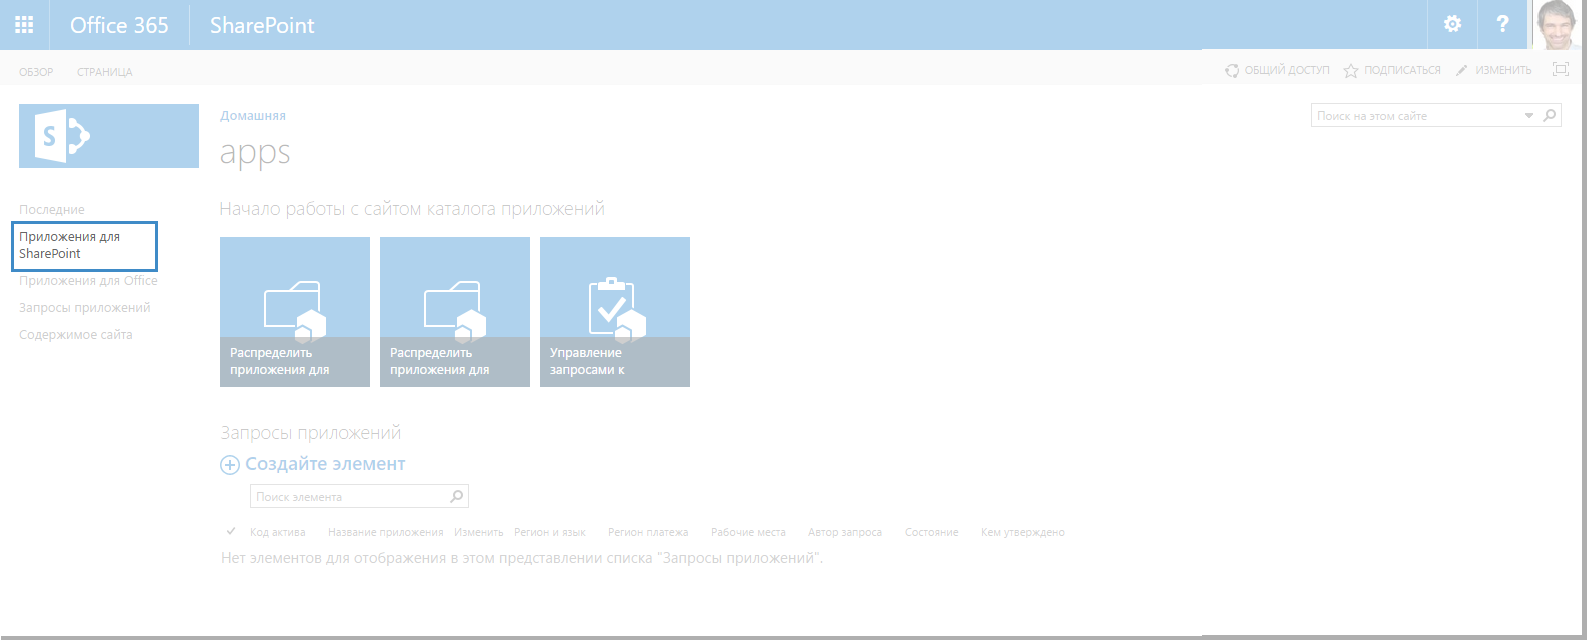
Fig. 7. Apps for SharePoint menu item
In Apps for SharePoint, click Upload (fig. 8).
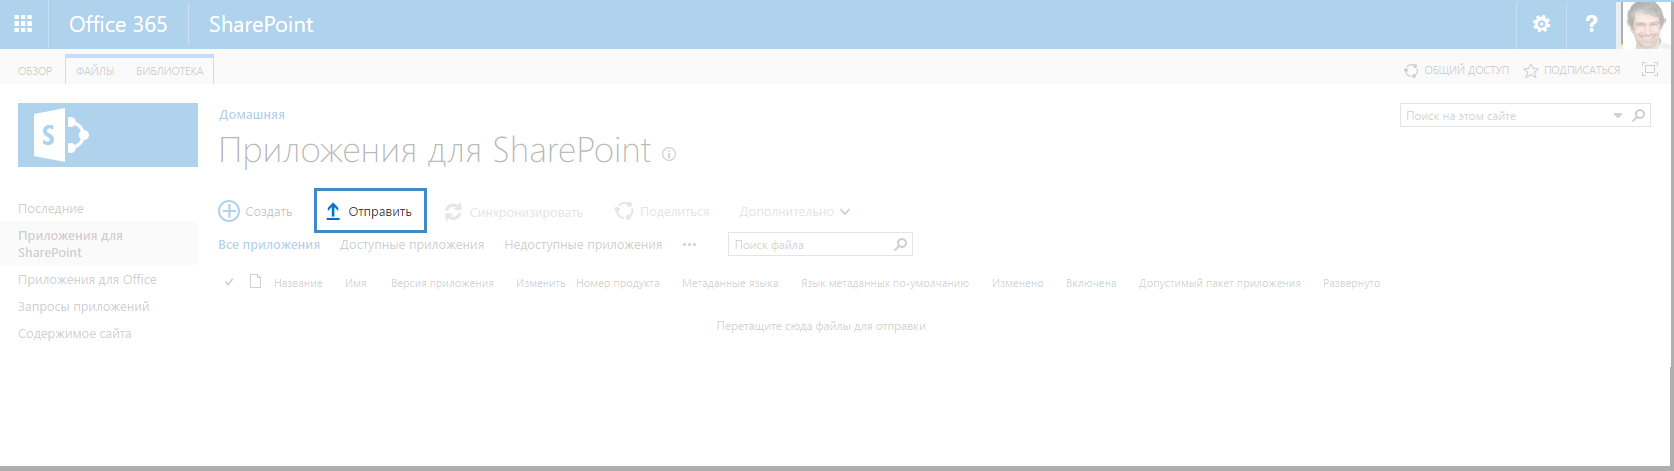
Fig. 8. Upload button
A window for adding a document will open (fig. 9). In the window, select the application file ELMAPortletApp.app (attached to this article) in the Select File field, and add a comment if necessary. Click OK.
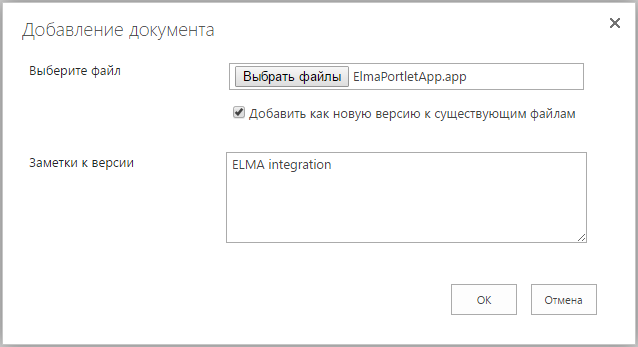
Fig. 9. Adding the application file
As the result, the app will be added to the list, and a notification will be displayed (fig. 10).
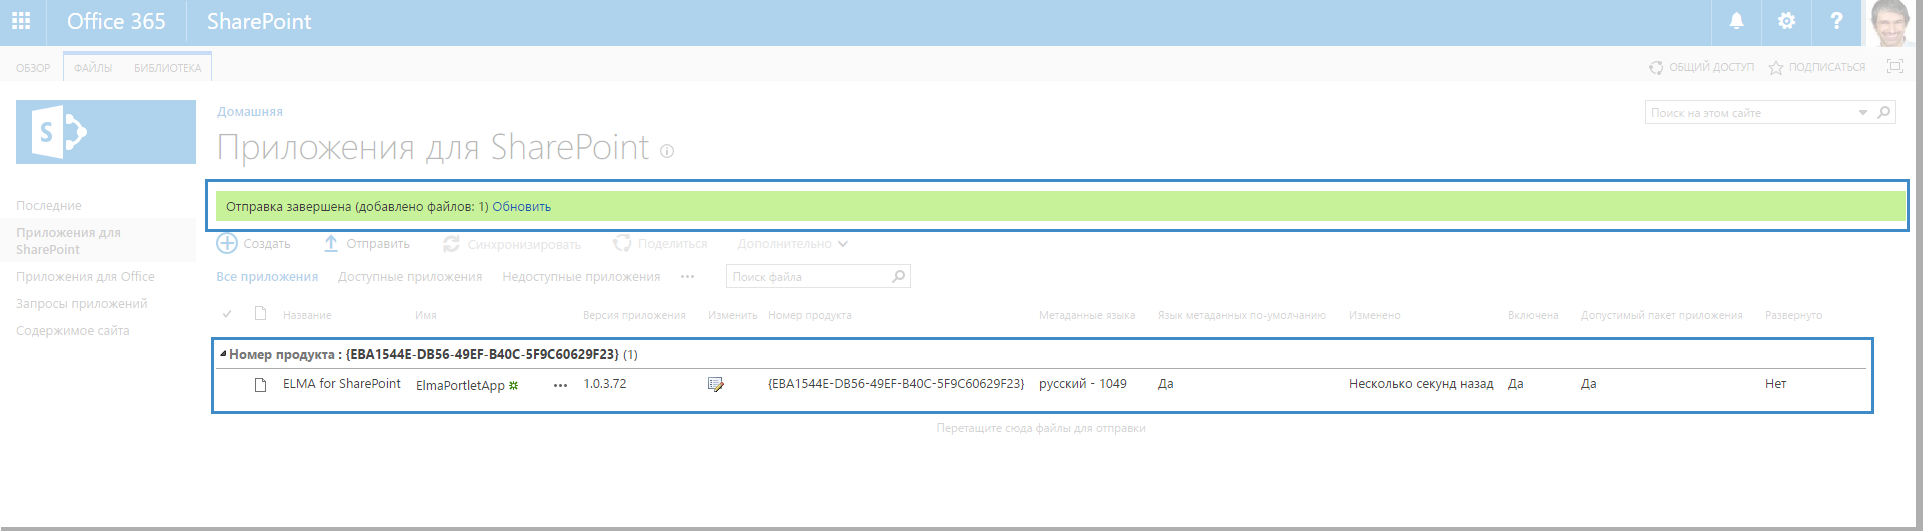
Fig. 10. Added application in the list of available apps
Set up access permissions to the app. In the toolbar, select More - More - Shared Access (fig. 11).
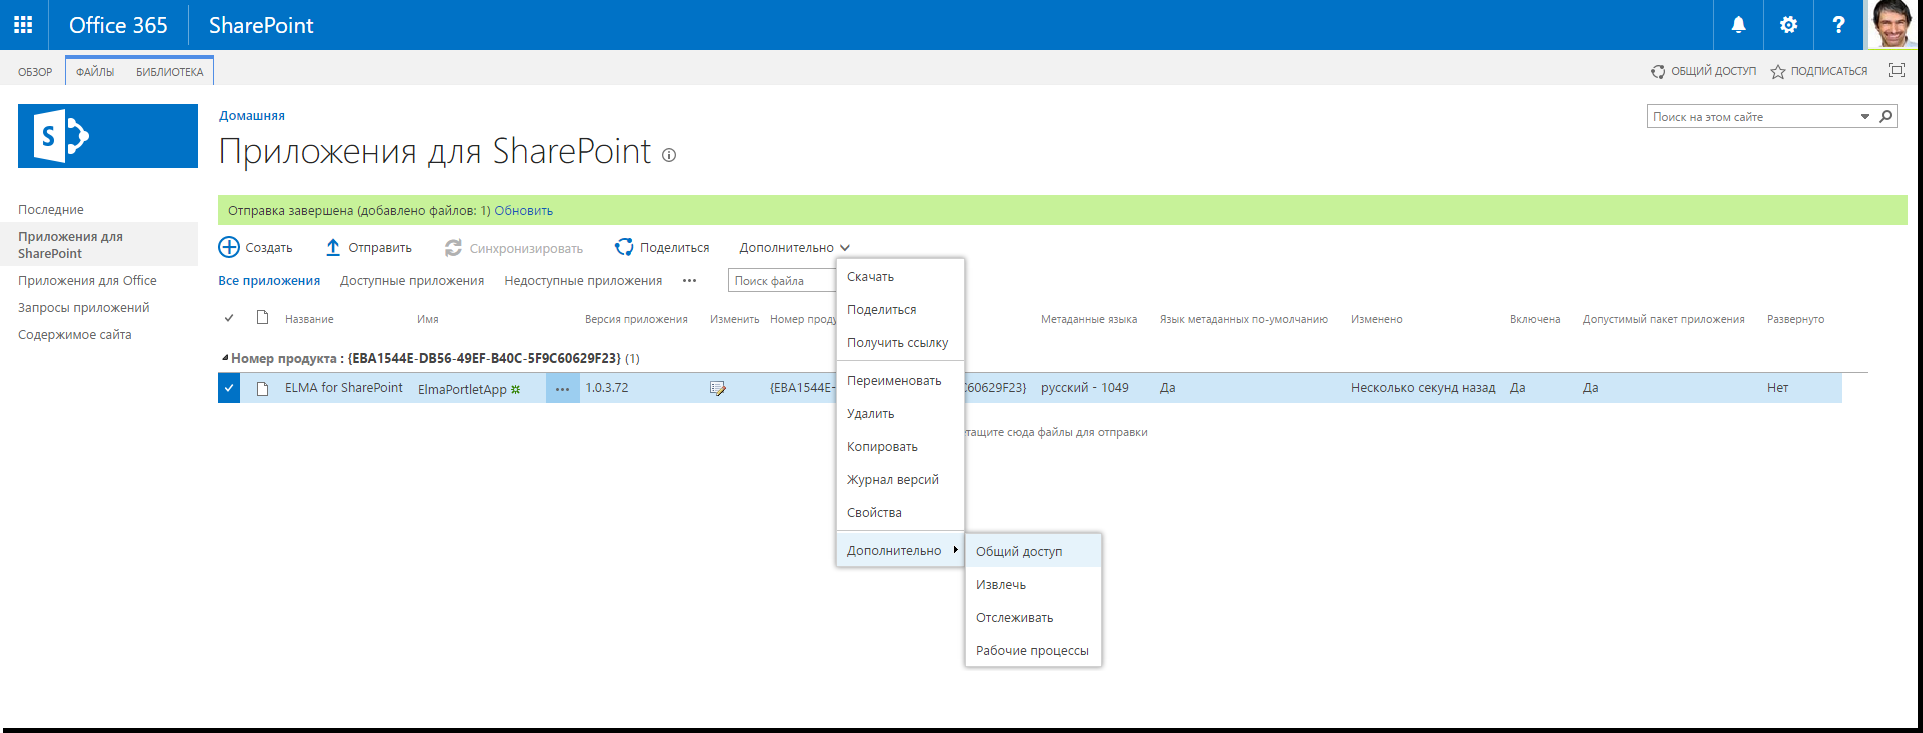
Fig. 11. Shared Access menu item
A window will open, where you need to assign access to the required users (fig. 12):
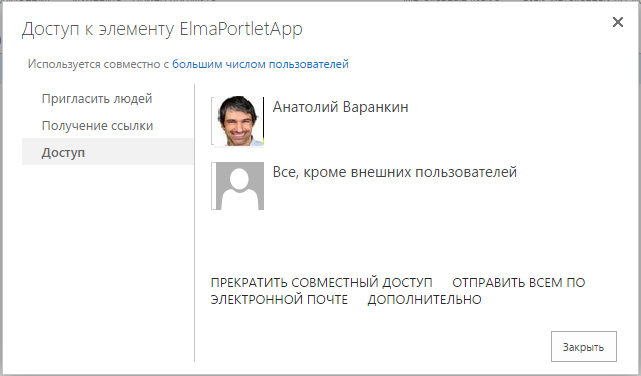
Fig. 12. Assigning access to ELMAPortletApp
In the admin center, using the administrator account: go to Settings and select the switches of Custom Script to allow, as in fig. 13. Note, that the changes of this parameter are applied within 24 hours.
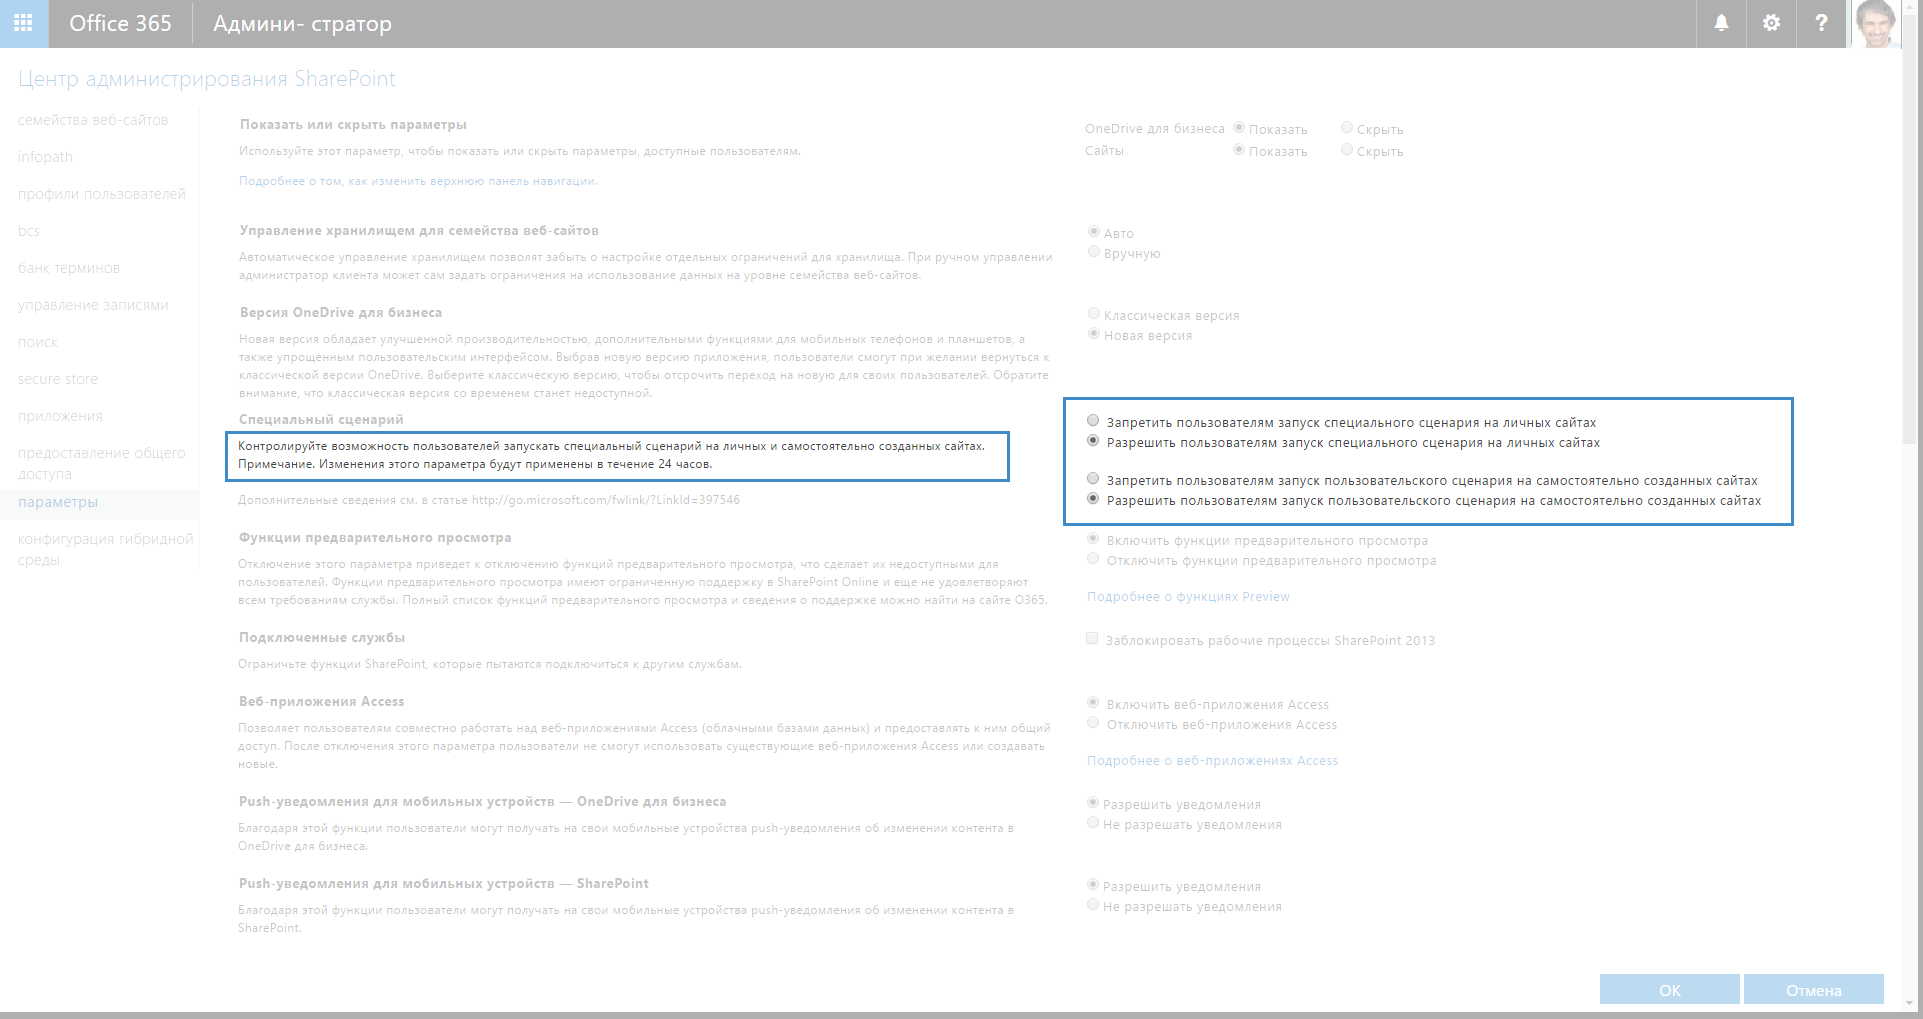
Fig. 13. Custom Script settings
After adding an app on the MS Office 365 admin center page and assigning access permissions to the app, you need to set up the added app in the SharePoint user interface. Open the MS SharePoint page under any user account, who received the permissions, and in the main menu navigate to Site Contents. A page shown in the figure below will open.
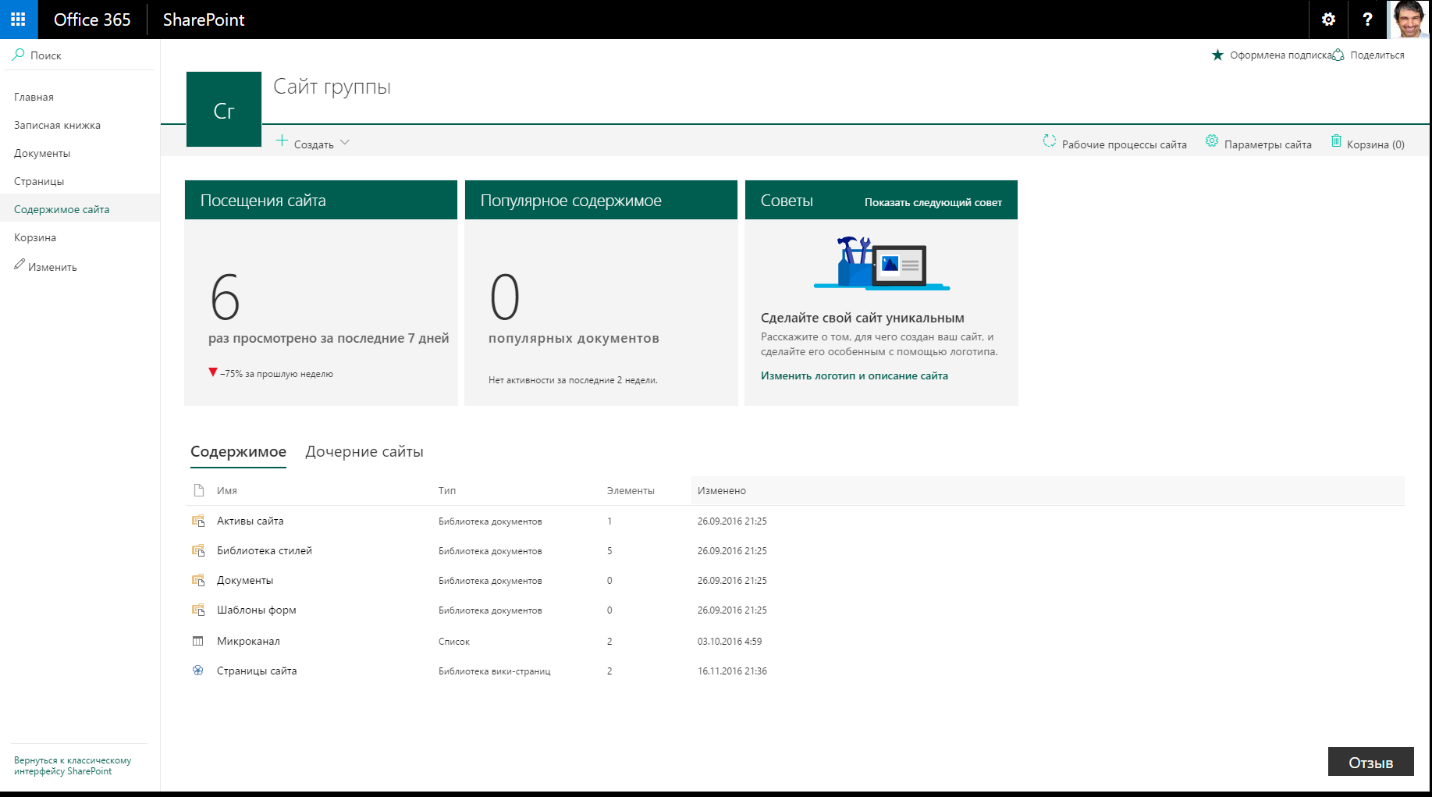
Fig. 14. Site Contents section
Click New - App (fig. 15).

Fig. 15. Create - App button
On the next page, in the main menu navigate to Your Apps - From Your Organization (fig. 16):
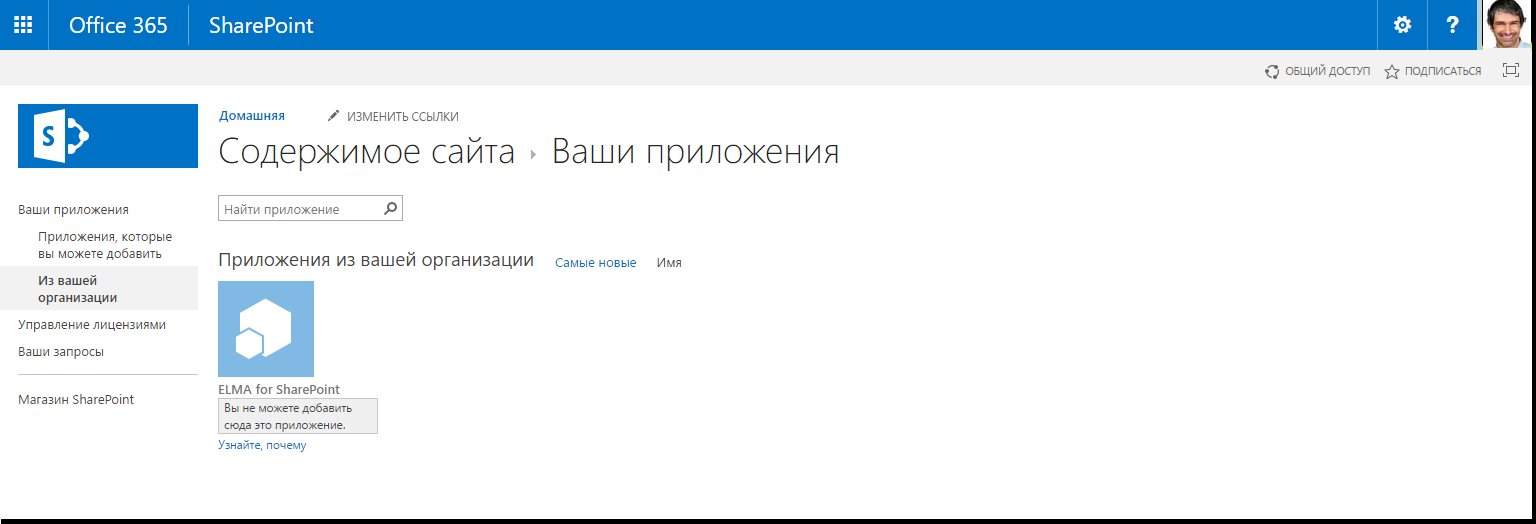
Fig. 16. Your Apps section
Under the ELMA for SharePoint icon and the You can't add this app here notification click Find out why (fig. 17).
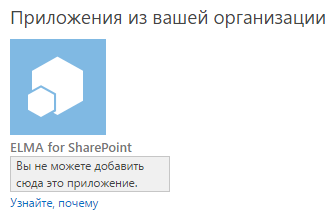
Fig. 17. Apps from your organization
The window, shown in fig. 18, will open. Click on ELMA for SharePoint.
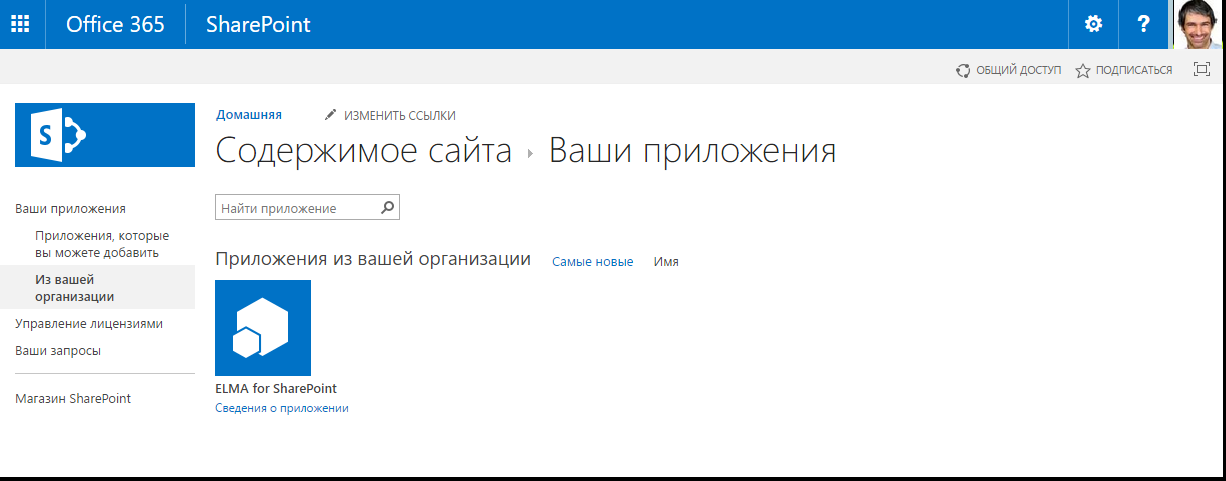
Fig. 18. ELMA for SharePoint app in Your Apps section
A dialog box will open, where you need to click Trust It (fig. 19).
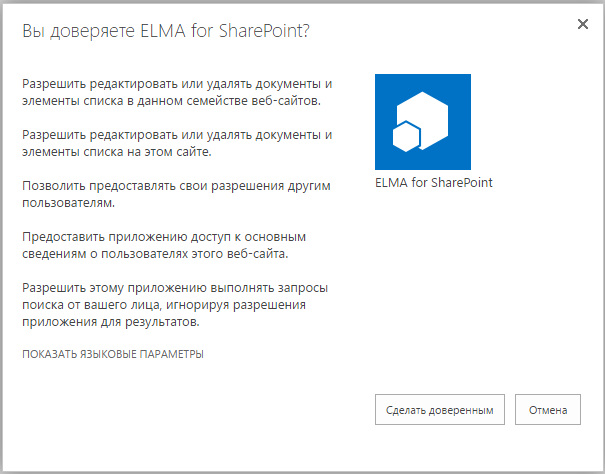
Fig. 19. Trust App dialog box
The app will become available on the site contents page with the NEW mark (fig. 20).
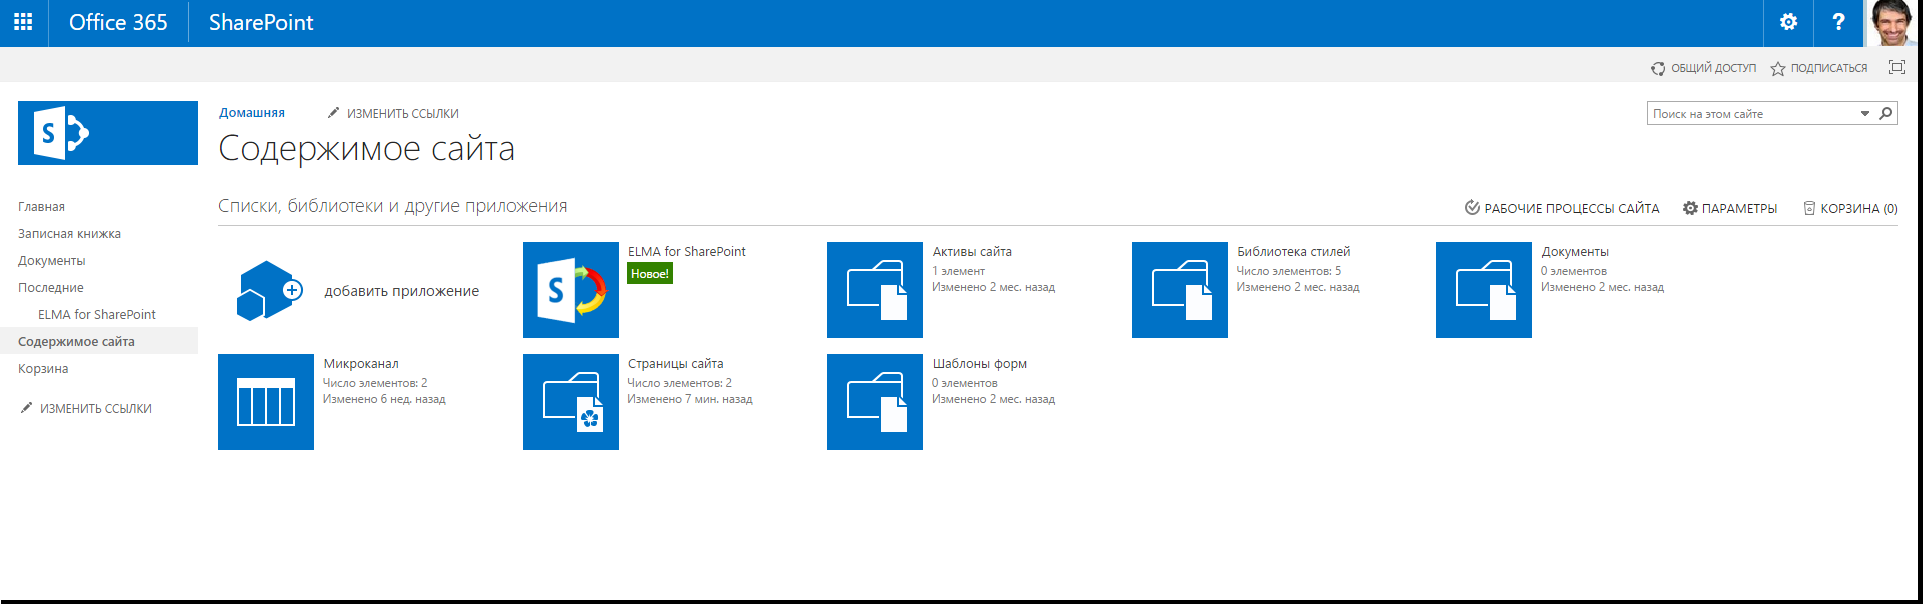
Fig. 20. ELMA for SharePoint app in the list of apps
Next, go to Home and click Edit in the toolbar (fig. 21).
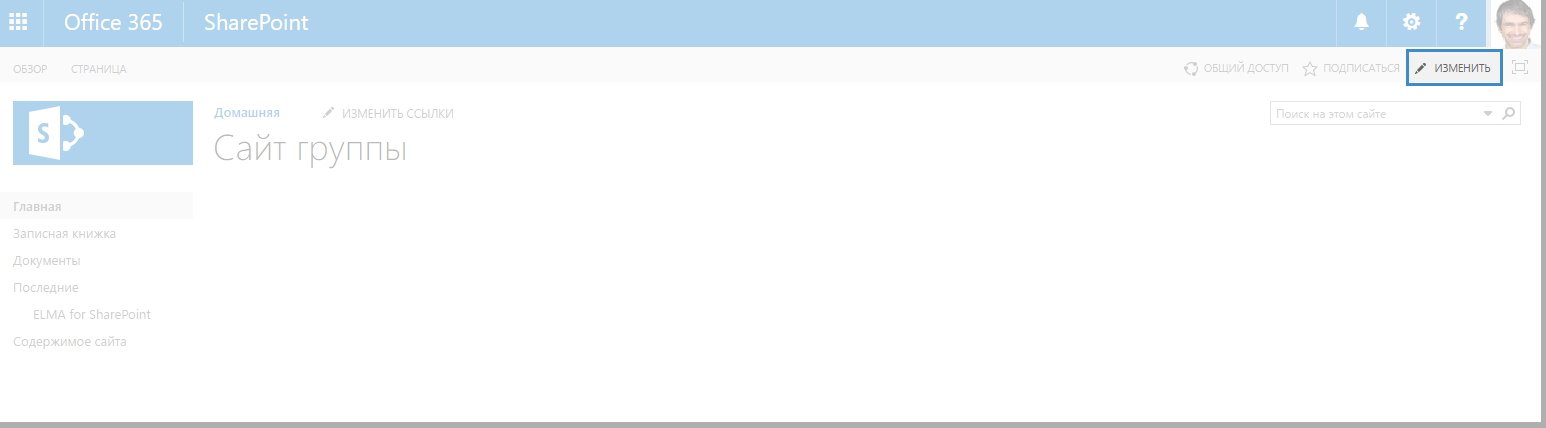
Fig. 21. Edit button, for opening the page editing interface
The page will switch to the editing mode (fig. 22).
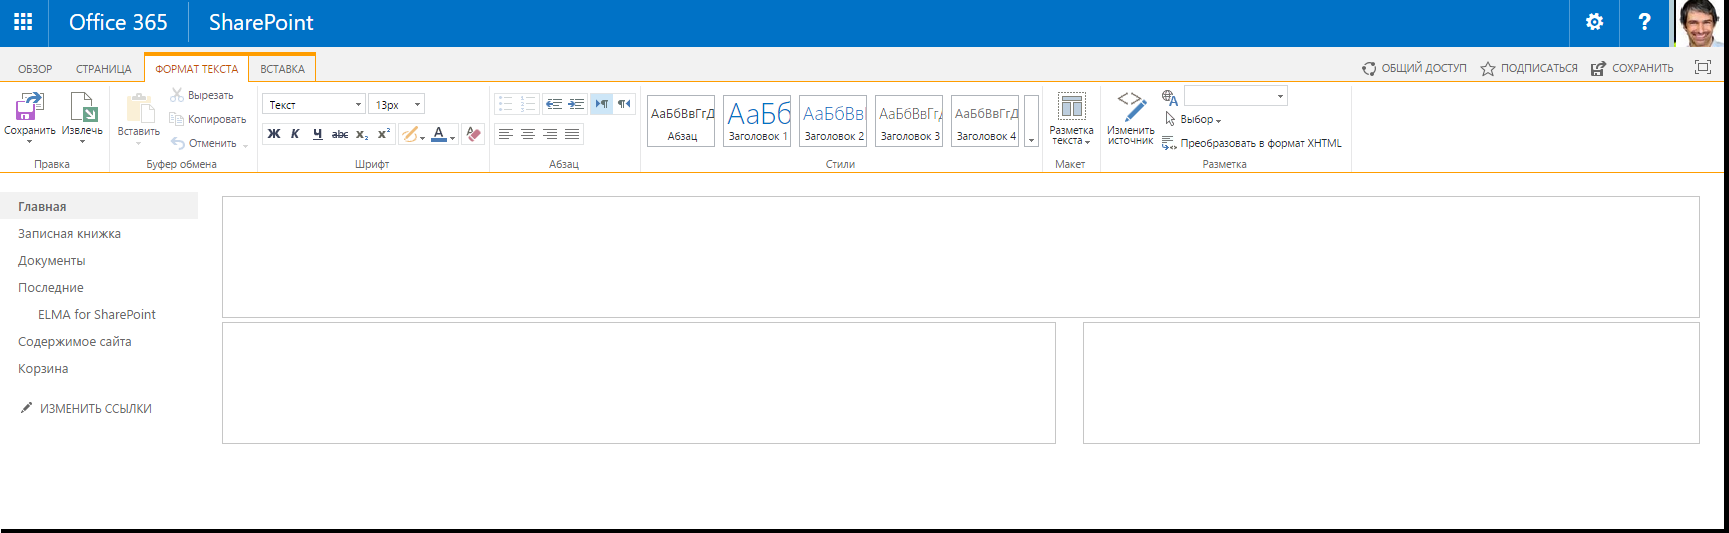
Fig. 22. Homepage in the editing mode
In the editing interface, open the Insert tab and insert the following code in the lower left field:
<script>
            window.addEventListener(’message’, function (e) {
                try {
                    if (e.data.indexOf(’{’) === 0 && e.data.lastIndexOf(’}’) === (e.data.length - 1)) {
                        var message = JSON.parse(e.data);
                        if (message.type && message.type.toLowerCase() === ’close’) {
                            if (SP && SP.UI && SP.UI.ModalDialog &&   SP.UI.ModalDialog.commonModalDialogClose) {
                                SP.UI.ModalDialog.commonModalDialogClose(1, 1);
                            } else {
                                SP.SOD.execute(’sp.ui.dialog.js’, ’SP.UI.ModalDialog.commonModalDialogClose’, 1);
                            }
                            var iframe = document.getElementById("gdelmaframe_" + message.data.frameId);
                            if (iframe == null) return;
                            iframe.src = iframe.src;
                        }

                        if (message.action && message.action.toLowerCase() === ’elmadialog’ && message.options) {
                            if (SP && SP.UI && SP.UI.ModalDialog && SP.UI.ModalDialog.showModalDialog) {
                                SP.UI.ModalDialog.showModalDialog(message.options);
                            } else {
                                SP.SOD.execute(’sp.ui.dialog.js’, ’SP.UI.ModalDialog.showModalDialog’, message.options);
                            }
                        }
                    }
                } catch (err) {
                    //Invalid message
                    console.error(’Invalid message: ’ + e.data + ’ : ’ + err);
                }
            });
        </script>
Click Save.
Further settings are described in ELMA Help.