Updating ELMA
There are three editions of ELMA: Community, Standard, and Enterprise (to learn more about each edition, follow this link). The process of updating these versions is identical.
When you run the installation software, the User Account Control dialog box may be displayed; click Yes to start installing updates.
.png)
Select the language that will be used in the installation process:
.png)
If ELMA Designer is running, the installation software will display a notification that it needs to be closed. Close ELMA Designer and restart the installation software.
.png)
Updating ELMA includes the following steps:
Step 1. On the start screen of the wizard confirm that you wish to install updates by clicking Next.
If possible, close all the running applications before clicking Next.
.png)
Step 2. Read the license agreement. After that, select I accept the agreement. Click Next to continue.
.png)
Step 3. Check the installation folder and type: “Update”. Confirm the installation parameters by clicking Install; to go to the previous step, click Back or cancel the installation.
.png)
Step 4. Wait until updates are installed on your PC. This process may take a while. Once all the files have been copied, the next step will open automatically.
.png)
To complete the installation, click Finish.
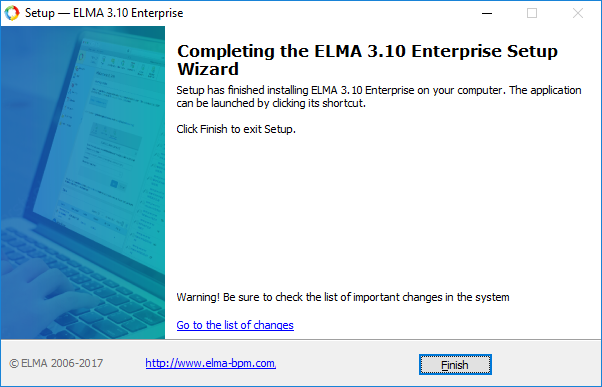
The installed version of the system will be displayed in the ELMA Designer authentication window:
.png)
The version number will be displayed in the Web Application authentication window as well:
.png)
Attention!
When you update the ELMA system, remember:
1. The system automatically replaces custom notification templates (with default templates) in the ..\UserConfig\Notifications folder. In this case, the replaced custom templates are saved in the..\UserConfig\Notifications\Old\<number of the required system version> folder, and the templates of the current system version are located in the ..\UserConfig\Notifications\Original\<the number of the current system version> folder.
To restore a custom template, copy the contents of the required template (from the .xml file) and paste it into the current template (into the file with the same name).
2. If triggers were created in the database, they will be reset after updating the system. In this regard, it is necessary to manually initiate the re-creation of triggers by running a previously saved query through the database manager.
3. When using the nginx web server and updating the ELMA system to versions from 3.11.9 inclusive and higher, errors may occur due to the inability of the nginx web server to process the "__RequestVerificationToken" header in the POST request. In order to avoid such errors, add the line ignore_invalid_headers off to the nginx web server configuration file in the server part after updating the ELMA system.
4. If you use single sign-on without additional application, follow through the additional steps described on the respective help page before updating ELMA.
In some cases, after updating the system the following issue may occur: when converting a database, the transaction log size may increase by several times and take up all the disk space on the database server. In this case, the update process will be interrupted.
To solve this issue, log truncation is required when working with MSSQL. To learn more about managing the transaction log, follow these links: https://msdn.microsoft.com/en-us/library/ms190440(v=sql.105).aspx or https://support.microsoft.com/en-us/kb/873235.
If you use Firebird, the transaction log is automatically cleared during its backup copying or after full backup copying and consequent restoring or the database. Therefore, to solve the issue of increasing transaction log size, plan and configure backup copying of the database and the transaction log.
This article provides advice on updating ELMA and covers the main issues that occur when updating.