Instructions for setting up MSMQ
This article describes how to install and set up MSMQ in Windows 2008 R2. It is necessary to be able to configure send/receive message activities in the Designer.
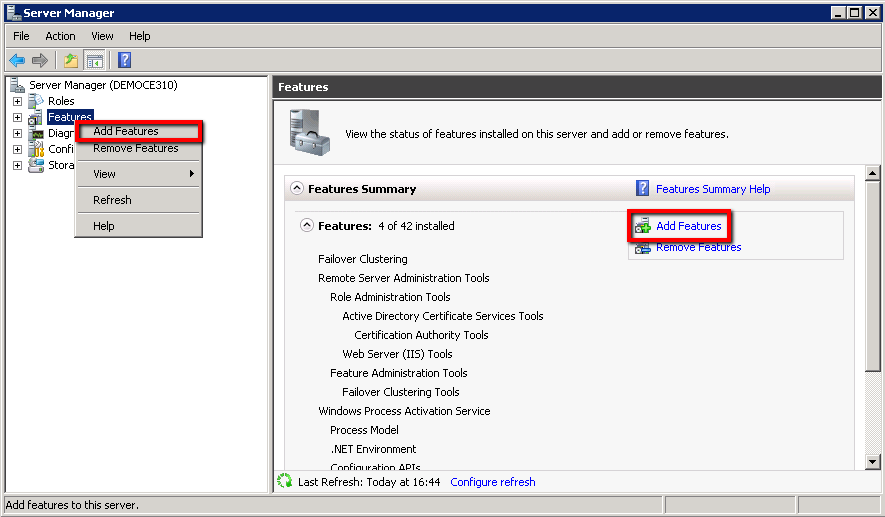
1. Open the Server Manager.
2. In the context menu of Features select Add Features. The add features wizard will start.
3. Check the boxes Message Queuing and Message Queuing Services, click Next.
.png)
4. In the Confirmation window click Install.
.png)
5. Wait for the installation to complete. The result will be displayed in this window.
.png)
6. In the Installation Results window, click Close.
.png)
7. The Message Queuing will become available in the Server Manager.
.png)
8. For a local server, private queues are set up. Common queues can be created on remote computers using Active Directory - users and computers. For this, you need to have permissions of the domain administrator and to log in to the system as a user with administrative permissions. The Outgoing Queues and System Queues are created automatically.
Consider an example of creating private queues. The advantage of private queues is that they do not require additional resources for interaction with the directory service.
To create a private queue, right-click on the Private Queues folder and select New - Private Queue.
.png)
9. In the opened window, specify the queue name and click OK.
.png)
10. In the Designer, configure the connection to MSMQ. The string is specified as .\private$\test
.png)
11. To check the created queue, click Send sample message - a dialog box with the result will be displayed.
.png)
12. After successfully sending a message, the following message will appear in the configured queue:
.png)