Configuring Single Sign-on without Additional Application
|
Attention!
The information in this article applies only to ELMA 3.11.20, 3.12.10, 3.13.0 and higher.
|
To configure single sign-on correctly without installing an additional application, you need to follow through several steps.
Step 1 and Step 2 are similar to the respective steps (Step 1 and Step 2), described on this Help page.
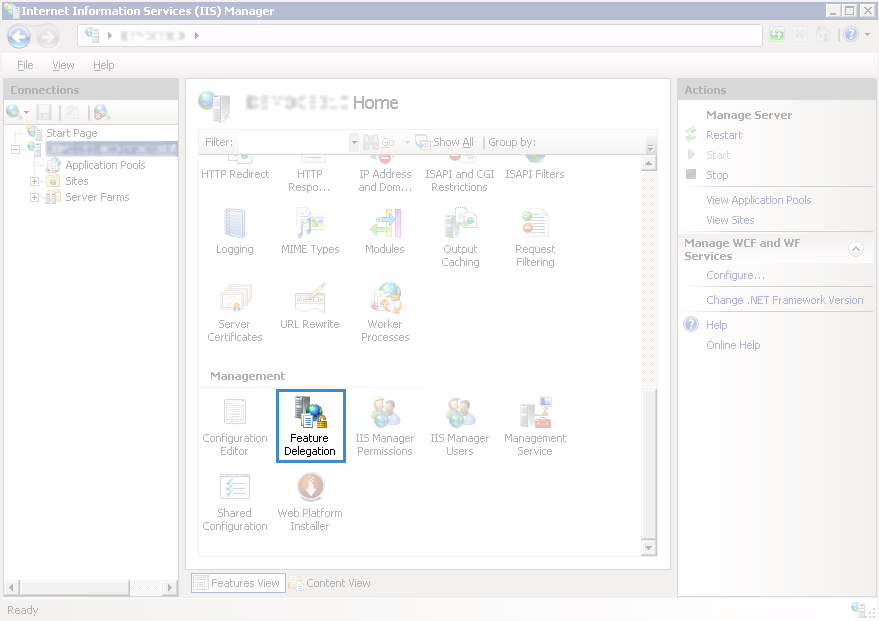
Step 3. Open Internet Information Services (IIS) Manager (Start – Administrative Tools – Internet Information Services (IIS) Manager). On the Home page, find the Management section and click Feature Delegation (fig. 1).
Fig. 1. IIS Manager. Home page
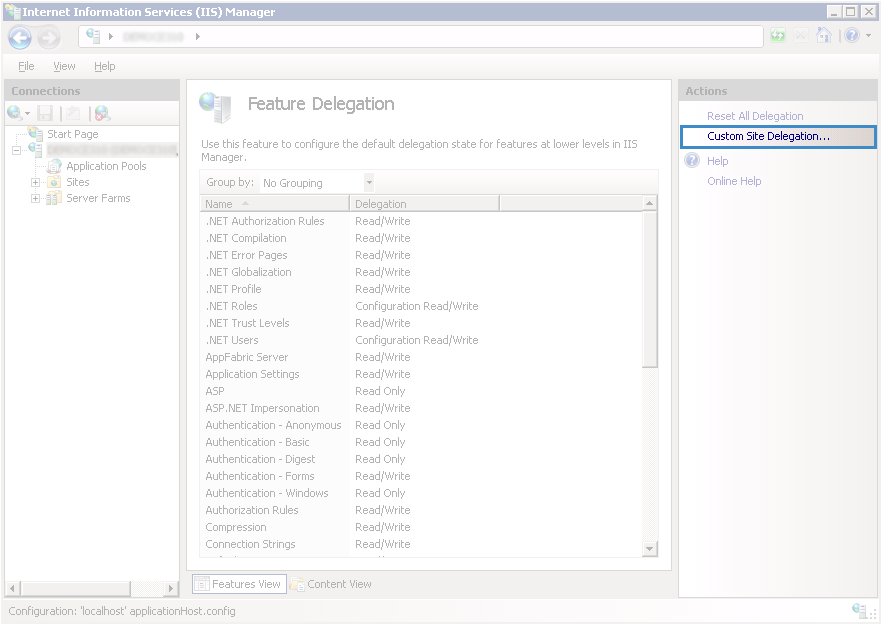
To configure feature delegation for the ELMA site, on the opened page Feature Delegation click Custom Site Delegation… (fig. 2).
Fig. 2. IIS Manager. Feature Delegation
The Custom Site Delegation page will open (fig. 3), where you can configure custom delegation states for the ELMA site.
Fig. 3. IIS Manager. Custom site delegation
On the opened page (fig. 3) find the required ELMA site in the Sites: field and select Read/Write for the features highlighted in fig. 3. To select this option, right click on a feature and select Read/Write in the context menu.
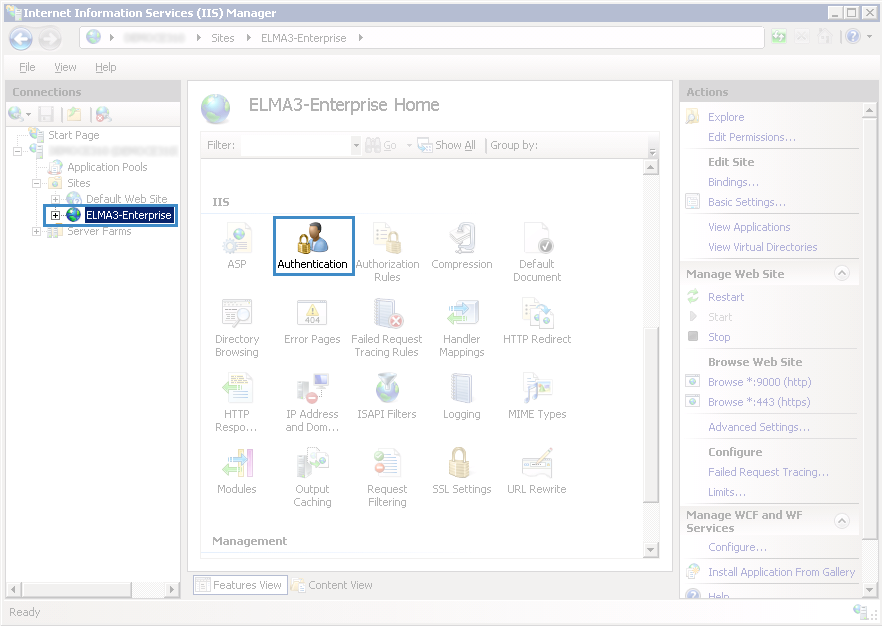
Step 4. To increase the security level, you need to configure authentication. Go to the ELMA site home page and click Authentication (fig. 4).
Fig. 4. IIS Manager. ELMA site home page
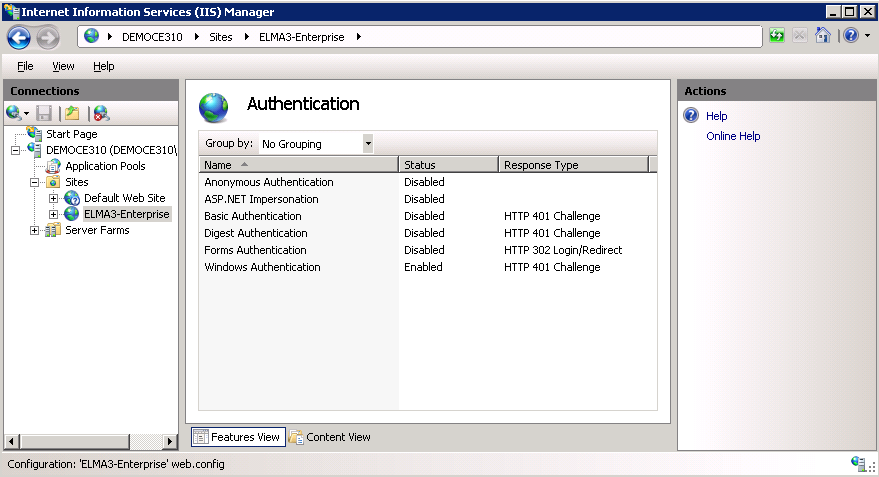
The Authentication page will open (fig. 5), where you need to disable all the features in the list, except for Windows Authentication.
Fig. 5. IIS Manager. Authentication
To disable an authentication feature, right click on it and select Disable in the context menu.
Step 5. To prevent the server from requesting authentication, you must configure exceptions for such addresses as REST API, PublicAPI, etc. Note, that these addresses must always have anonymous access, since they are used when working with ELMA Agent and external systems.
To create exceptions for addresses, open the folder ../<ELMA folder>/Web and edit the file Web.config. In this file, before the line ..<location path="Version.ashx">.. add the code, which you can download using this link.
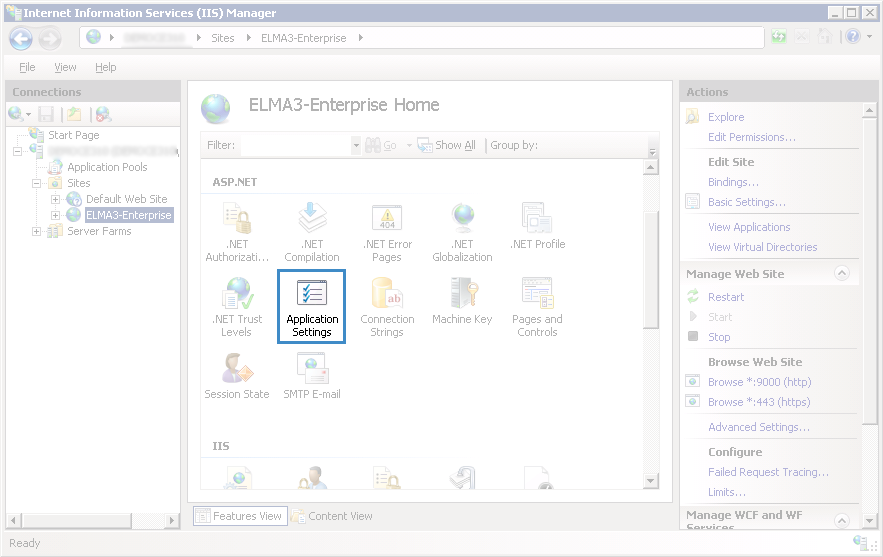
Step 6. Open the ELMA site home page and click Application Settings in the ASP.NET section (fig. 6).
Fig. 6. IIS Manager. ELMA site home page
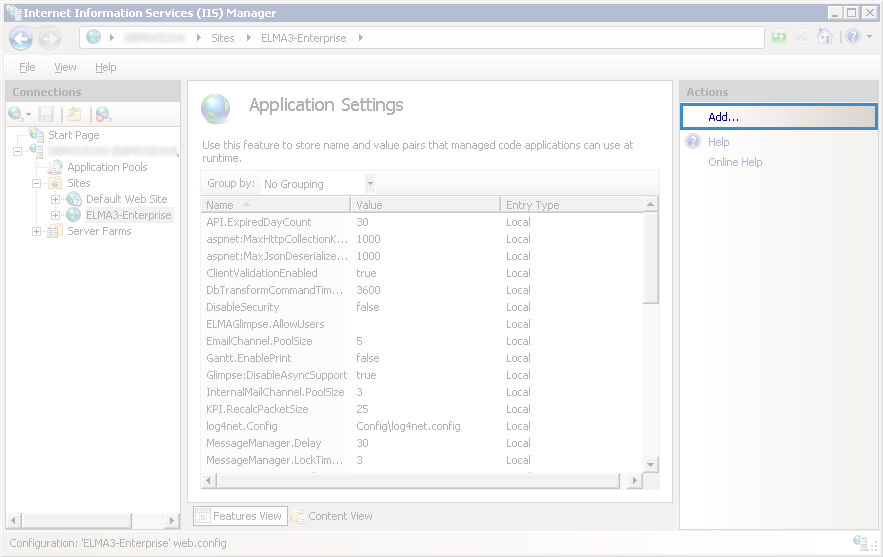
On the opened page (fig. 7), add two settings using the Add… button:
autoFormsAuthentication = "false"
enableSimpleMembership = "false"
Fig. 7. IIS Manager. Application Settings. Add… button
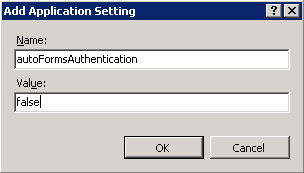
When you click on the Add… button a dialog box opens, where you enter the required parameters and click OK (fig. 8).
Fig. 8. Add Application Setting dialog box
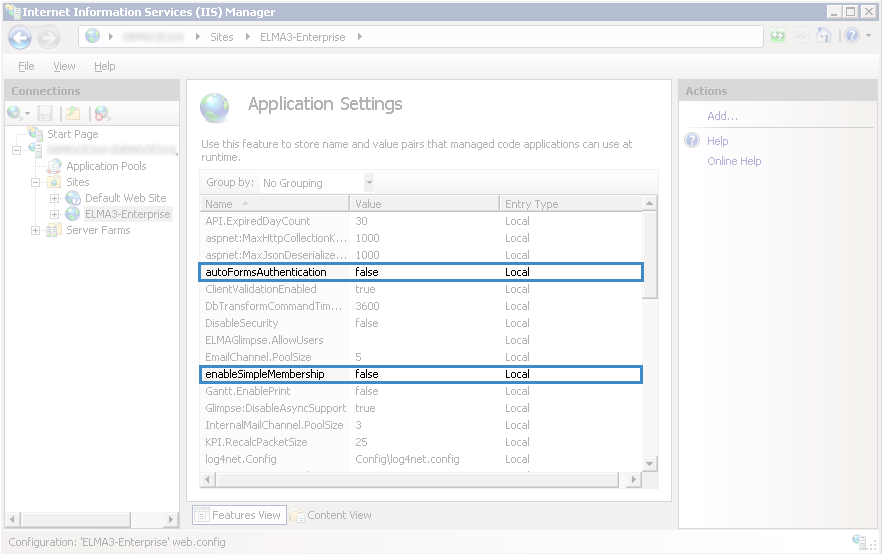
The added settings will be displayed in the list of application settings (fig. 9).
Fig. 9. IIS Manager. Application Settings
After adding settings, ELMA Web Application will restart automatically.
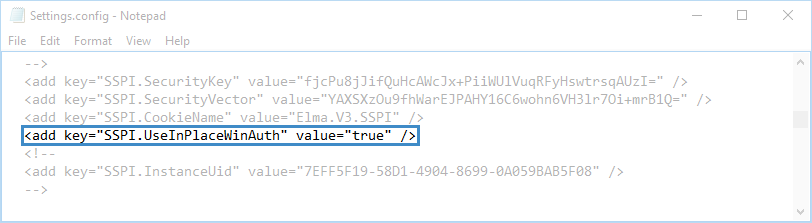
Step 7. To finish configuring single sign-on without an additional application, you must switch pass-through authentication. To do so, open the file Settings.config, which is by default located in the folder ../<ELMA folder>/Web, and change the value of the SSPI.UseInPlaceAuth parameter to true (fig. 10).
Fig. 10. Settings.config file. SSPI.UseInPlaceAuth parameter
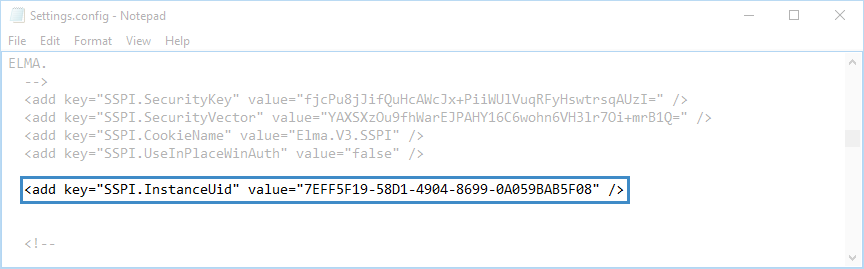
In case you have created a new LDAP catalogue, you must specify it in the SSPI InstanceUid parameter value, which is the Settings.config file as well (fig. 11).
Fig. 11. Settings.config file. SSPI InstanceUid parameter
If you create a new LDAP catalogue, you must uncomment the line with the SSPI InstanceUid parameter, and specify the new UID of the created catalogue in this parameter (fig. 12).
Fig. 12. Settings.config file. SSPI InstanceUid parameter. Changed parameter value
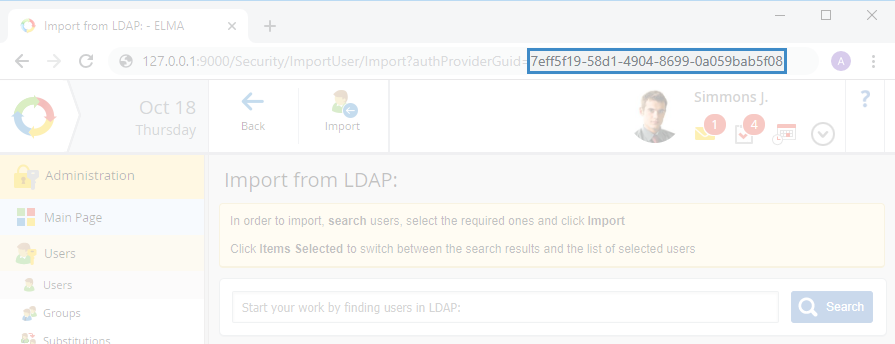
To find the UID of the new catalogue, go to the list of users and click Import in the toolbar. Select the created catalogue in the drop-down menu and proceed with the first step of user import. Your browser's URL bar will contain the UID of this catalogue (fig. 13).
Fig. 13. Catalogue's UID in the browser URL bar
Step 8. This step is similar to the Step 6, described on this Help page.
Step 9. After finishing the configuration, import users from an LDAP catalogue and log in via a direct link to an object. Link example: http://test.server.local.
|
Note
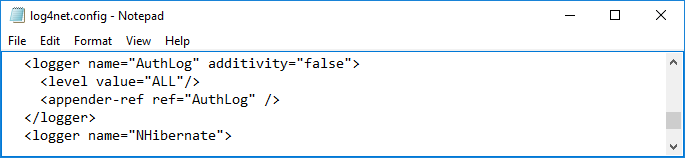
If you fail to configure single sign-on, you can use the log files, which are displayed only after configuring certain settings, to find out what went wrong. To enable display of log files, open the file log4net.config, located in the folder ../<ELMA folder>/Web/Config/, and change the value of the level value parameter for "AuthLog" to ALL (fig. 11). Save the changes.
Fig. 14. log4net.config file
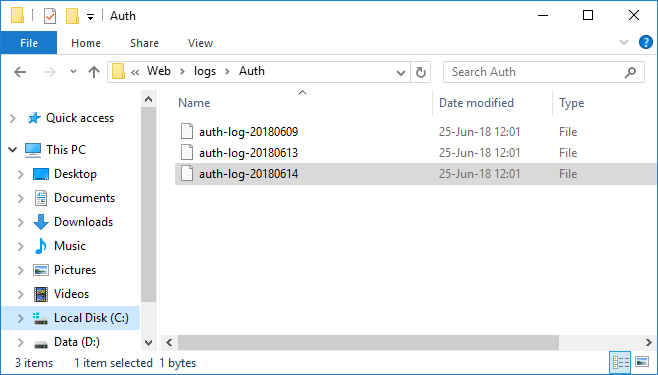
After that, in the folder Auth, located in the folder ../<ELMA folder>/Web/logs/, log files will be generated (fig. 12).
Fig. 15. Auth folder
Once the log files are displayed, open the log4net.config file and change the value of the level value parameter for "AuthLog" to OFF and save the changes.
|
|
Attention!
In order for single sign-on to continue working correctly after updating the ELMA system, it is necessary to do the following:
-
create a copy of the Web.config and Settings.config files in the …/<Folder with the ELMA system files>/Web/ folder;
-
-
rename the updated files Web.config and Settings.config in the …/<Folder with the ELMA system files>/Web/ folder as follows: Web_<version_number_of_the_updated_system>.config and Settings_< version_number_of_the_updated_system >.config. For instance, Web_3_13_13.config and Settings_3_13_13.config;
-
the move the previously copied files to the ../< Folder with the ELMA system files >/Web/ folder.
|
Copyright © 2006–2019 ELMA