Approving Performance Matrix
The mechanism for approving performance matrices is used to forbid users to add and/or delete SMART tasks and change their weight (from the moment they were approved and during their execution). Note that only the executor of a matrix can send it for approval.
Sending performance matrix for approval
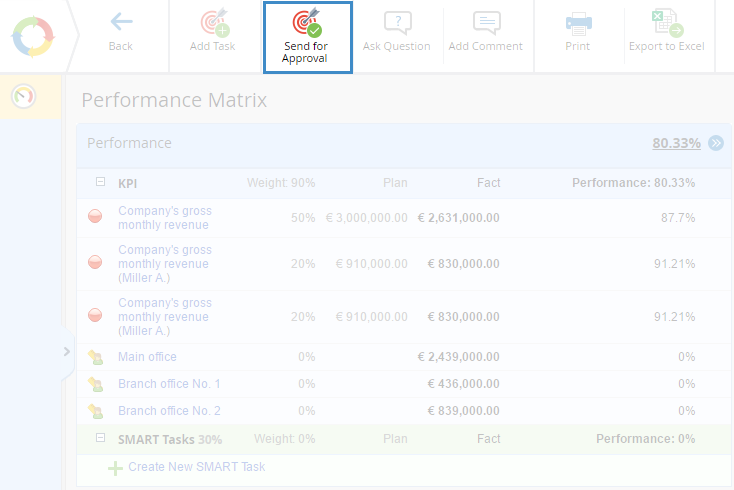
To send a performance matrix for approval, click Send for Approval in the upper menu of the Performance Matrix page (fig.1).
Fig. 1. Performance matrix page. Sending for approval button
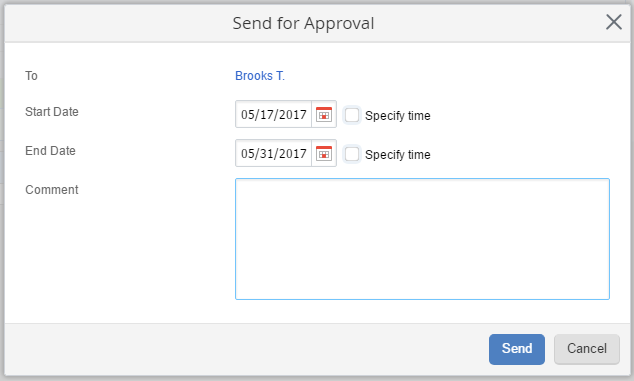
In the emerged form (fig. 2), the approver’s name is inserted automatically according to the performance matrix template. It’s impossible to change the approver in the form.
Fill in the required fields and click Send to continue.
Fig. 2. Sending a performance matrix for approval. Dialog Box.
To – this field shows all users who must approve the performance matrix. If you have selected the approver in the performance matrix template, this filed will filled out automatically.
Start Date, End Date – the date and the time when the approval task must be started and finished. By default, the past date cannot be specified as the start/end date. To specify the start/end time of the task, select the Specify time check box.
Comment – this field allows leaving a comment to the task.
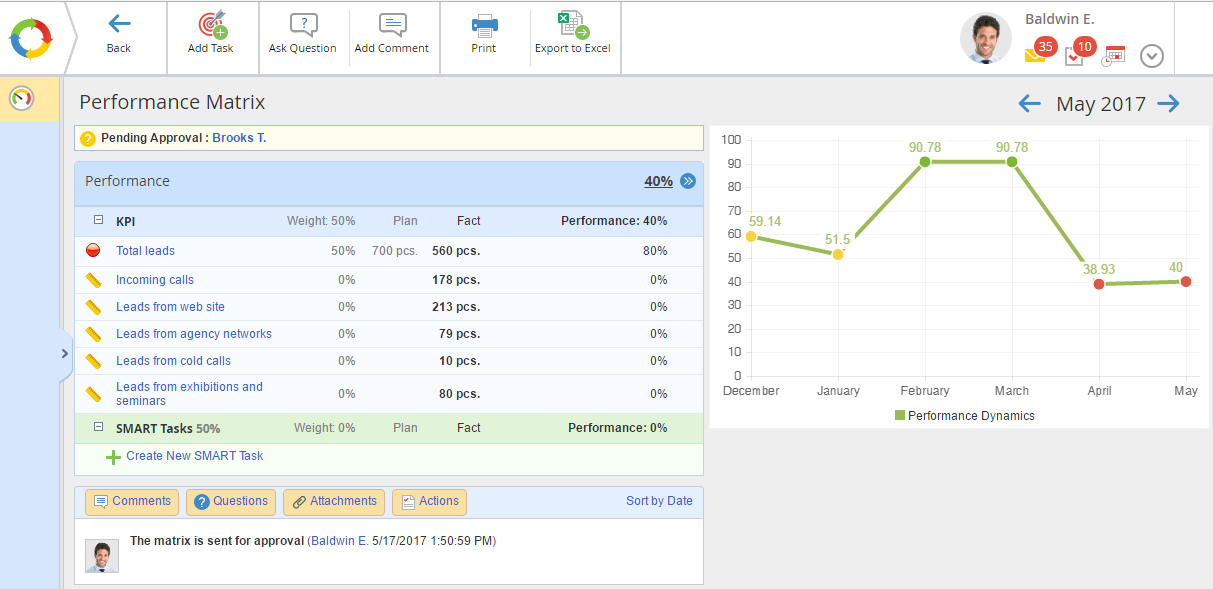
Once the matrix is sent for approval, a user receives the respective notification in the history tab of the performance matrix page (fig. 3). The notification shows the approver’s name and the status.
Fig. 3. Pending approval
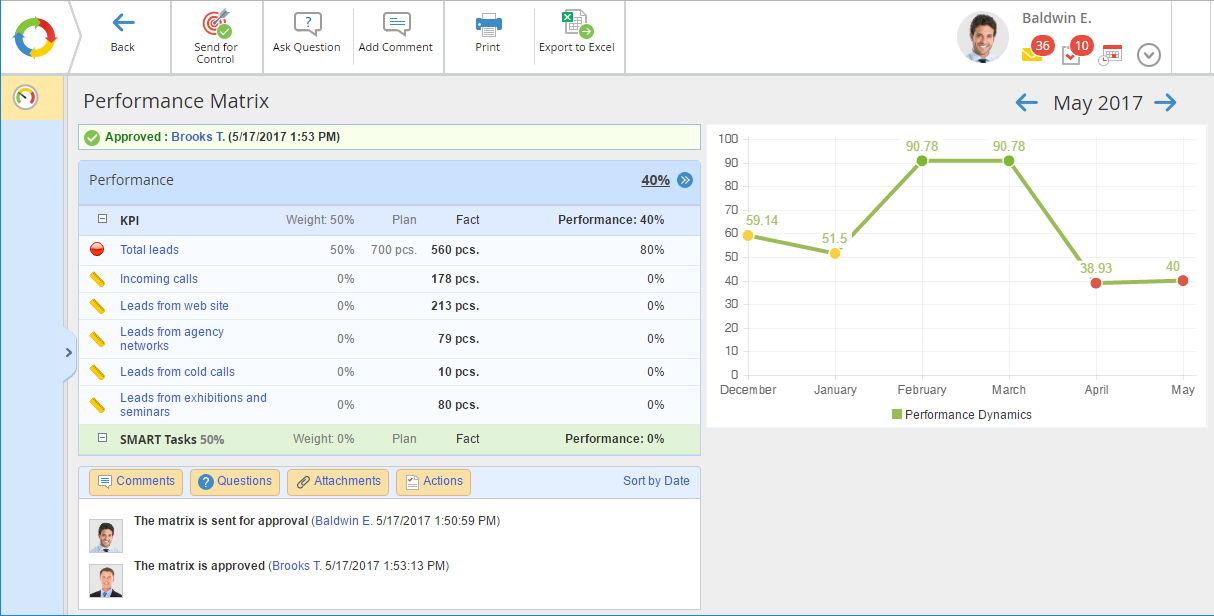
Once the matrix is approved, a respective notification will appear on the matrix page (fig. 4). Similarly, the Send for Control button will appear in the top menu of the page if the setting was configured in the template of the performance matrix.
Fig. 4. Approved performance matrix
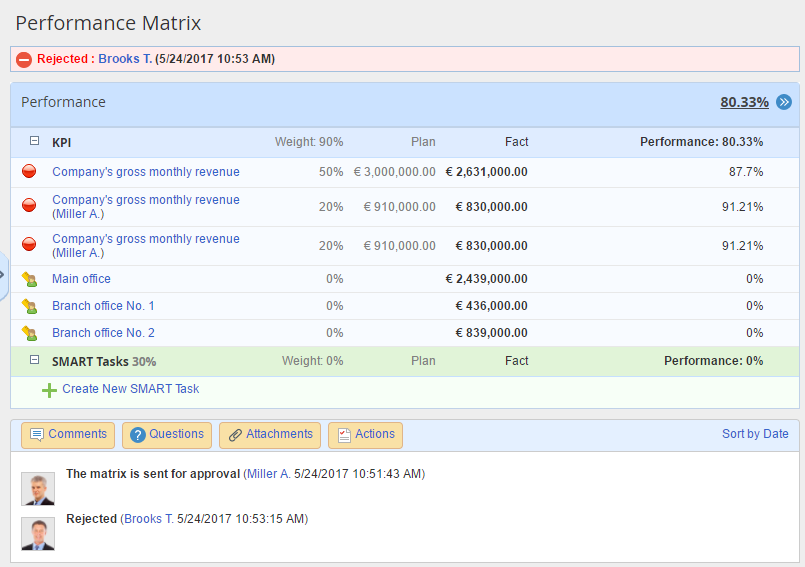
If a performance matrix hasn’t been approved, a user won’t be able to send it for control. A notification on rejection will appear in the history tab of the performance matrix page. The Send for Approval button remains available (fig. 5).
Fig. 5. Rejected performance matrix
Performance matrix approval task
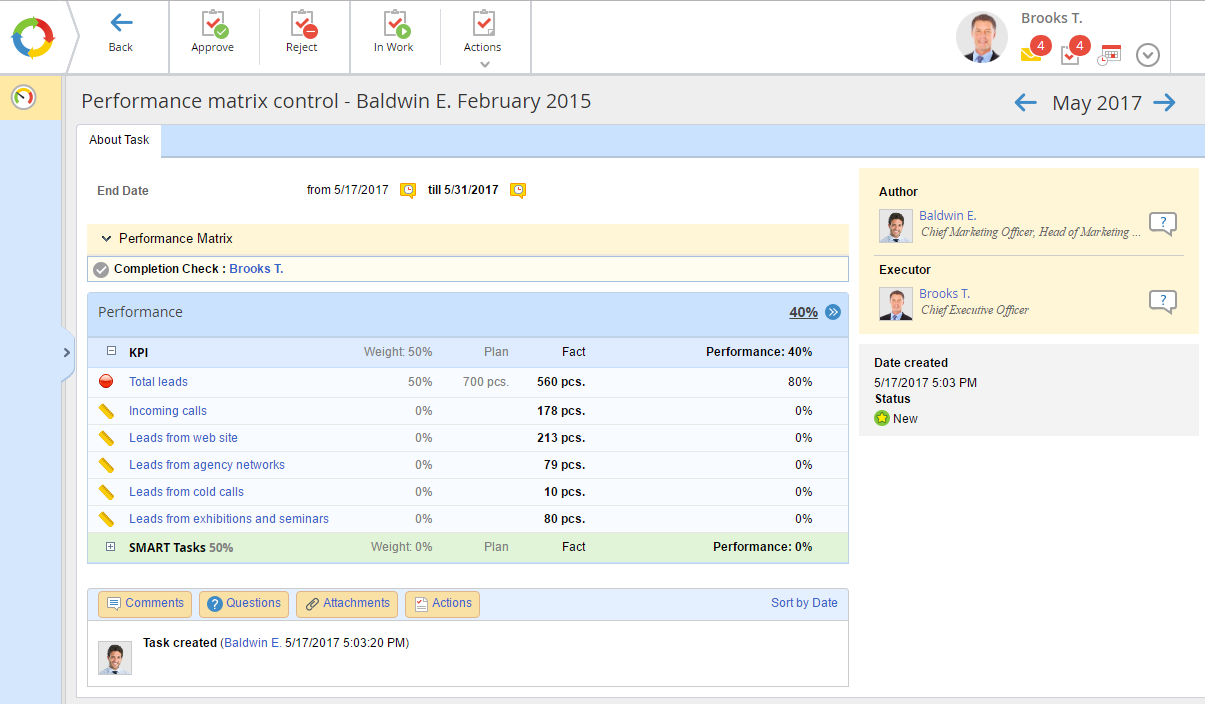
A user selected as an approver of the performance matrix, is assigned an approval task which contains the attached matrix. The task page is as follows (Figure 6):
Fig. 6. Page of the “Approve the performance matrix” task
The About Task tab shows task deadlines and the performance matrix. The approver can add and/or remove SMART tasks, change their weight, open KPIs pages, change grades and/or KPI values.
Top menu buttons
|
|
Go back to the previous page.
|
|
|
When you click this button, the performance matrix status will change to Approved. Once the performance matrix is approved, a user won’t be able to make changes in it, for example, add or delete SMART tasks, change weight coefficient, submitted time reports, grades and KPIs.
|
|
|
When you click this button, the performance matrix status will change to Rejected. It acquires the status Rejected. A user can always check the status of the performance matrix on its page.
|
|
|
When you click this button, the status of the task will change to In Work, the task subject will be highlighted in green. It´s not necessary to click this button, to be able to start working on the task.
|
|
|
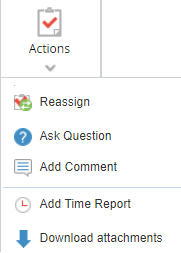
When you click the Actions button and/or the icon  , a drop-down menu opens with the following items: , a drop-down menu opens with the following items:
-
-
-
-
-
Download attachments - you can download the files attached to the task (including the files attached in a comment).
|
Adjusting performance matrix
The manager of the executor and the approver of a performance matrix can edit it even after approval. To edit a matrix, go to
KPI – Employees or
KPI – Company – All Employees and
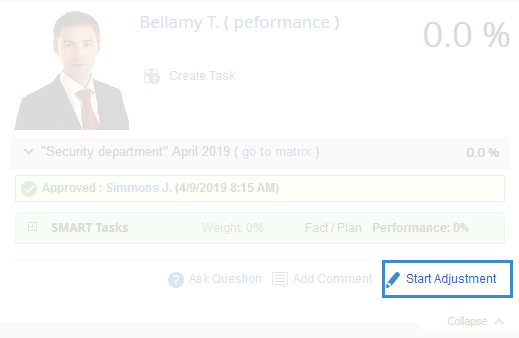
expand the required user performance matrix. In the lower right corner of the previously approved performance matrix, the
Start Adjustment link will be displayed (fig. 7), after clicking which you will be able to edit the list and weight of SMART tasks.
Fig. 7. Start adjustment link in user information unit in KPI – Employees
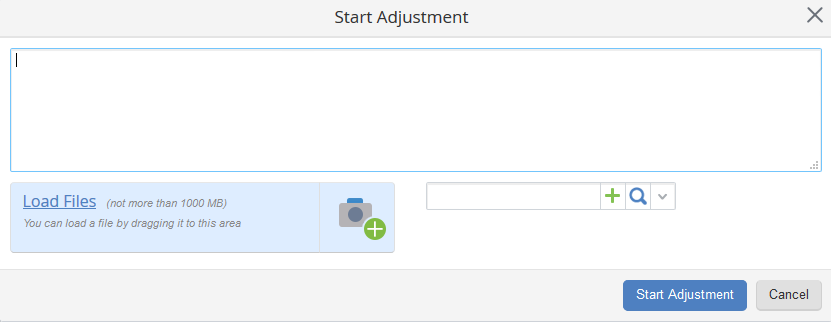
Fig. 8. Start adjustment dialog box
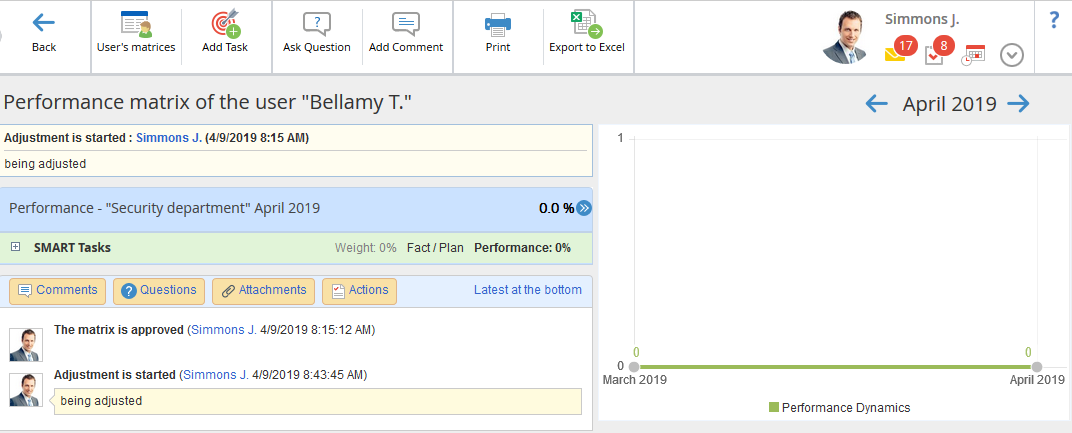
On the performance matrix page, you will see the notification that the adjustment has been started (fig. 9). The name of the user who started the adjustment and their comment will be displayed in this notification as well.
Fig. 9. Page of performance matrix being adjusted
Fig. 10. Finish adjustment link in user information unit in KPI – Employees
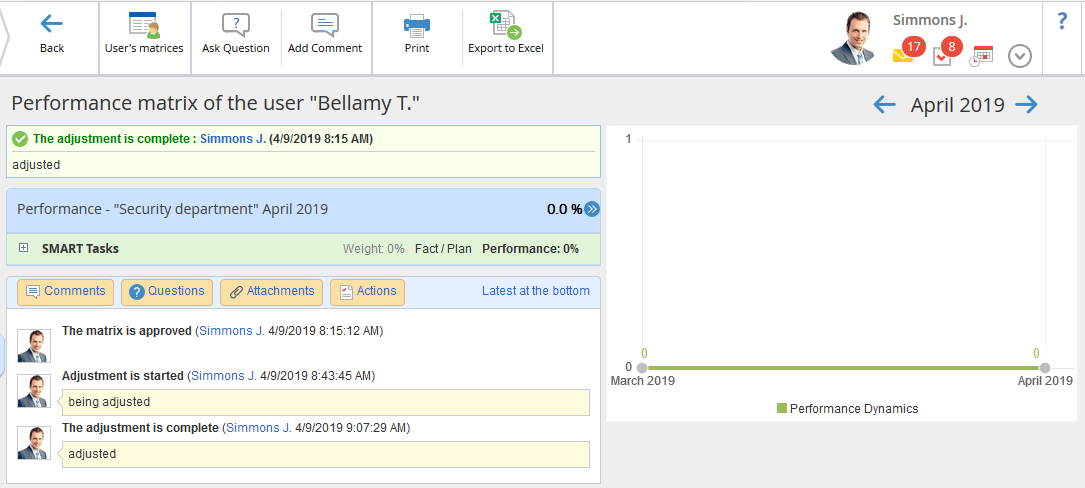
On the performance matrix page, a notification (fig. 11) that the adjustment has been finished will appear. The name of the user who made the adjustment will be displayed in this notification.
Fig. 11. Adjusted performance matrix page
The number of adjustments made to performance matrices is not limited.
Copyright © 2006–2019 ELMA