You can create a new project type in ELMA Designer, Projects tab.
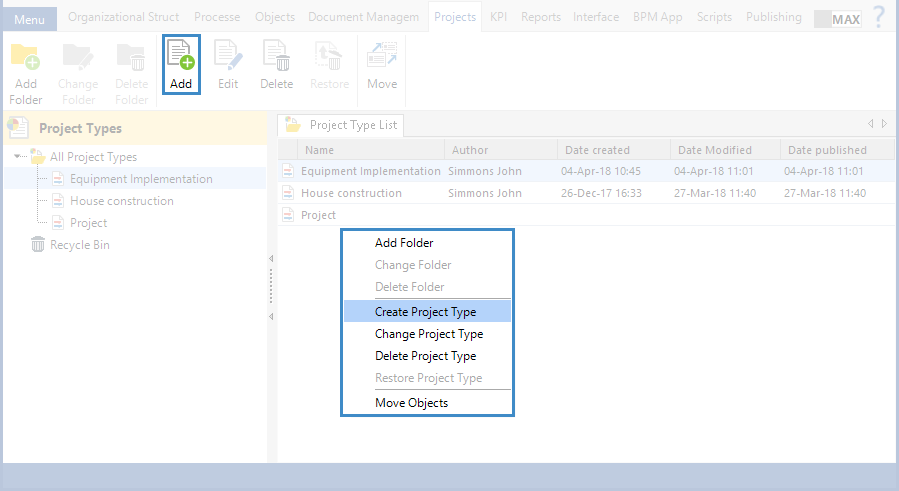
To create a project type, click Add in the toolbar, or Create Project Type, in the context menu (fig. 1).
Fig. 1. Buttons for creating a project type
Project creation wizard will open. The project creation includes four steps. To move to the next step or return to the previous one, use the Next and Back buttons respectively.
Step 1. General Settings
This step of project creation is similar to the step 1 of object creation. At this step, the Displayed Name *and Group *fields are required.
Step 2. Select Base Type
This step of project creation is similar to the step 2 of document type creation.
Step 3. Project Type Attributes
This step of project type creation is similar to the step 3 of document type creation.
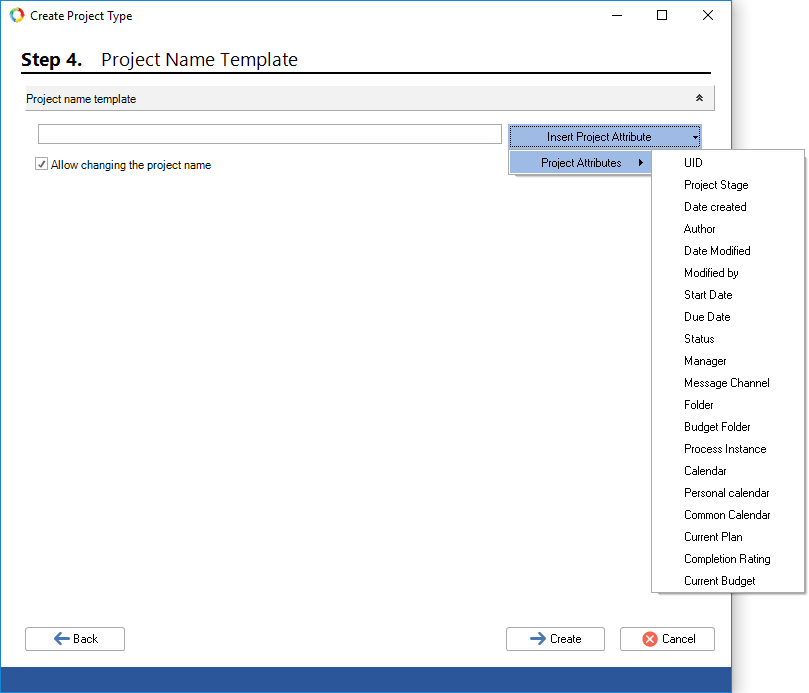
Step 4. Project Name Template
At this step, you define the template for generating names of projects of this type. This template will be used to generate names of projects, created in the web application. You can use project type attributes to generate the name (fig. 2).
To use a project type attribute in the project name template, click Insert Project Attribute and select the required attribute (fig. 2).
Fig. 2. Step 4. Project Name Template
To complete creating the project type, click Next. After that, the project type page will open, where you can edit the type.
To start working with the created project type in the web application, you have to publish it. To learn more about publishing objects, see the respective Help section.