The project type page displays all the information on the project type: its structure, settings and so on.
There are several ways to open a project type page:
-
-
-
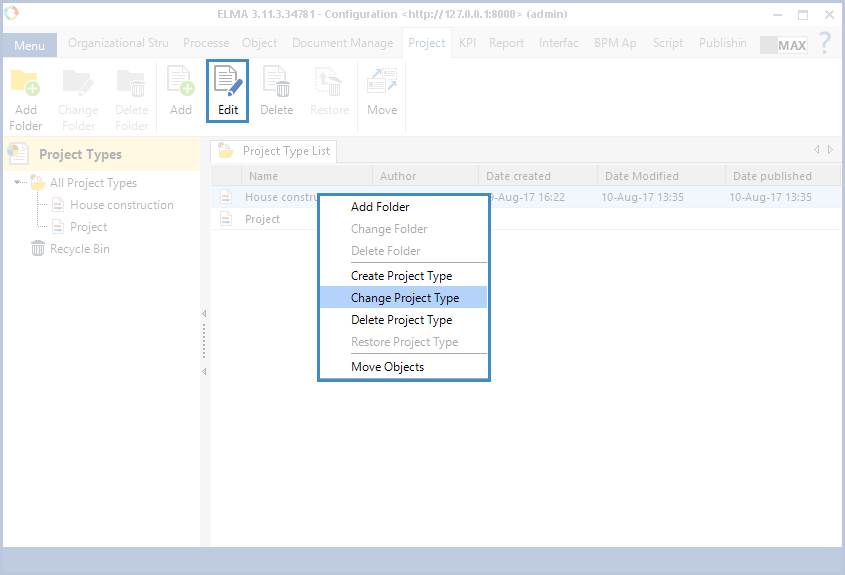
click the project type name with the right mouse button and select Change Project Type in the context menu (fig. 1).
|
|
|
Fig. 1. Buttons for opening the project type page
|
Project type page includes the following tabs (fig. 2):
|
|
|
Fig. 2. Project type page tabs
|
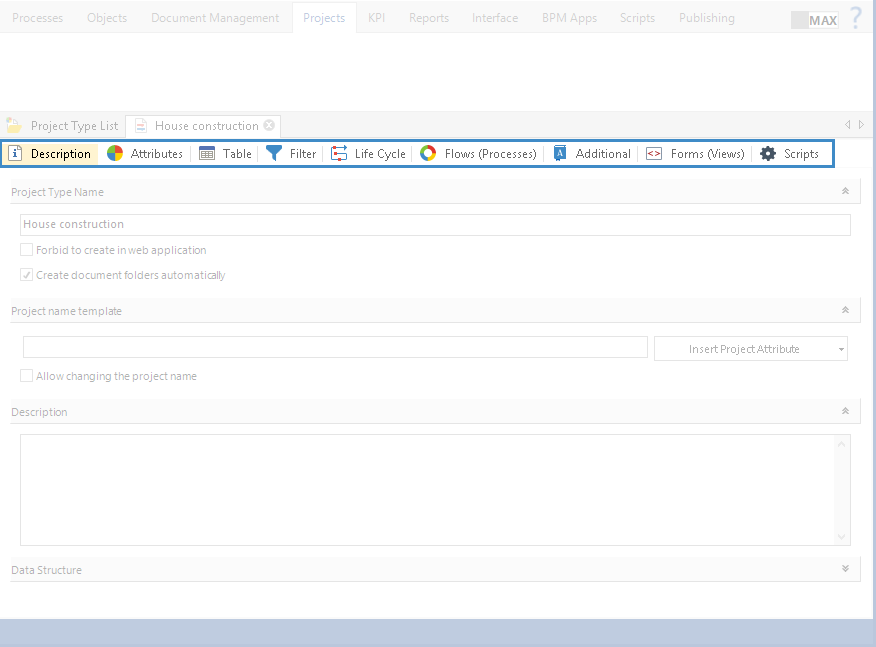
An example of the Description tab is in fig. 3.
|
|
|
Fig. 3. Project type page. "Description" tab
|
"Project Type Name" unit
The text field displays the project type name, entered when creating the project type at step 1. You can change the name, if necessary.
Forbid to create in web application – this parameter forbids creating projects of this type in the web application. You can use this feature, if the projects of this type will be created in business processes with scripts. It preserves the script logic.
Create document folders automatically – a folder with the project name will be created automatically in the Documents – Projects section when adding a project of this type. If this option is disabled, the folders for storing documents are defined when adding a project Web Application.
"Description" unit
In this unit, you can add the project type description.
"Data Structure" unit
Class Name * , Table in Database * – you have filled in these fields when creating the project type, at step 1. You can change these fields after they are created and published and before the first server restart. The fields are required.
This tab is similar to the Attributes tab of the document type page.
This tab is similar to the Table tab of the object page. The system "Project" type does not have this tab; it is displayed only in user project types.
This tab is similar to the Filter tab of the object page.
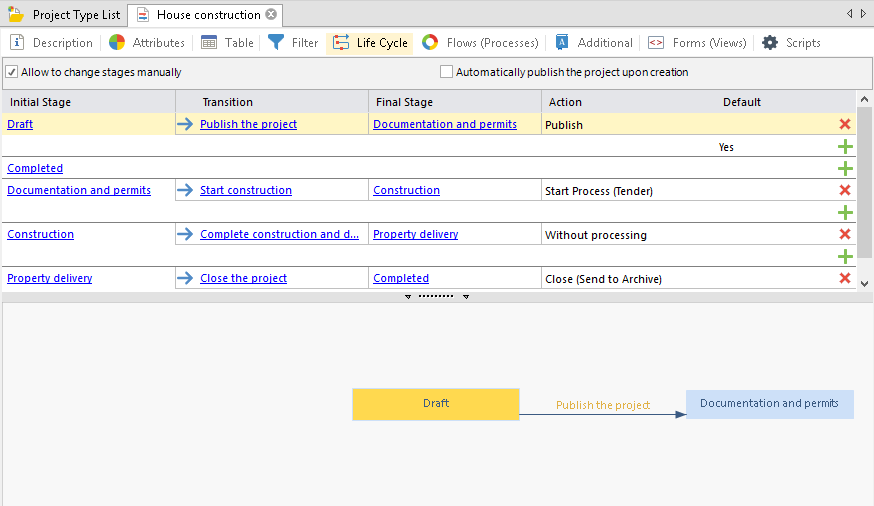
This tab is similar to the Life Cycle tab of the document type page, but it has Allow to change stages manually and Automatically publish the project upon creation features, and additional Action and Default columns (fig. 4).
Allow to change stages manually feature:
-
Checked – the Change Stage button will be on the project page in the web application. The button allows manually changing the project stage;
-
Unchecked – you cannot change the stage manually, it changes automatically (when a business process and/or script is executed).
Automatically publish the project upon creation feature:
-
Checked – automatically publish the project, when creating it;
-
Unchecked – the project is published when changing the stage.
In the Action column you can select the action to perform in the transition between stages. In the Default column select Yes for the stage, which will be the first, when creating the project.
|
|
|
Fig. 4. Project Type Page. "Life Cycle" tab
|
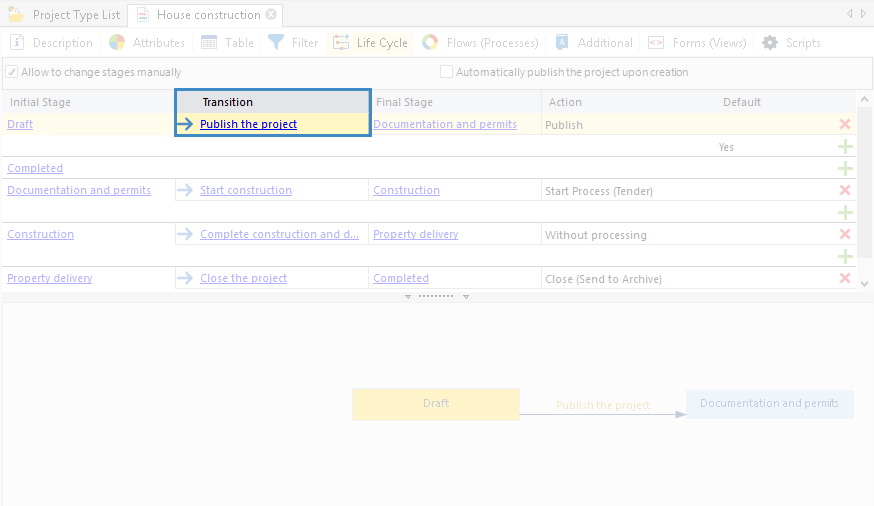
To select an action for the transition between stages, click the name of the required transition in the Transition column (fig. 5).
|
|
|
Fig. 5. Project type page. "Life Cycle" tab
|
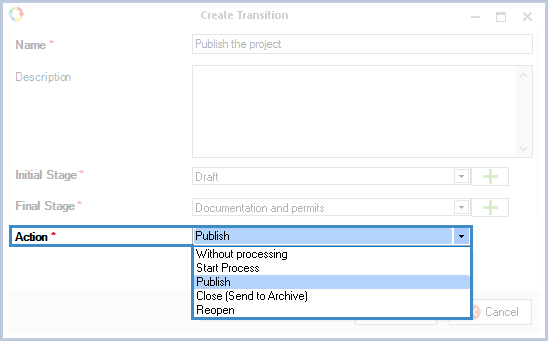
The opened dialog box is similar to the one, in the document type page, but it has the Action * field. You can select the required action in this field (fig. 6).
|
|
|
Fig. 6. "Create Transition" dialog box
|
Without processing – the project stage will change without any actions
Publish – when the stage changes, the project is published.
Close (Send to Archive) – when the stage changes, the project is closed (moved to Archive ).
Reopen – when the stage changes, the project is reopened (restored from Archive ).
Restore as draft – when the stage changes, the project status changes to "Draft". Choose this option only for a transition with the Completed initial stage and the Draft final stage, otherwise the status will not change.
"Flows (Processes)"
This tab is similar to the Business Processes tab of the document type page.
On this tab, you can add business processes, whose context ( context tab) contains the "Project" type variable as the input variable. Thus, the process you add will be available for starting on the project page.
This tab has several units: Inheritance and Hierarchy, Scripts, Show, Program Settings and Filter Settings. The last two of them are similar to the units of the Additional tab of the object page.
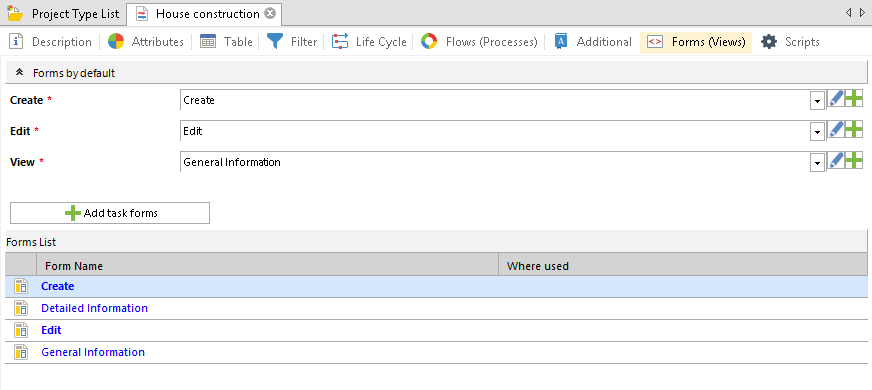
This tab is similar to the Forms (views) tab of a
document type page. The only difference is the
Add task forms button (fig. 8).
Fig. 8. Project type page. Forms (views) tab
The
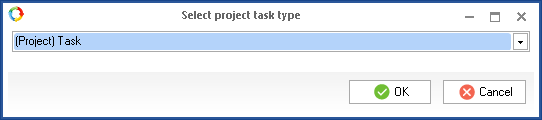
Add task forms button allows configuring forms for creating, editing and viewing tasks when working with this project type. When you click on this button, a dialog box for selecting a project
task type will open (fig. 9).
Fig. 9. Selecting a project task type
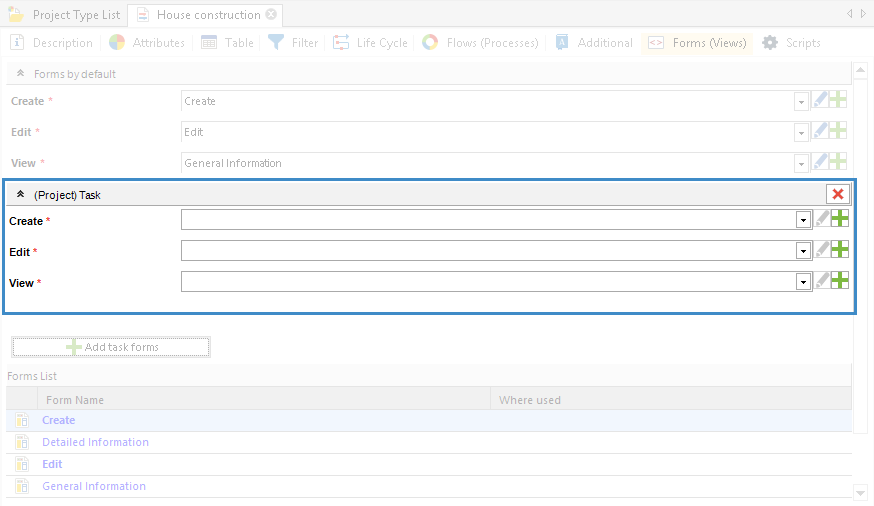
A panel with the selected task type will appear. In this unit you can create, configure and select forms (fig. 10). It is similar to the
Forms by default unit.
Fig. 10. Project type page. Forms (views) tab. Task (project) unit
This tab is similar to the Scripts tab of the object page.
Copyright © 2006–2019 ELMA