To be able to work in ELMA Agent,
download its installation media, and run it to
install the application.
Downloading ELMA Agent installation media
The installation media is available for downloading on the
user profile page in the
Downloads unit (fig. 1). This unit contains three links for downloading ELMA Agent:
Click on one of the links to download.
Fig.1. User profile. Link for downloading ELMA Agent setup file
Installing ELMA Agent
To install ELMA Agent, run the setup file. The process of installing ELMA Agent consists of several steps.
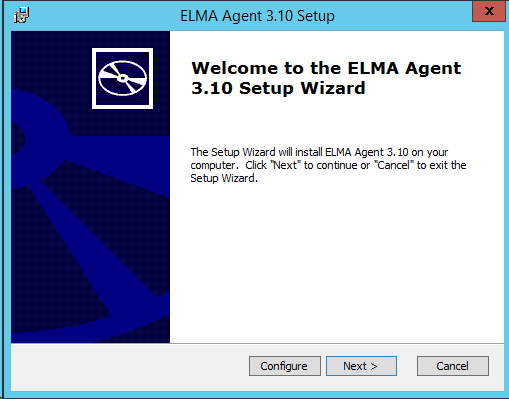
Step 1. On the start screen of the installation wizard, click Next (fig. 2).
Fig. 2. Start screen
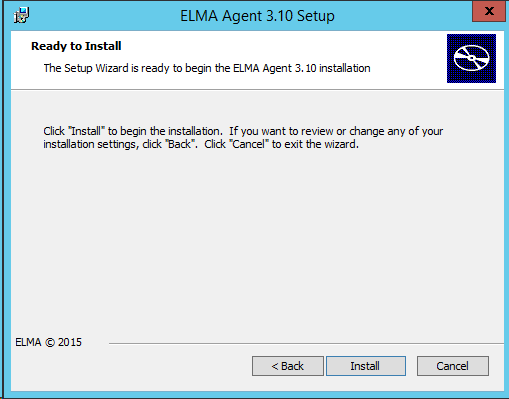
Step 2. To start the installation process, click Install (fig. 3).
Fig. 3. Step 2 of ELMA Agent installation
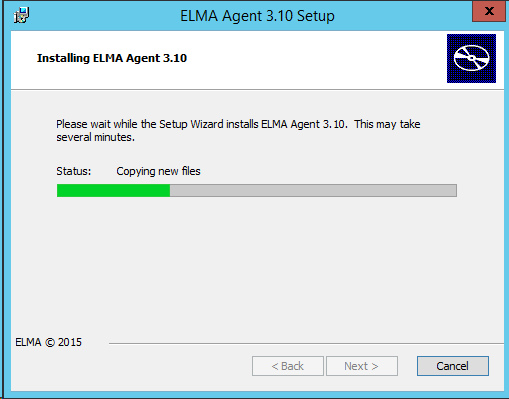
Step 3. At this step, components of the application are being installed to the local computer. This process can take several minutes, wait until it is complete (fig. 4).
Fig. 4. Installation progress
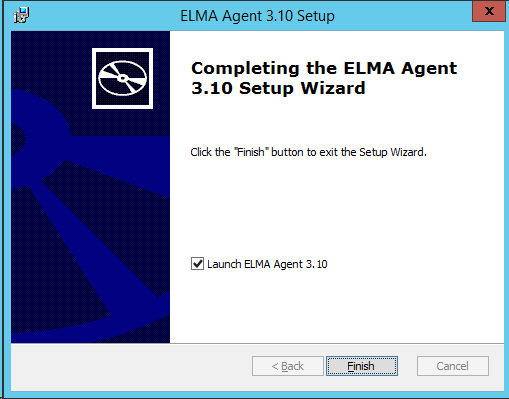
Step 4. To complete installation, click Finish. To start ELMA Agent as soon as the installation is complete, check the Start ELMA Agent box (fig. 5).
Fig. 5. Finishing installation
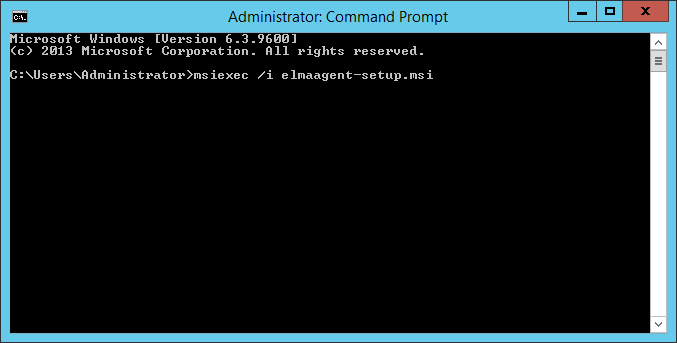
You can also install ELMA Agent via the command prompt and specify
additional parameters. To install ELMA Agent with the command prompt, run the command prompt (
Start – Run – cmd) and execute the following command:
msiexec /i elmaagent-setup.msi (fig. 6).
Fig. 6. Command prompt. Command for installing ELMA Agent
The installation wizard will open (fig. 2). All the steps of the wizard are the same.
When installing ELMA Agent via the command prompt, you can use additional parameters. In this case, the installation command will look as follows:
msiexec /i elmaagent-setup.msi FIRSTRUNCMD="<parameter1=parameter value> <parameter2=parameter value>"
Additional parameters that can be used when installing:
|
|
APPDIR – folder to install ELMA Agent to.
|
|
|
WEBSERVER – web server address, ELMA Agent will connect to.
|
|
|
NOAUTOUPDATE – disable auto-update of ELMA Agent. It is required, if the installation folder has been changed when installing via GPO, since when auto-updating ELMA Agent is reinstalled to the default folder - %AppData%\Roaming\ELMA\ELMAAgent.
|
|
|
LOGIN - login of the ELMA user, who will log in to the system.
|
|
|
PASSWORD - password of the ELMA user.
|
|
|
PROXY – proxy server address for establishing a connection.
|
|
|
PROXYPORT - proxy server port.
|
|
|
PROXYUSER – user login for the proxy server.
|
|
|
PROXYPASSWORD - user password for the proxy server.
|
|
|
ISPROXY (possible values – 1/true, 0/false) – use proxy server (0/false – do not use proxy server, 1/true – use proxy server).
|
|
|
STARTSTATUS (possible values - 1/true, 0/false) – connect to ELMA server when starting ELMA Agent (0/false – do not connect, 1/true – connect).
|
|
|
STARTOS (possible values - 1/true, 0/false) – automatically start ELMA Agent when starting the operating system (0/false – do not start, 1/true – start).
|
|
|
INTERVALCHECKDOC - interval for checking changes in documents (in seconds).
|
|
|
INTERVALCHECKCONNECT - interval for checking the server connection (in seconds).
|
|
|
DISABLEPLUGINS - disable additional plugins: ELMA Outlook Plugin and ELMA plugin for Microsoft Office:
|
|
|
-
plugin_EleWise_ELMA_Outlook_AddIn_ThisAddIn – disable ELMA Outlook plugin;
-
plugin_ElmaOfficeAddIn_AddIn – disable ELMA plugin for Microsoft Office.
|
|
|
MAKEDOCUMENTCURRENTVERSION
|
|
|
-
true – the Mark as current by default checkbox will be selected;
-
false – the Mark as current by default checkbox will not be selected.
|
Copyright © 2006–2019 ELMA