Resource Workload Bar Chart
-
|
|
|
Fig. 1. Resource optimizer. Resource workload bar chart
|
-
|
|
|
Fig. 2. Project plan page. Resource workload bar chart
|
|
|
|
Fig. 3. Resource optimizer. Resource list
|
List of project resources
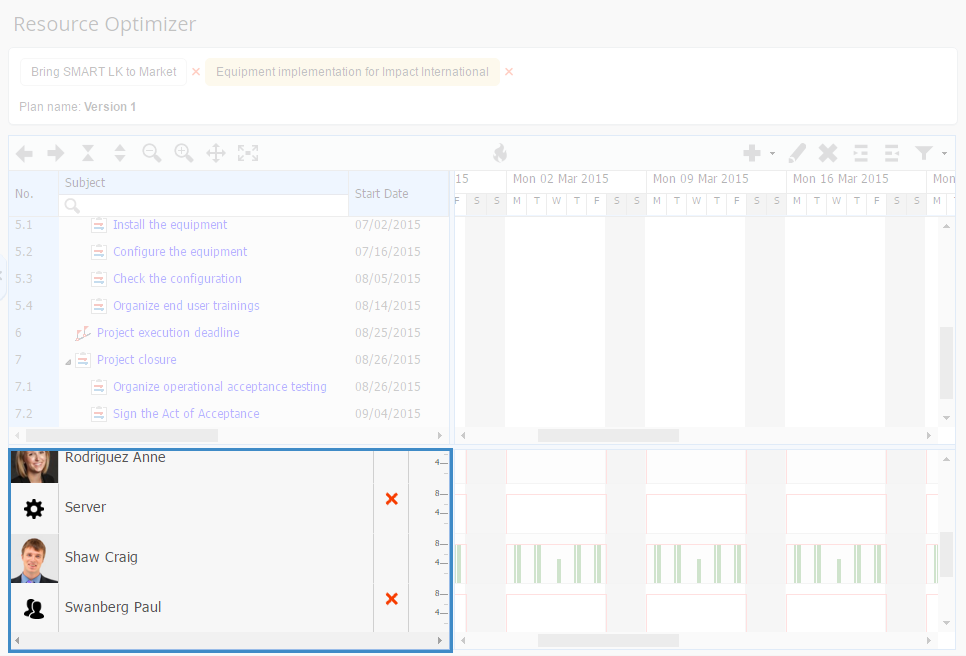
The list of resources (fig. 3) displays all the human and technical resources, involved in all the selected projects. The order of the resources is alphabetical.
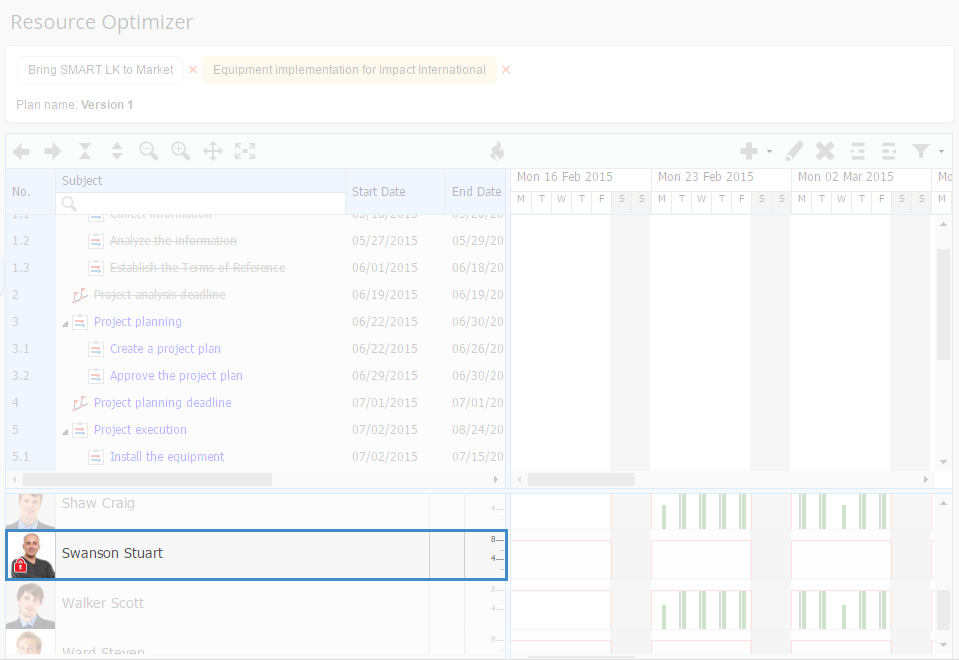
To the left of ELMA users, their profile photo is displayed. The  icon is displayed for the human resources, which are not ELMA users. The
  icon is displayed for technical resources. Photos of locked resources have the
  icon (fig. 4).
|
|
|
Fig. 4. Resource optimizer. Locked resource
|
If a resource is not involved in any project, the  icon is displayed. Click this icon, to remove the resource from the bar chart.
The right part of the resource list unit contains the time scale  , which allows tracking workload in hours.
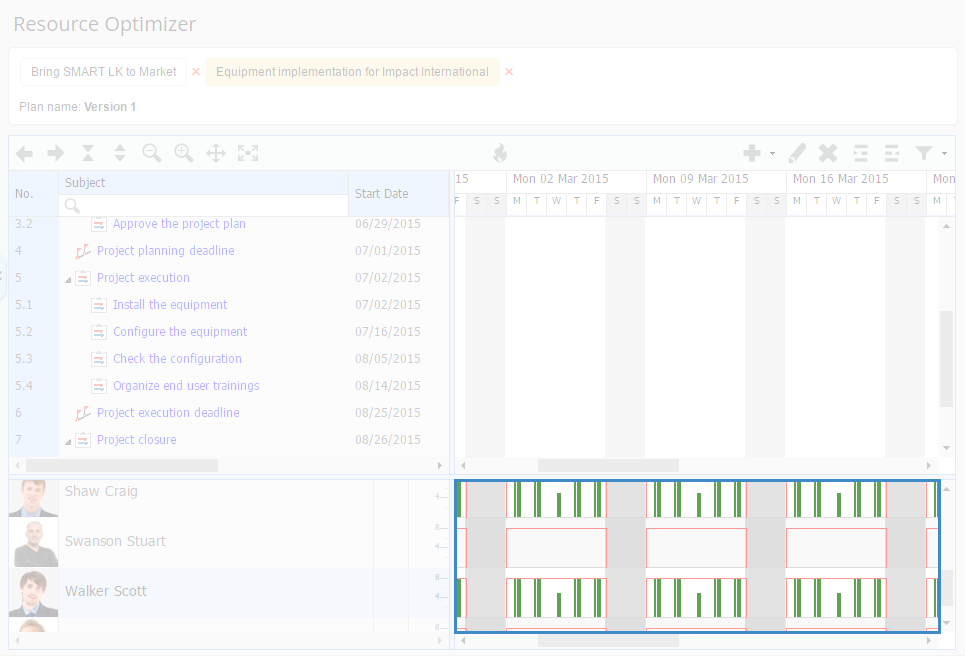
Workload bar chart (fig. 1) is a graphic representation of resource workload, which takes into account their workload in all the selected projects. If you open the resource workload bar chart on the project plan page, it will be generated according to the current project. Each resource has its own bar chart.
Fig. 5 shows an example of a resource workload bar chart.
|
|
|
Fig. 5. Resource workload bar chart
|
The workload bar chart consists of bars, placed along the time axis. Each bar is a week day, which can be split into several. The height of the bars depends on the workload and the number of working hours in the calendar.
The days, which are within the normal range, specified in the executor's calendar, are green. The overloaded days are red.
When you mouse over one of the bars, a dialog box with information on the resource workload on this day pops up (fig. 6).
|
|
|
Fig. 6. Information on the resource workload
|
When you double click on one of the bars, a dialog box opens (fig. 7), which displays the list of user's project tasks, scheduled for this day. In this dialog box you can change the period for displaying tasks.
|
|
|
Fig. 7. Resource workload information
|
Working with resource workload
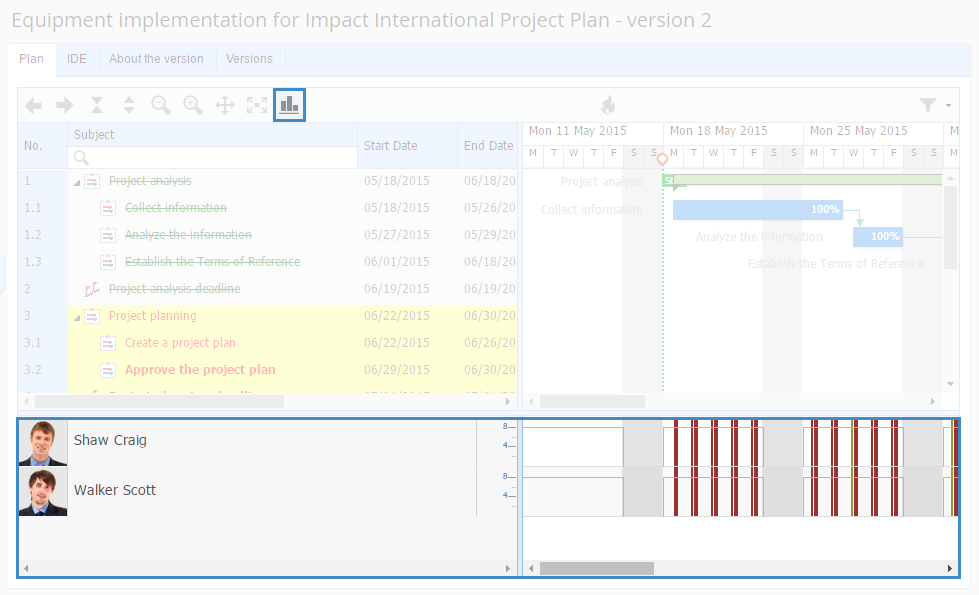
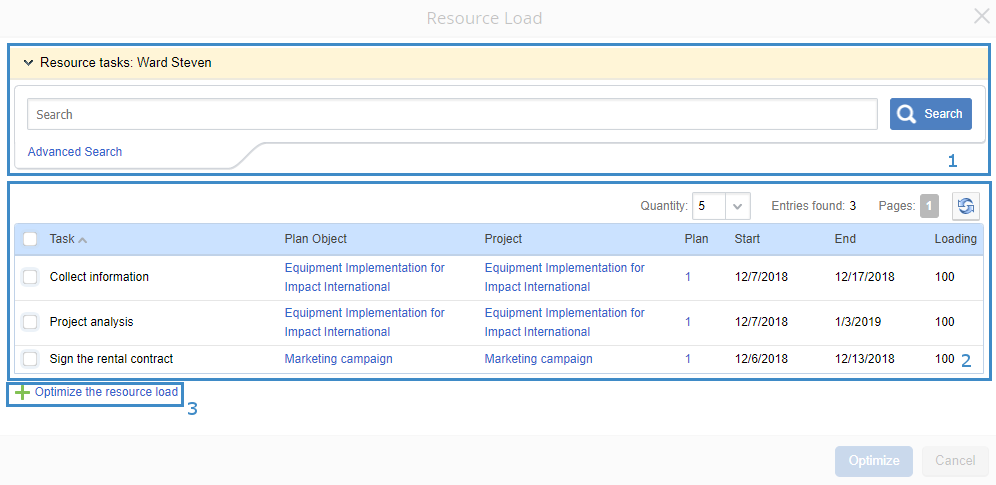
You can redistribute the workload of project human resources in the Resource Load window (fig. 7).
This window displays the Resource tasks: <Resource Name> panel, which also has an advanced search form (fig. 7, 1); the workload table (fig. 7, 2) and the Optimize the resource load button (fig. 7, 3).
The workload table shows all the tasks of the resource, scheduled for the selected business day. The table consists of the following columns:
Task – resource task name.
Plan Object – name of the project or sub-project, whose plan will be opened in the resource optimizer;
Project – name of the project or the parent project, if you select Sub-Project.
Start – task start date.
End – task due date.
Loading – resource workload percent.
To optimize the resource workload, select a task in the table, for which you want redistribute the load.
To select a task, check the box next to it. You can select several tasks, or all the tasks by clicking  in the table header.
To optimize the selected tasks, click Optimize the resource load. A dialog box for adding optimization will open (fig. 8). If no tasks are selected, the respective notification will be displayed.
Fig. 8. Optimization dialog box
In this dialog box, fill in the fields:
Resource* – the new human resource to redistribute the load. This field is required.
Action – the action, used to redistribute the load to the selected resource:
-
Add – add the human resource to the selected task;
-
Replace – reassign the task to the selected resource.
Load Percent – the selected resource's load percent of the total number of working hours allocated to completing the task.
To apply the optimization, click Add. To cancel the action, click Cancel.
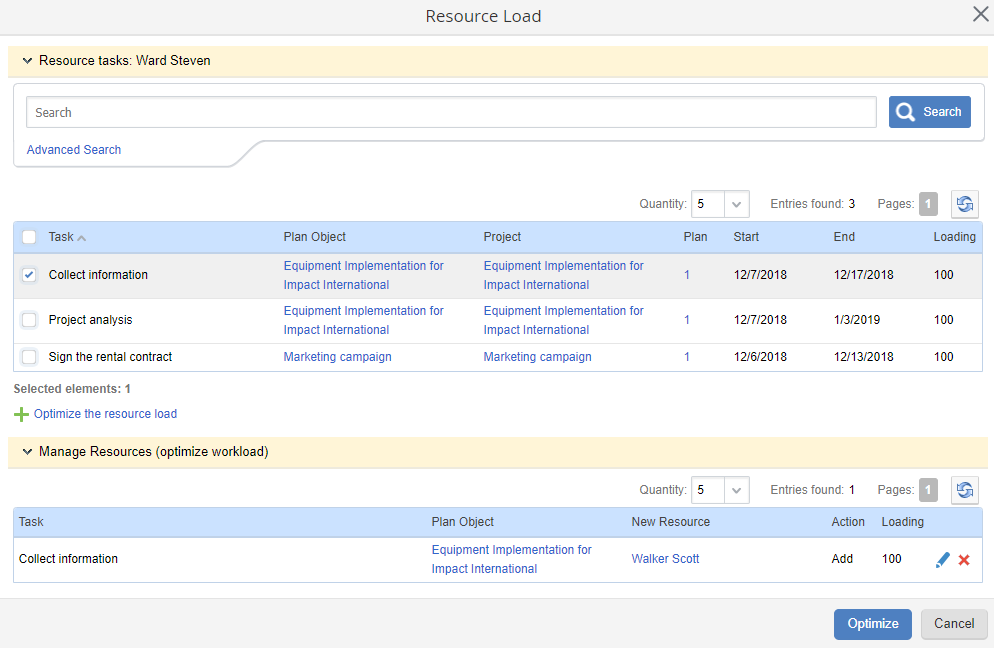
After adding the optimization, the Resource Load window will feature the Manage Resources (optimize workload) panel (fig. 9).
Fig. 9. Resource Load dialog box with added optimization
This panel contains another workload table, which specifies the optimization parameters. It consists of the following columns:
To change the parameters of an added optimization, click  next to the required entry (fig. 9). After that, the editing window will open, which is identical to the one for adding an optimization.
To delete an optimization, click  next to the required entry (fig. 9). To confirm deleting, click Yes in the opened dialog box.
To finalize workload optimization, click Optimize. To cancel optimization, click Cancel.
An optimized workload bar will change according to the optimization parameter. If after optimizing the resource workload will not exceed the limit, specified in the executor's personal calendar, the workload bar will be green.
Copyright © 2006–2019 ELMA