Any user can create events in ELMA. There are simple and periodic events. Periodic events repeat after a certain period.
You can create an event in ELMA in several ways:
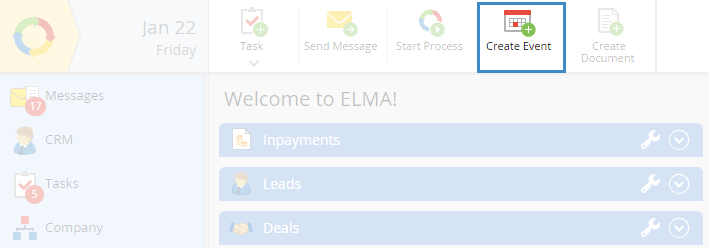
click Create Event on the system main page in the toolbar (fig. 1);
Fig. 1. "Create event" button in the top menu
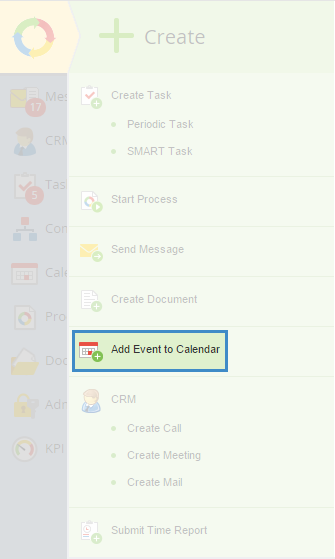
click Add Event to Calendar in the system main menu (fig. 2);
Fig. 2. "Add Event to Calendar" button in the main menu
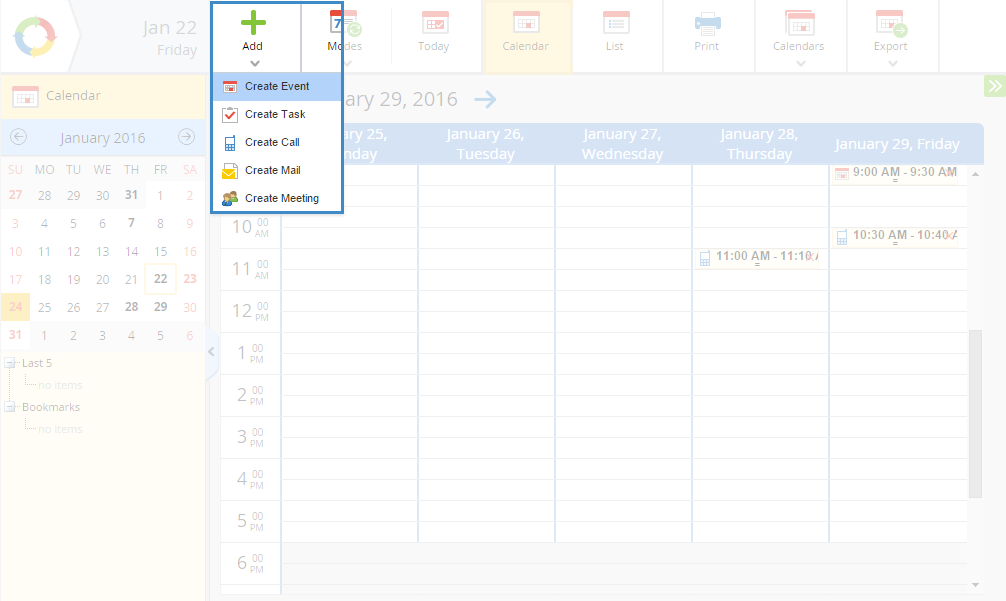
click Add - Create Event in the Calendar section (fig. 3);
Fig. 3. "Create event" button
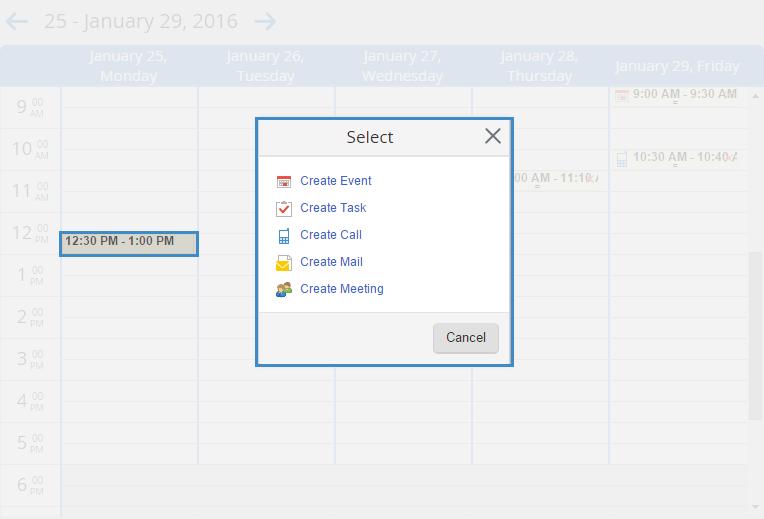
in the Calendar click the line with the time, you need to add an event to, and click Create event in the opened dialog box (fig. 4);
Fig. 4. Creating an event in the "Calendar" section
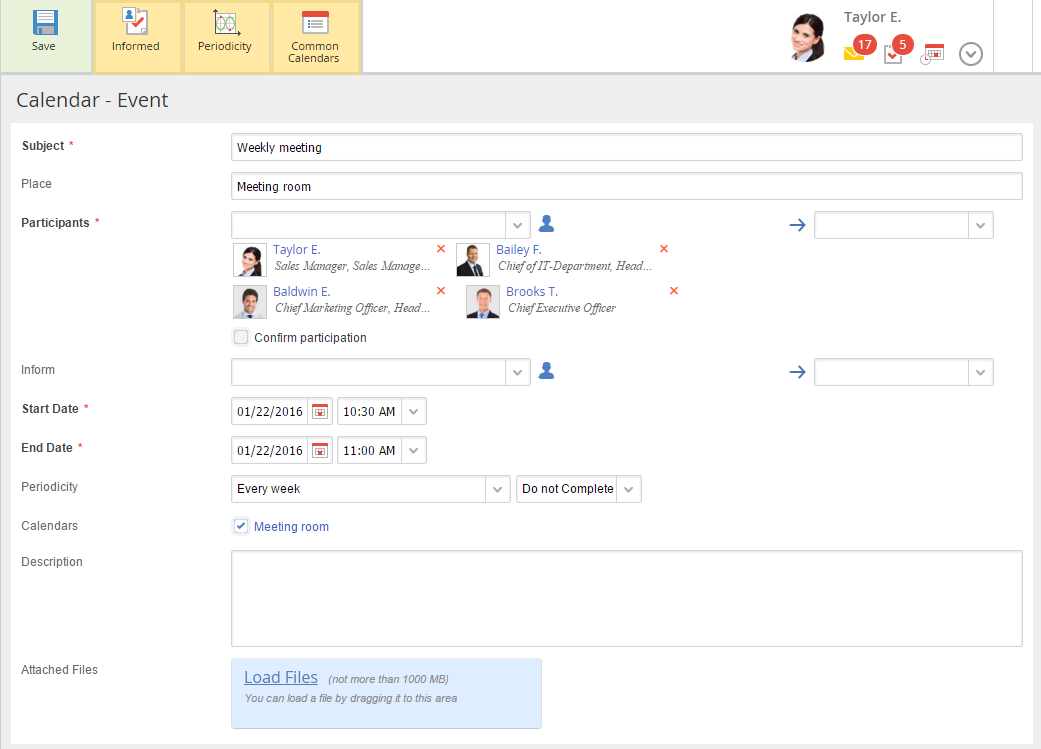
Fill in the required field on the opened page (fig. 5) and click Save.
Fig. 5. Create an event
Subject *– the event subject. It is displayed in the calendar and in the "Calendar" portlet. This field is required.
Place – the event place.
Participants *– select the event participants. Each selected user can view the event in their calendar. You can add user groups and individual users. All the event participants receive notifications on the event creation and editing. This field is required. Sometimes, you might see a notification that a user you want to add to the event is absent or substituted. You can still select this users; but there won't be any overlap warnings. The event will still be displayed in the calendar.
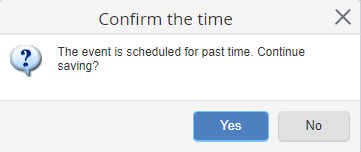
Start Date *, End Date *- the event start and end time. By default, the past date cannot be selected as a start date. However, if you want to reflect in the system the event that has already taken place today, you can specify earlier period as the event start and end time. An event can last several days. In this case, when saving the event, the system will open a warning dialog box (fig. 6)
Fig. 6. Warning dialog box
Description – the event description.
Attached Files – you can attach files from a local computer or external media to the event.
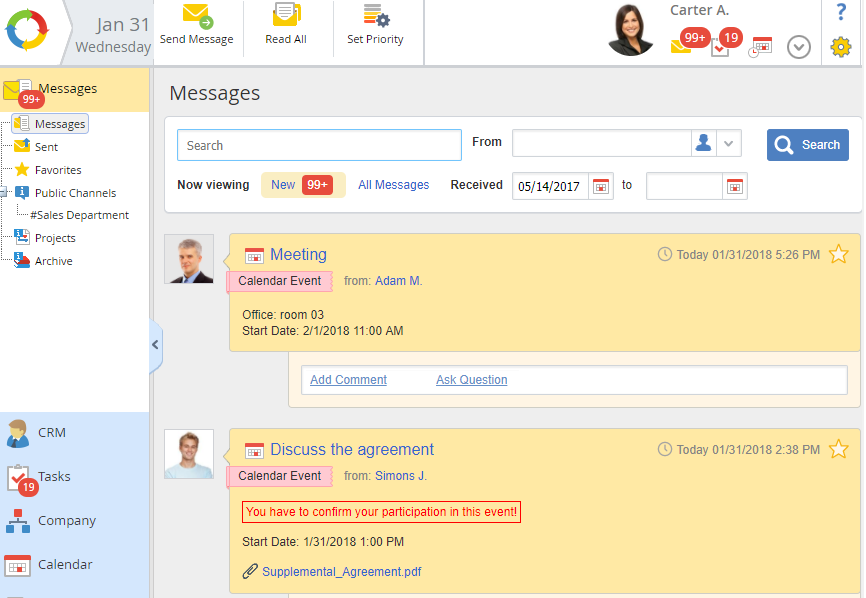
After the event is saved, its participants will receive a notification in the Messages section (Fig. 7), which will indicate the date, time and place of the event (if the latter was specified when creating the event).
Fig. 7. Messages section. Notification about new event.
Toolbar Buttons
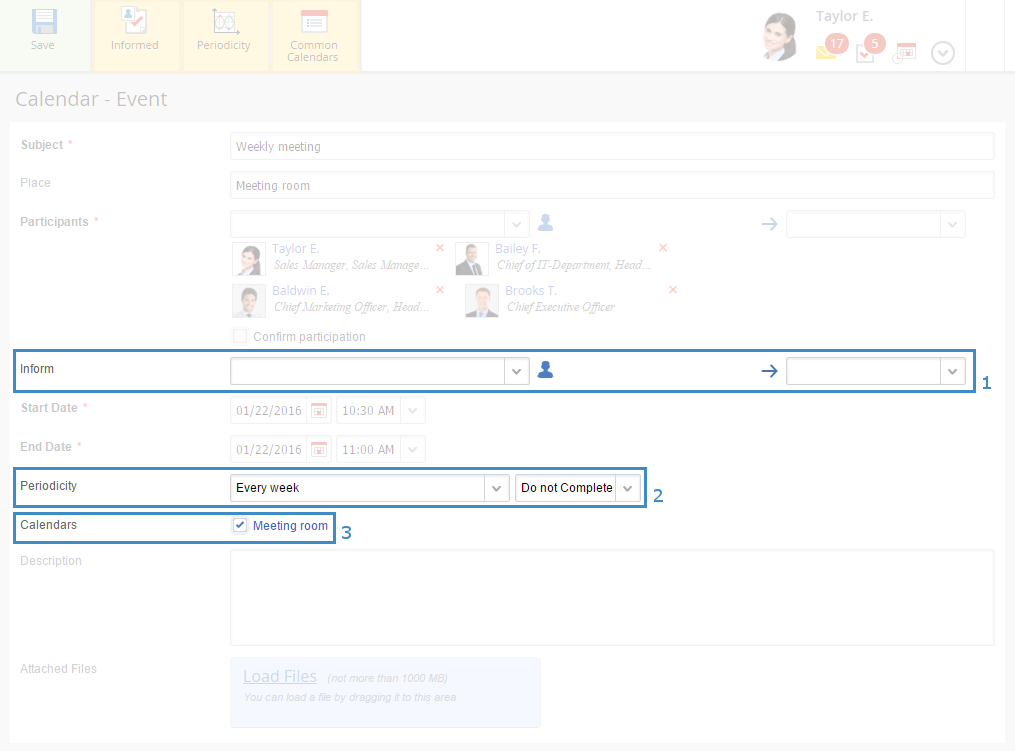
Add users to inform.
Add the Inform field to the creation page (fig. 8, unit 1), where you can select the users to inform. Each selected user can view this event in their calendar. The informed users do not have to participate in the event. The informed users receive notifications if the event has been edited.
In the calendar of the informed user, the subject of the event will be displayed in italics.
Add the Calendars field to the creation page (fig. 8, unit 3), which displays the common calendars, available to the user. To select a calendar, check its box.
This button is available if there are common calendars in the system and the current user has access permissions to edit common calendars. The system administrator assigns the permissions in Administration – Basic Applications – Common Calendars.
When active, the Common Calendars button is dark-yellow.
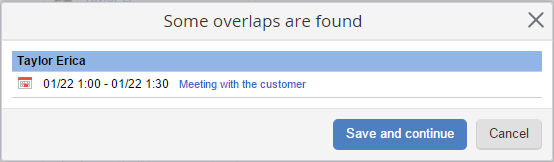
When you create an event, which takes place at the same time, as another created event, a dialog box with found overlapping will open (fig. 9).
Fig. 9. Dialog box with overlapping events
To view the overlapping event, click it.
Save and continue – the event will be saved and scheduled for the specified time. You will be able to see the overlapping in the calendar.
Cancel – the warning window will be closed and the user will return to the event creation page to change the event time.
Private Event
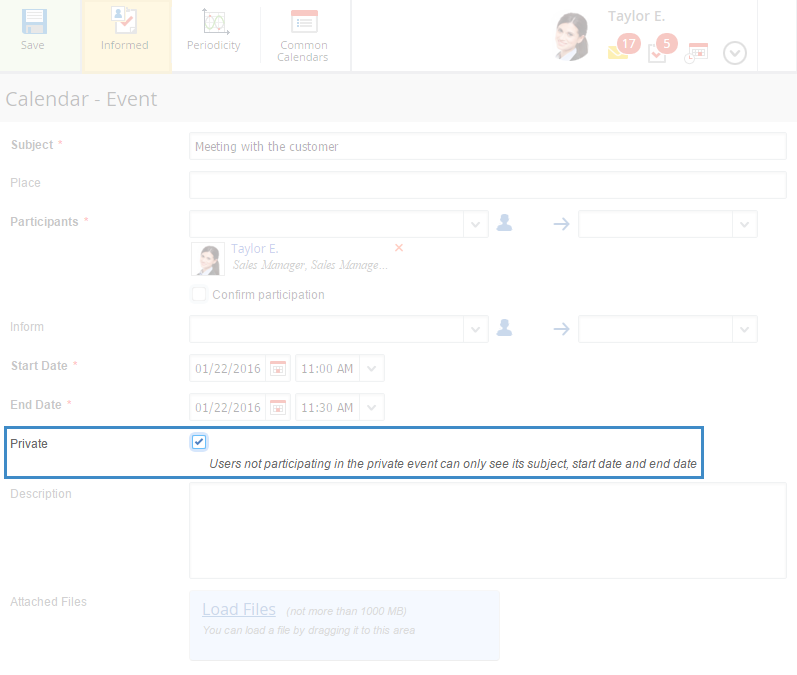
The event creation page contains the Private field (fig. 10), if you selected Yes in the Use Private Mode field in the calendar system settings.
Fig. 10. Event creation page. "Private" field
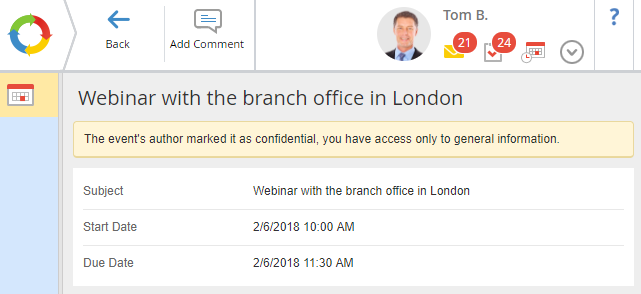
When the box is checked, the event becomes private - only the event participants can view its description. Other users, who have access to the calendar with this event, will only see its date and subject (fig.11). The event page will show the respective warning.