The contractor page displays all the information about the contractor.
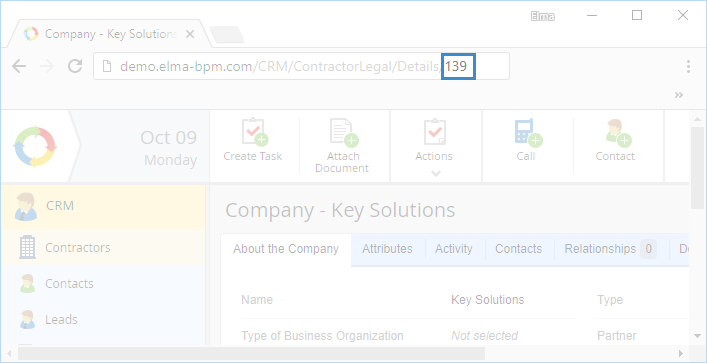
To open a contractor page, click on the name of the required contractor in the Contractors section; or in the URL bar of your browser enter http://<address_ of the ELMA_server>/CRM/Contractor/Details/<contractor_Id>. The Id is displayed in the URL bar of the web browser when you go to the contractor's page (Figure 1).
Fig. 1. Contractor page. Contractor ID in the URL bar
You can also open the contractor's page in any other system section, if the contractor name is a link.
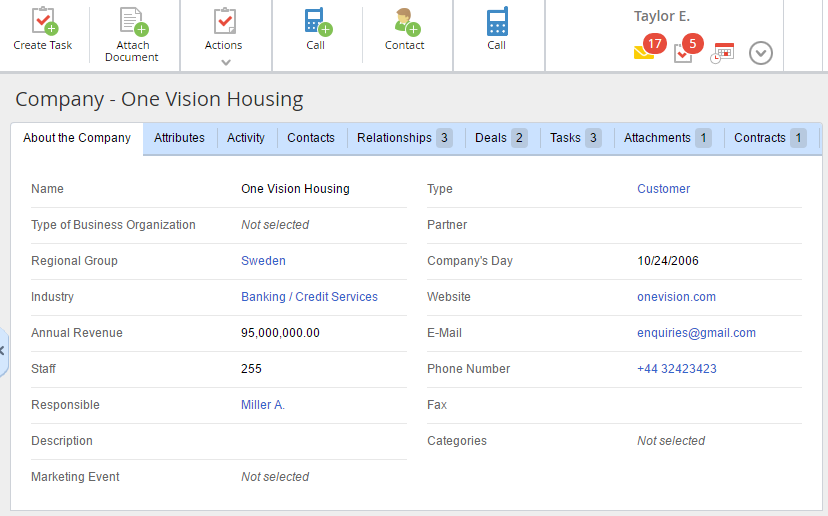
Fig. 2 shows an example of a contractor's page (company).
Toolbar buttons
|
|
When you click Create Task, a page for creating a task related to this contractor opens. The task will be displayed on the Tasks tab of the contractor page.
|
|
|
When you click Attach Document, a dialog box opens, where you can upload files from your computer or attach an ELMA document. To save the changes, click Add. The attached documents will be displayed on the Attachments tab of the contractor page.
|
|
|
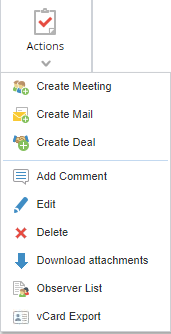
When you click Actions or  , a drop-down menu opens, where you can: , a drop-down menu opens, where you can:
-
-
-
-
-
edit the contractor page;
-
-
-
-
export the data from a contractor’s page in the vCard format
When you create mail, a meeting or a deal with a specific contractor, the Contractor field is filled in automatically.
|
|
|
|
|
|
|
Contractor page tabs
The active tab is highlighted white.
About the Individual/Company tab
This tab displays all the fields, filled in in the About the Individual/Company unit, when creating the contractor.
An example of this tab is shown in fig. 2.
The information in some fields is presented as a link, since it is an object instance. When you click on such a field, a dialog box with information opens. When you click on the name of a marketing activity, its page opens.
Attributes tab
This tab displays all the fields, filled in in the Addresses, Attributes, Bank Accounts, and Bank Cards (wallets) units when creating the contractor.
An example of the Attributes tab is shown in fig. 3.
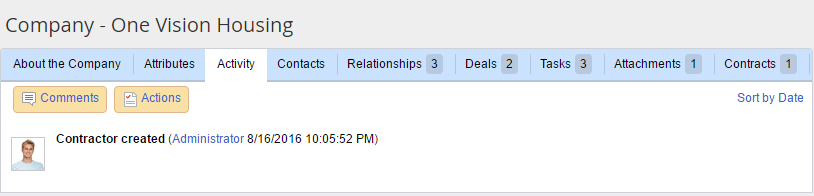
Activity tab
This tab displays the contractor history panel with all the comments and actions – editing and deleting the contractor, creating child objects, changing the list of categories, changing category permissions, changing access permissions.
An example of the Activity tab is shown in fig. 4.
The history panel contains several buttons:
|
|
Comments – comments, added to the contractor.
|
|
|
Actions – contractor actions history. When you click on this button, the following actions, applied to this contractor, are displayed:
|
When active, these buttons are dark-yellow. By default, both buttons are active and the history panel displays all the actions and comments chronologically.
If a use is subscribed to a contractor, and the contractor page is changed (a child object is created, edited or deleted, the category list is edited, permissions are edited), then the user will receive a notification about such changes.
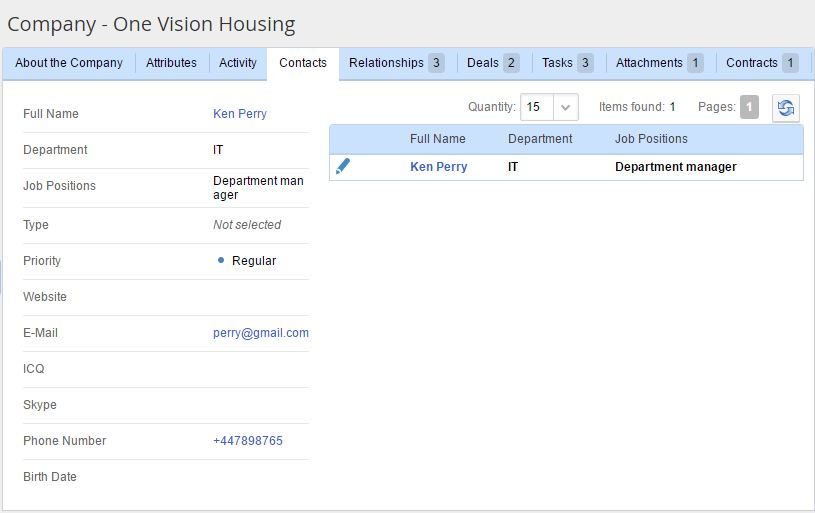
Contacts tab
This tab displays all the information about the contractor's contacts. This tab is available only on a company page, since adding contacts to an individual is impossible.
To add a contact, click Contact in the page toolbar and fill in the required fields on the opened page. To learn more about creating a contact, see the respective Help section.
An example of the Contacts tab is shown in fig. 6.
The right part of the tab contains a table with the list of the contractor's contacts. To view the information about a contact, click on the contact name. Use the  button to open the page for editing the contact. This page is similar to the page for creating a contact. To learn more about configuring the contacts table, see the respective Help section.
The left part of the tab shows the information about the selected contact. When you click the name of a contact in the Full Name field the contact page opens.
Relationships tab
An example of the Relationships tab is shown in fig. 7.
|
|
|
Fig. 7. Relationships tab
|
When you click on the name of a relationship, its page opens. When you click on a relationship author, a window with information about this user opens.
If a relationship has comments, they will be displayed in the table. To learn more about comments on relationships, see the respective Help section.
The color highlighting is the same as for tasks.
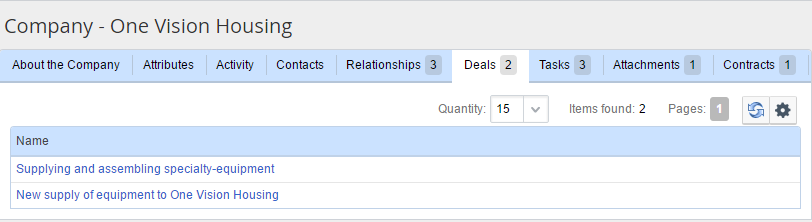
Deals tab
This tab displays all the deals, the contractor is involved in. This table can be configured.
An example of the Deals tab is shown in fig. 8.
When you click on the name of a deal, its page opens.
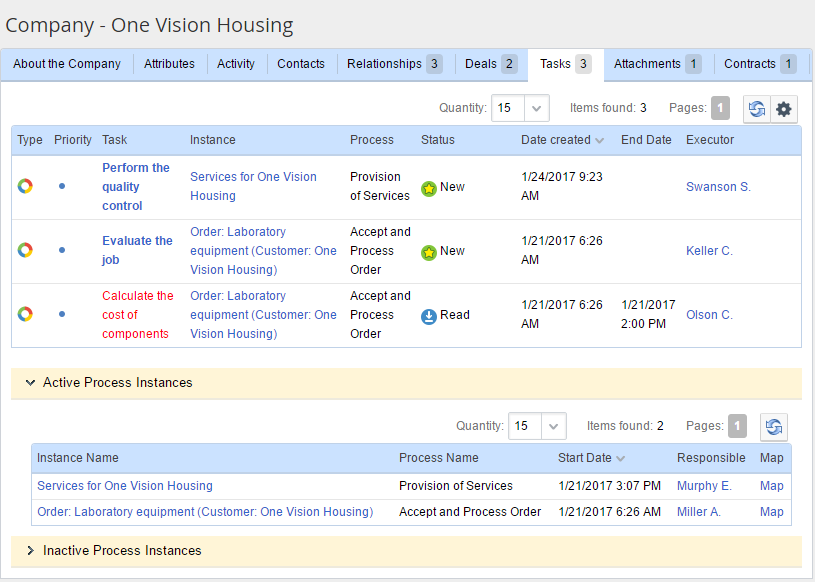
Tasks tab
This tab displays user tasks on this contractor. When you click on the name of a task, its page opens. The table can be configured.
The Active Process Instances panel contains a table with active process instances. Process instances are displayed if the process context contains a Contractor type variable and the current contractor has been selected as the value of this variable. For each instance, the process name, start date and responsible user are displayed. Additionally, you can open the process map.
The Inactive Process Instances panel contains a table with completed process instances. This table is similar to the previous one.
An example of the tasks tab is shown in fig. 9.
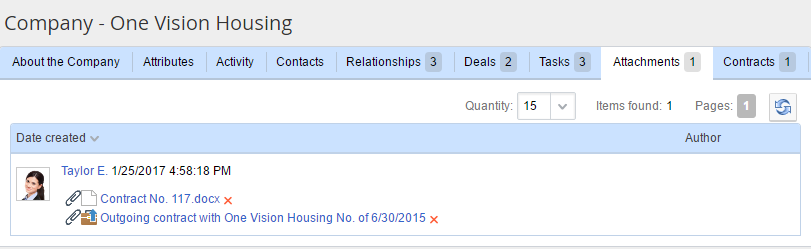
Attachments tab
This tab displays the list of all the files and documents, attached to this contractor.
To add an attachment, click Attach Document in the toolbar of the contractor page and select the required files in the opened dialog box. To save the changes, click Add.
An example of the Attachments tab is shown in fig. 10.
Click Date Created or Author in the table header to sort the data in the table.
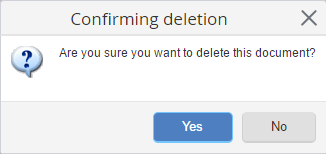
To delete an attachment, click  to the right of an attachment. In the opened dialog box (fig. 11), click Yes.
|
|
|
Fig. 11. Dialog box for deleting an attachment
|
Access tab
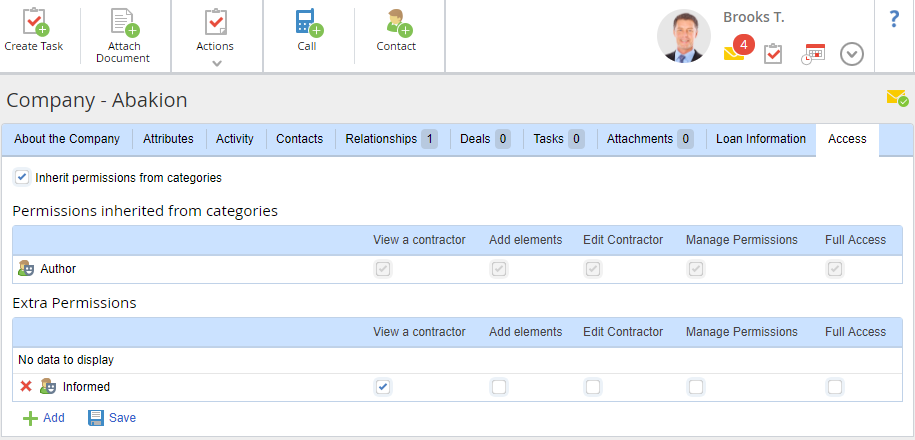
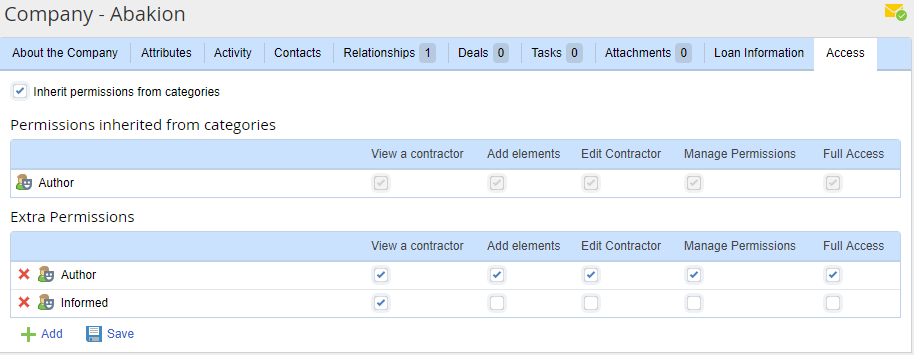
Access to a contractor can be assigned by a user with at least Manage Permissions access level. Access to a contractor is assigned on the Access tab of the contractor page (fig. 12). After setting up the required access permissions on this tab, click Save.
Inheriting permissions from categories
Inherit permissions from categories – check this box to inherit access permissions from the contractor's category.
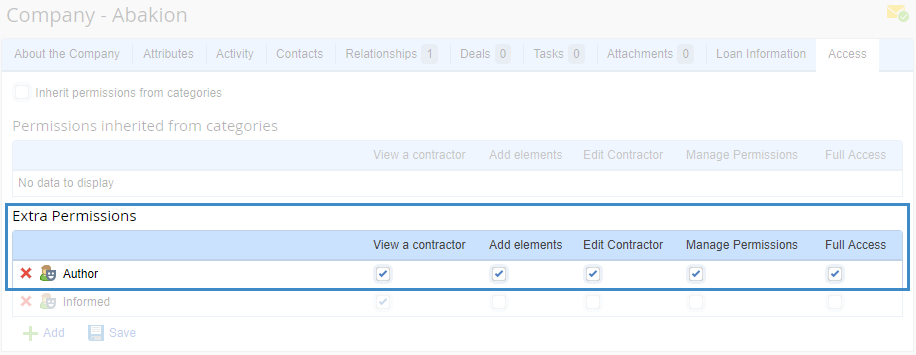
If you uncheck this box, a dialog box will open (fig. 13), where you need to confirm your action.
After that, the access permissions specified in the contractor's category will be displayed in the Extra Permissions unit (fig. 14). Note, that these access permissions will become editable.
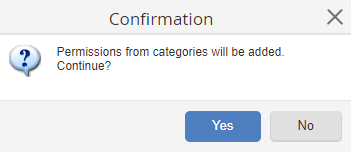
If you check the Inherit permissions from categories again, a dialog box will open (fig. 15), where you need to confirm your action.
After that, the access permissions specified in the contractor's category will be displayed in the Permissions inherited from categories and Extra Permissions units (fig. 16).
Note, that the permissions specified in the Extra Permissions unit have higher priority than the ones in the contractor's category.
Tab content
The tab consists of several units.
The
Permissions inherited from categories unit shows all the objects (users, user groups, organizational structure items, etc.) with their access permissions to this
contractor, according to the contractor's category. Access permissions in this unit cannot be changed. The
Permissions inherited from categories unit displays access permissions only if the Inherit permissions from categories box is checked.
In the
Extra Permissions unit, you can assign access to the current contractor. To assign additional permissions, click
Add under the unit. In the opened window,
select the required object to assign access to, and click
Select. The object will be added to the unit. Now you can check the boxes for the corresponding access levels and click
Save.
If you click on

next to an object, it will be deleted.
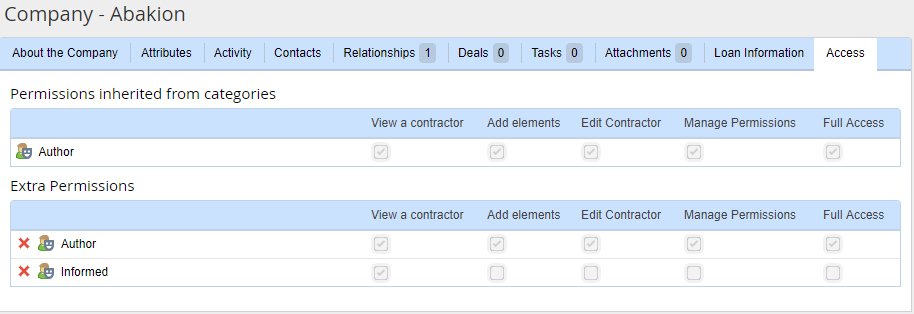
Note, that users with levels "View a contractor", "Add elements" and/or "Edit Contractor" can open the Access tab only for viewing (fig. 17).
|
|
|
Fig. 17. Access tab for users who cannot manage permissions
|
Copyright © 2006–2019 ELMA