There are several ways to create a property in ELMA:
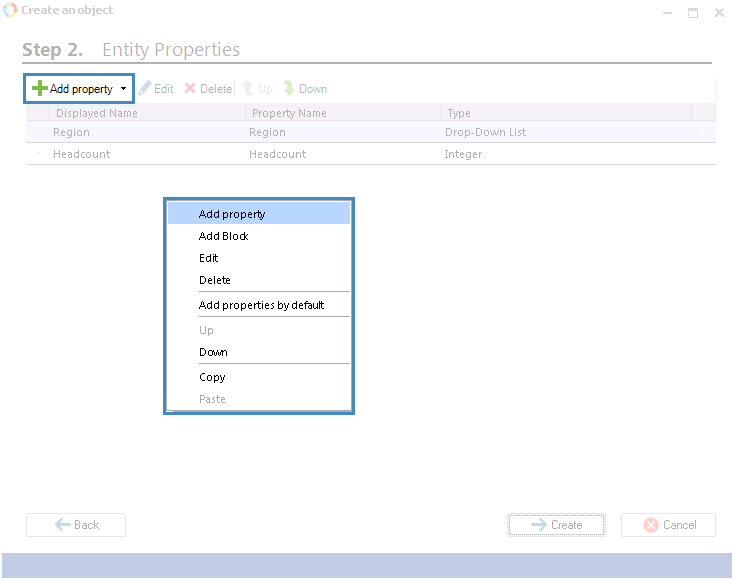
when you are creating an object, at step 2 click Add Property in the toolbar or the context menu (fig. 1);
Fig. 1. Dialog box for creating an object. "Add Property" buttons
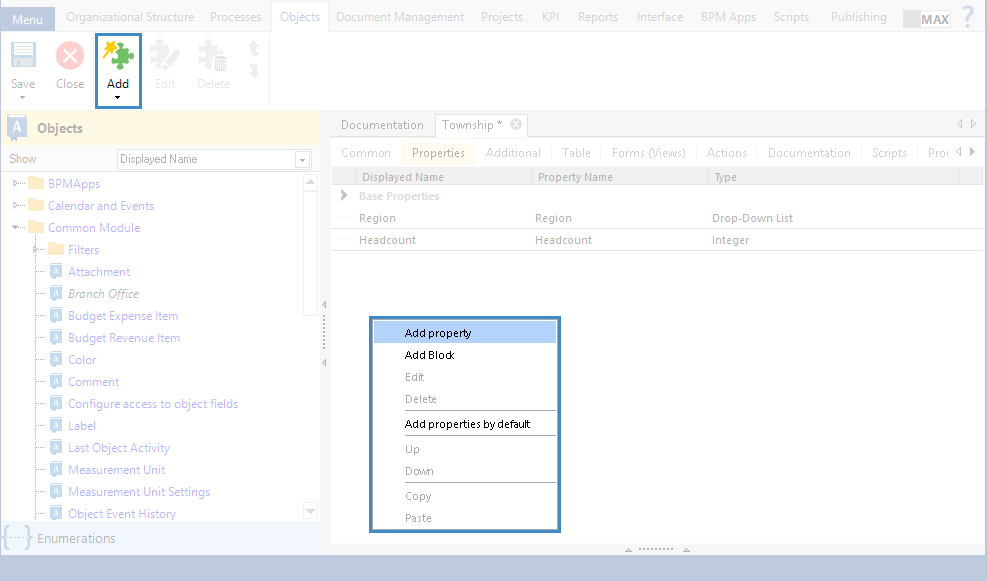
click Add in the toolbar or Add Property in the context menu of the object page, Properties tab (fig. 2).
Fig. 2. Object page. "Properties" tab. Buttons for creating an object property
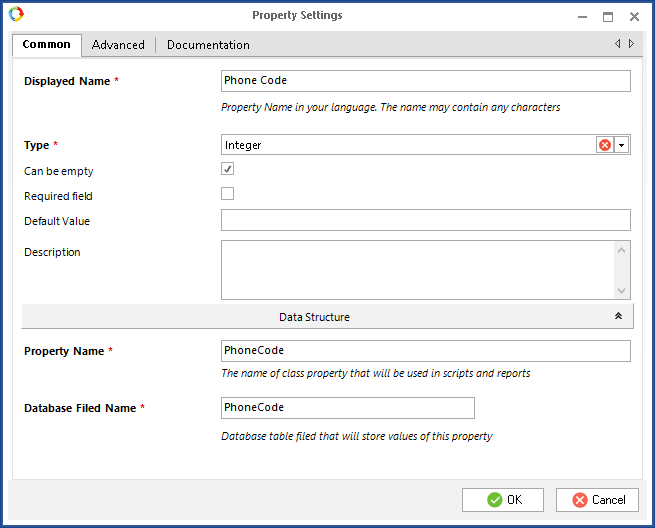
Fill in the required fields in the dialog box and click OK. The dialog box for creating an object property includes several tabs: Common, Additional, Documentation.
Type *– property type. This field is required. Note, that after you restart the server, you cannot change the property type.
Required field – if you check this box, this field will be required for filling in.
Description – object property description.
"Data Structure" unit
Property Name *– unique name of the object property. It is filled in automatically when you fill in the Displayed Name *field. You can fill in this field manually, if necessary. This field is required.
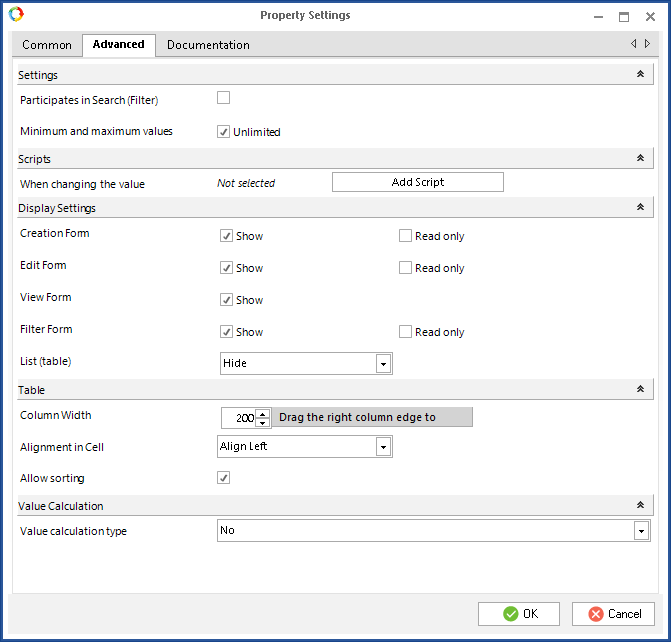
Note, that the additional fields on this tab depend on the object property type.
Fig. 4. Dialog box for creating an object property. "Advanced" tab
Attention!
The additional fields on this tab depend on the object propertytype.
Below is the description of the main fields of this tab. See the description of the additional fields in the respective Help section.
"Settings" unit
Participates in Quick Search – if you select this option, the values of this property will participate in the quick search in Web Application. The quick search is available for properties of the String and Text type.
Participates in Search (Filter) – select this option to be able to filter the object instances in Web Application. If you select the option, the current property will be displayed on the Filter tab of the object page. To access the Filter tab, select Generate Filter on the Additional tab of the user object page. If you select the Participate in search (filter) check box, additional fields may appear depending on the selected data type for more detailed search settings (Values range in filter, Relative date, List of values in filter, etc.).
"Scripts" unit
When changing the value – select the script, which will be executed when the property value changes.
"Display Settings" unit
Each object in Web Application has creation, editing and viewing forms. In this section you can configure the object property display on these forms.
Creation Form – display this property on the object instance creation form in Web Application:
Show – display this property in the table on the object creation form with the possibility to fill it in.
Read only – display this property in the table on the object creation form without the possibility to fill it in.
Edit Form – display this property on the object instance editing form in Web Application:
Show – display this property in the table on the object editing form with the possibility to fill it in.
Read only – display this property in the table on the object editing form without the possibility to fill it in.
View Form – display this property on the object instance view form in Web Application.
Filter Form – display this property on the advanced search form in Web Application. For Web Application to show the Advanced Search button, select Generate Filter on the Additional tab of the user object page.
Show – display this property on the advanced search form and use it for filtering.
Read only – the property will not be used for filtering on the advanced search form.
List (table) – configure the display of this property in the table in Web Application:
Hide – do not display the property in the table. If necessary, you can add this property to the table in the table display settings.
Show – display this property in the data table; you can hide it in the table display settings.
Always Hide – this property will not be in the table and in the table display settings, i.e. you cannot manage the property display in the table.
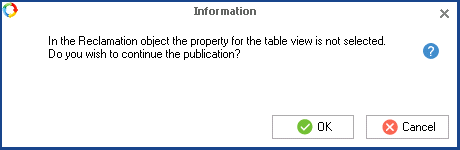
Please note, if you don't select the Show checkbox for any of the above settings, the data table in the Web Application will be empty. When you try to publish such an object, a warning pop-up will open. To complete publishing, click OK, to interrupt click Cancel (Fig. 5).
Fig. 5. Warning pop-up
If you click the icon , this Help page will open.
To change the display settings in the existing published object, save the object before publishing it.
"Table" unit
Column Width – width of the column of the data table in Web Application, which displays the object properties. You can change the width of columns in Web Application only if you have selected Changeable column width on the Table width of the object page.
Alignment in Cell – select the text alignment option for the table cells in Web Application:
Align Left
Align Right
Align Center
Allow sorting – if you select this option, you will be able to sort object instances in the table in Web Application.
"Value Calculation" unit
Value calculation type:
C# script – allows adding a C# expression. In this case, the value will not be stored in the object property, it will be calculated each time when accessing the property.
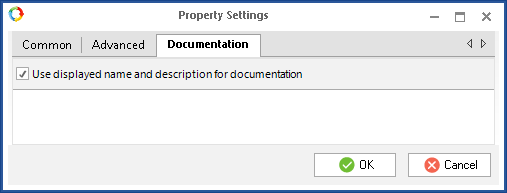
"Documentation" tab
On this tab (fig. 6) you can configure the data, displayed on the Documentation tab.
Fig. 6. User object page. "Documentation" tab
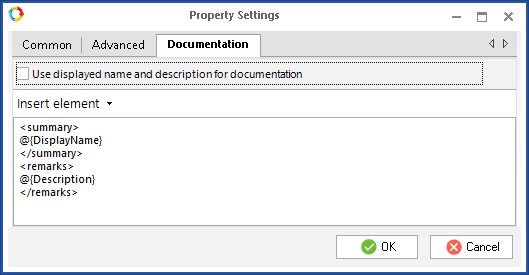
Use displayed name and description for documentation – display the object property name and description on the Documentation tab. This box is checked by default.
If the box is not checked, the Documentation tab (fig. 7) displays a field, where you can add tags with additional description of the object property.