The update procedure includes several steps, many of which are similar to the ones of the installation procedure.
Step 1. Close ELMA Designer (if it was running) and run the obtained installation file.
When you run the installation file, a user accounts control dialog box may open (fig. 1). To start the updating process, click Yes.
Fig. 1. User account control dialog box
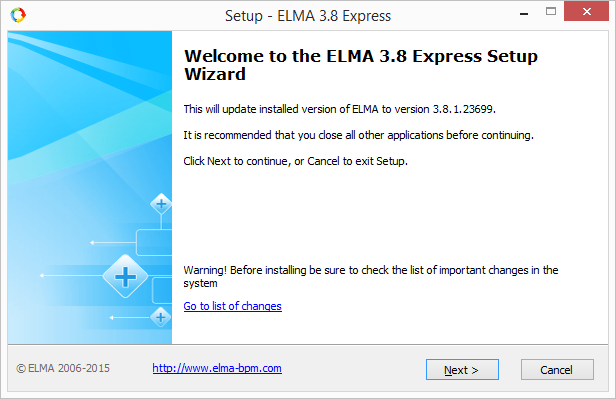
The start screen of the installation wizard (fig. 2) contains brief information on the installed system version and edition and some recommendations on the installation process. To continue installation, click Next.
Fig. 2. Installation muster start screen
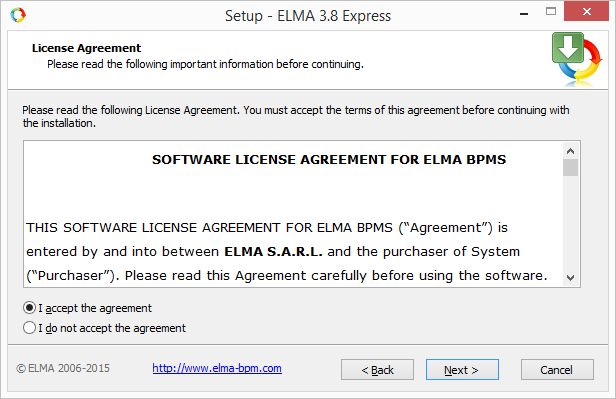
Step 2. The opened dialog box (fig. 3) contains the license agreement for using ELMA. After you have read it, select I accept the agreement and click Next to continue installation. Note, that if you select I do not accept the agreement, the Next button will be inactive (installation cannot continue).
Step. 3. License agreement dialog box
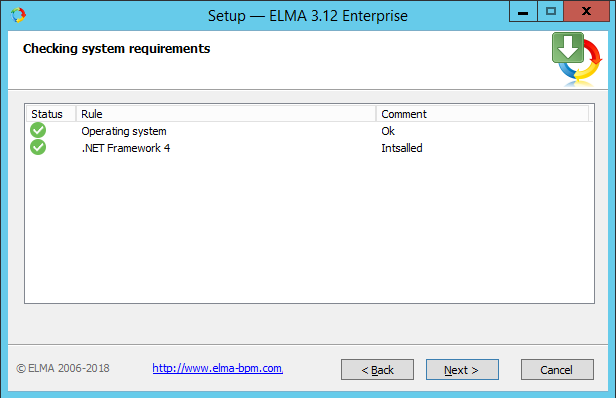
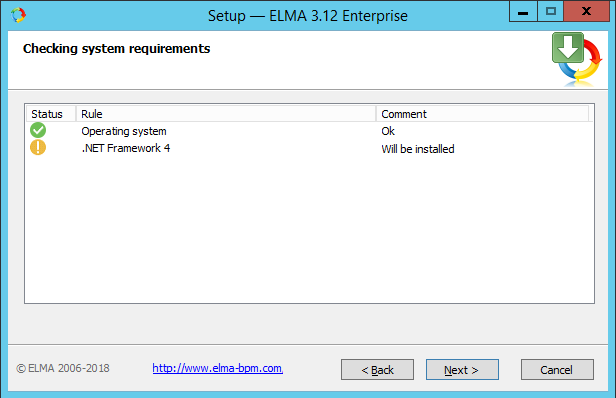
Step 3. At the next installation step (fig. 4) the system requirements are checked (operating system version and edition, availability of Microsoft .NET Framework 4 or above).
Fig. 4. Dialog box for checking system requirements for the selected installation variant
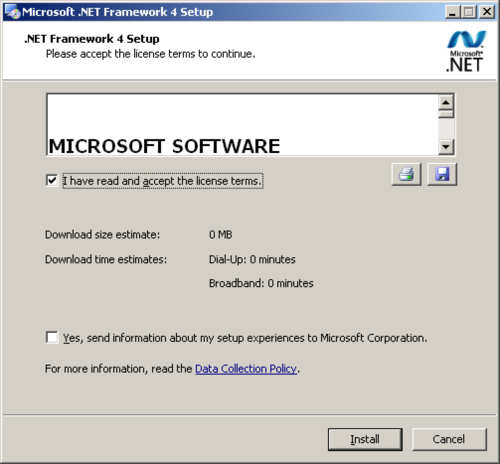
If Microsoft .NET Framework 4 is not installed on the current computer (or an older version is installed), the dialog box will display a respective notification (fig. 5), and the component installation wizard will start (fig. 6). Follow the wizard instructions to correctly install Microsoft .NET Framework 4. Installation of ELMA will resume after Microsoft .NET Framework has been installed.
Fig. 5. Dialog box for checking system requirements. Missing Microsoft .NET Framework 4
Fig. 6. Microsoft .NET Framework 4 installation wizard
After Microsoft .NET Framework 4 has been installed, the installation of ELMA will continue.
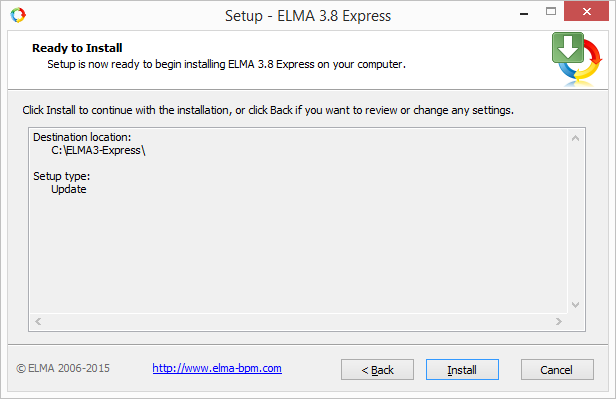
Step 4. At this step (fig. 7) the wizard shows the notification on the system update. To start updating, click the Install button.
Fig. 7. Dialog box with the selected installation parameters
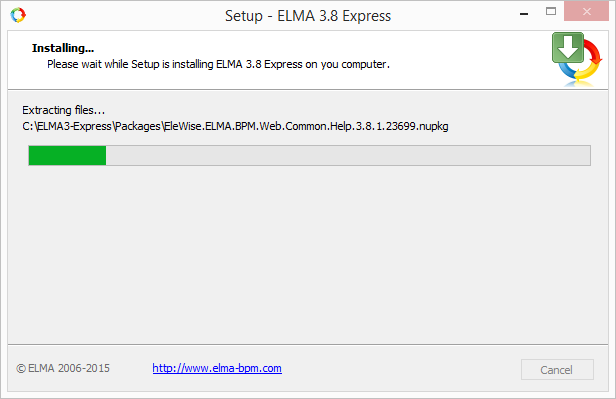
Step 5. At this step, ELMA files are copied to the computer (fig. 8). This process may take some time, please wait until it is complete.
Fig. 8. Dialog box with the system installation progress
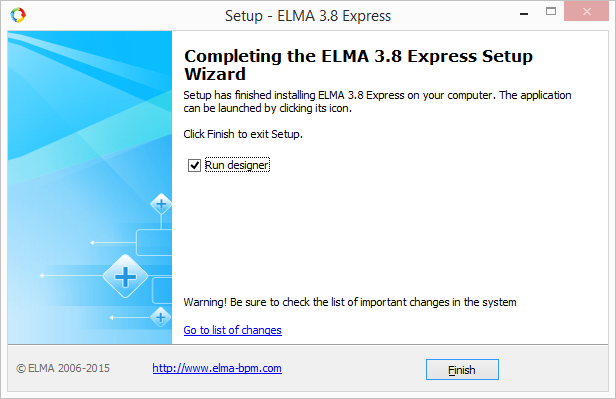
Step 6. At this step the dialog box (fig. 9) displays the information on the system update results. To complete the installation process, click Finish.
Fig. 9. System installation finish dialog box
Note, that the first ELMA system start after its update may take more time, than usual. Please wait, until the system is started.
Attention!
When you update the ELMA system, remember:
1. The system automatically replaces custom notification templates (with default templates) in the ..\UserConfig\Notifications folder. In this case the replaced custom templates are saved in the..\UserConfig\Notifications\Old\<number of the required system version> folder, and the templates of the current system version are located in the ..\UserConfig\Notifications\Original\<the number of the current system version> folder.
To restore a custom template, copy the contents of the required template (from the .xml file) and paste it into the current template (into the file with the same name).
2. If triggers were created in the database, they will be reset after updating the system. In this regard, it is necessary to manually initiate the re-creation of triggers by running a previously saved query through the database manager.
3. When using the nginx web server and updating the ELMA system to versions from 3.11.9 inclusive and higher, errors may occur due to the inability of the nginx web server to process the "__RequestVerificationToken" header in the POST request. In order to avoid such errors, add the line ignore_invalid_headers off to the nginx web server configuration file in the server part after updating the ELMA system.
After you have updated ELMA, ELMA Agent will be updated automatically (if autoupdating was not disabled when installing). When you start ELMA Agent for the first time, it will be automatically restarted. On the next ELMA Agent start, the user will need to sign in again.